Galaxy Note 2: Alternative firmware. Cyanogen 10.1 and MIUI Overview

Alternative firmware is an important part of using any device. Someone does not like the set of "extra" software that comes with the device, someone wants a large number of settings, someone craves a beautiful interface that does not look like a standard android. In this review, I will talk about the firmware process, show you and tell you about the main differences between the two firmware (CyanogenMod and MIUI), and a bit about the custom kernel settings.
Content:
Preparation and firmware
We need a computer with Windows (I used a virtual machine with USB forcasting) and the phone itself. For starters, download the toolkit. All links are direct, no ads and expectations.1) Drivers for phone - download
 here (24 MB)
2) Flasher-Odin, download
here (1 MB)3) CWM Recovery -
here (7 MB)4) GApps - Google services and programs,
here Separately, they have to download because strontium developers do not have the right to include them in the main firmware. (95 MB)5) We download the latest firmware on this page. Nightly builds come out every day, so there’s really no point in giving a link to it — it's easier to download the latest one. But just in case
here , for 04/07/13. (168 MB)')
Install the driver, run the flasher. Copy to the internal memory or to an external memory card files cm-10.1-20130407-NIGHTLY-n7100.zip and gapps-jb-20130301-signed.zip

On the phone, we hold three buttons: home (center), volume down, and power. As soon as the phone restarts, we stop pressing the power, but keep the other two. This picture appears:
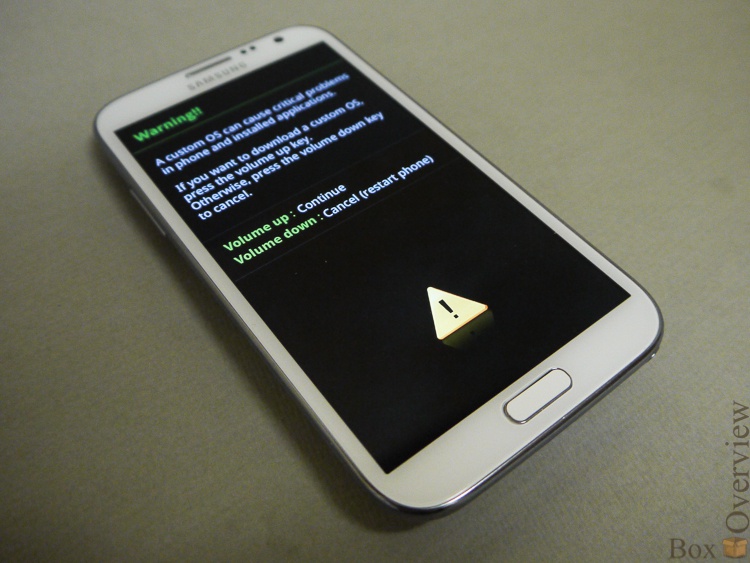
After that, press the volume up button, the picture changes to this:
At the top of the screen you can see the current status:

11 counts is the number of flashing, current binary: custom is an indicator that an official firmware is not installed. If you didn’t do anything with the device, official will be written there.
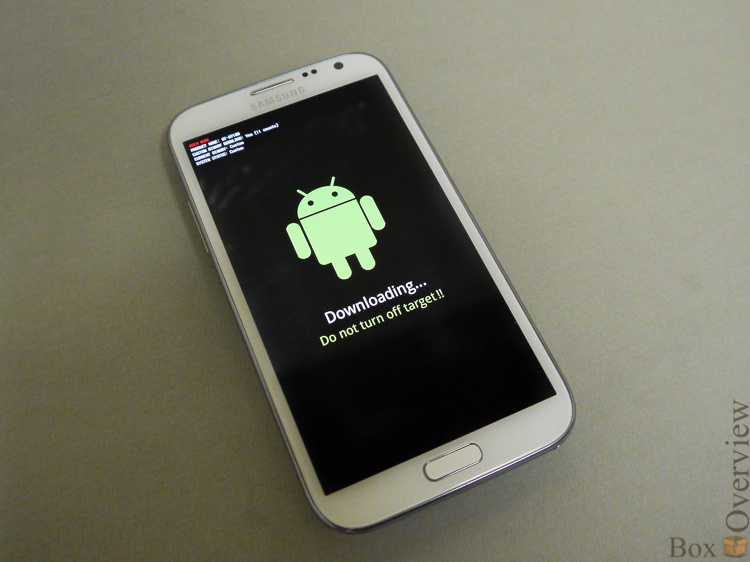
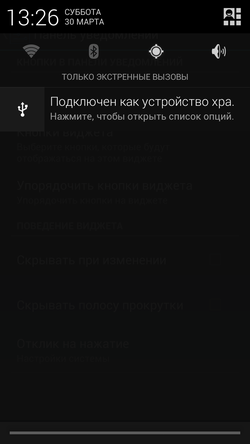
Now connect the phone to the computer:
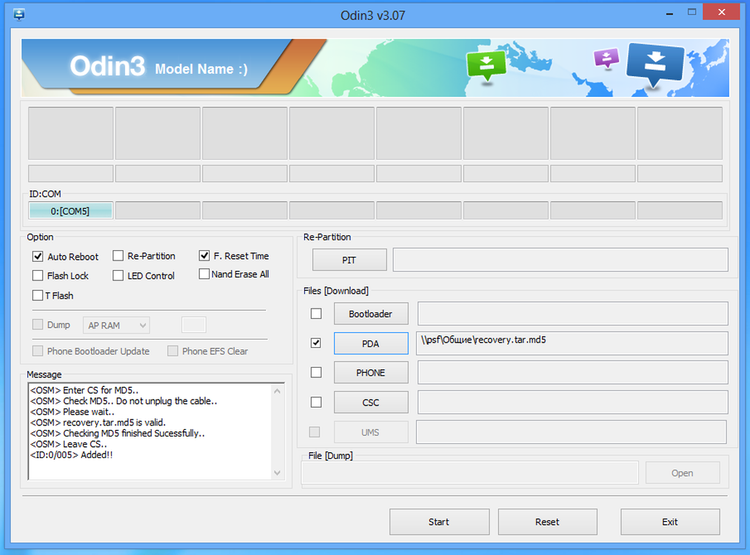
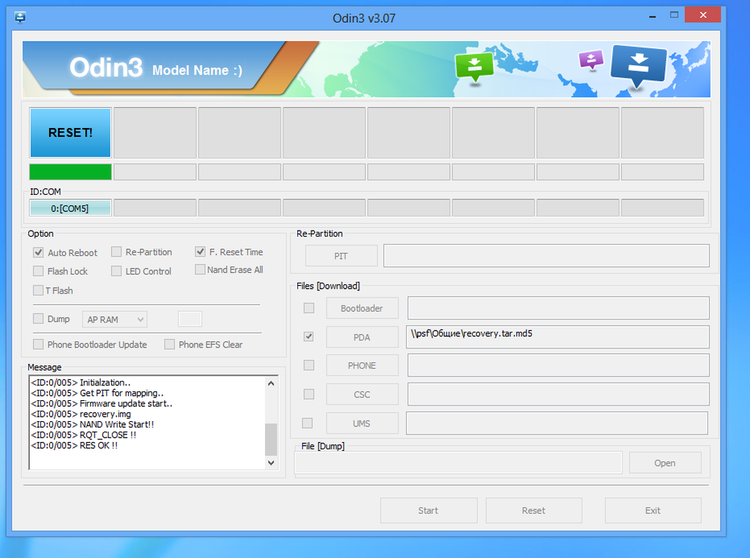
Press the PDA button and select the file recovery.tar.md5. An Added line should appear in the Message window, indicating that the phone is connected. Press the Start button. We wait until the progress bar on the phone and in the program comes to the end and the phone will reboot.
Now again we press three buttons, but the others - the menu, power and volume up. We are also waiting for a reboot, after which we release the power, but keep the other two. This Recovery should start:
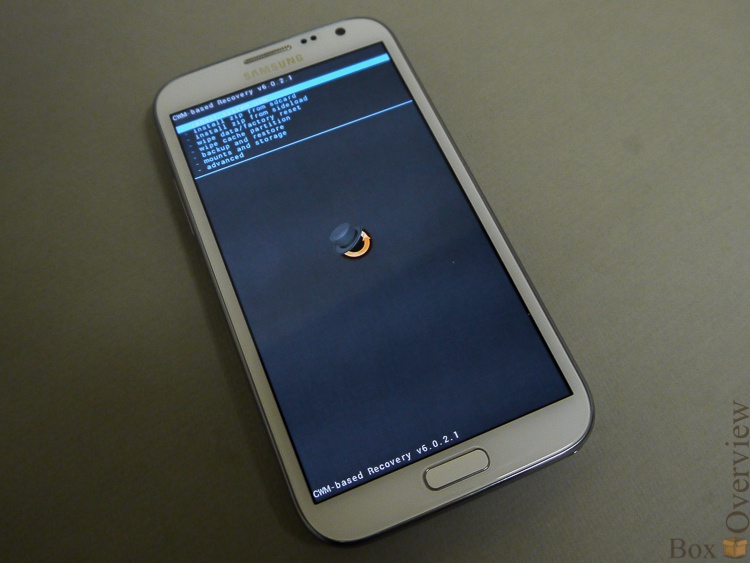
If the firmware has passed, and the standard recovery is still being loaded (which does not support unsigned firmware), you should do the same, but use the following file as
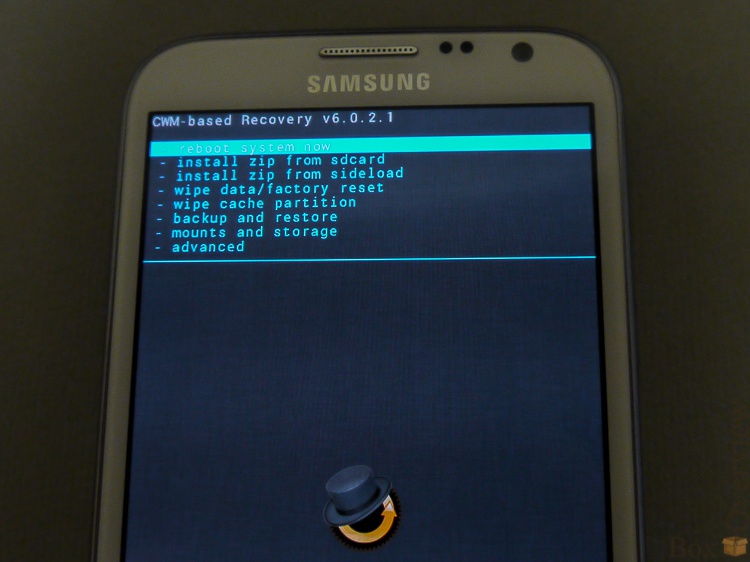
this one Then again, hold down the combination with the volume + "-", and the flash is already normal. I had this on 2 of 5 phones.Go to the recovery, volume buttons, select the item “backup and restore”, “Backup”, “YES”. After that, the image of the current firmware will be saved on the memory card, which can always be restored via the menu item “restore”. The firmware is saved completely, along with all the programs and settings, so you can put any other, play around, and then return everything to the place with a couple of clicks.
Now select “install zip from sd card”, go to it with the power button:
Choose cm-10.1-20130407-NIGHTLY-n7100.zip:
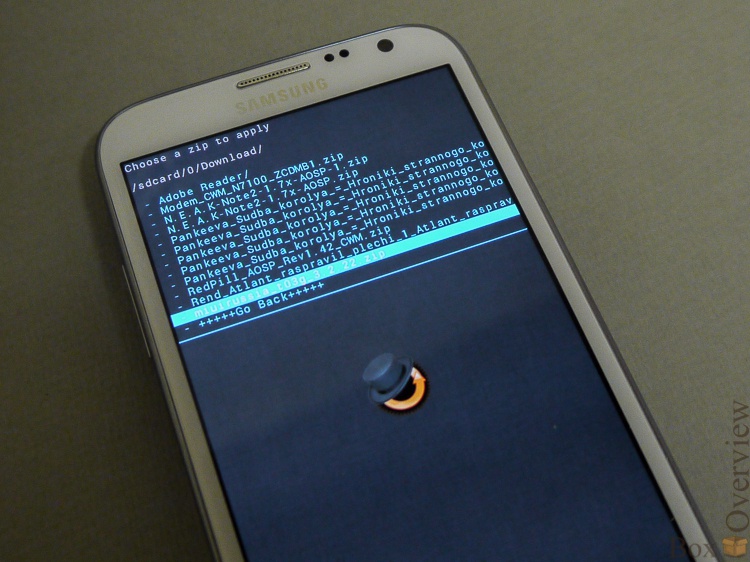
We agree to install:

We do the same with the second file (gapps-jb-20130301-signed.zip). In the first menu, select wipe data / factory reset - full reset. After that, you can select "Reboot system now", and wait for the download CyanogenMod.
CyanogenMod 10.1
CyanogenMod meets us ... And, he doesn’t meet anything special - the desktop is completely ordinary from JB, so I won’t even show it. The whole chip in the settings and advanced features.For example, here are the tiles in the top menu, which can be customized absolutely arbitrarily.

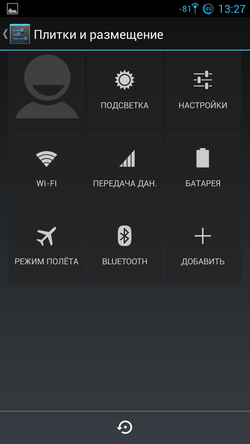
A long press on the tile will open the corresponding menu item. And you can configure not the tiles on a separate screen, but simply the buttons in the notification panel:
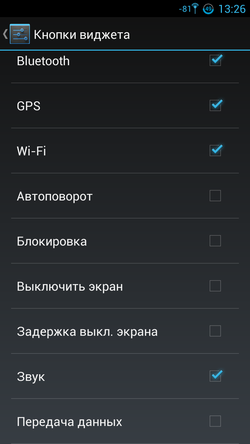

Here for the possibility of customization, I just love CyanogenMod. You can configure a lot - whether to hide the notification panel after clicking and whether to vibrate when pressed.
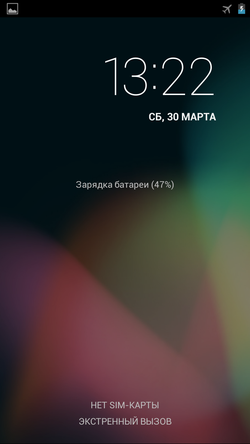
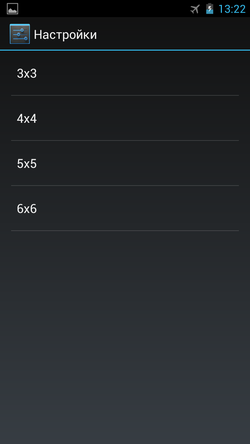
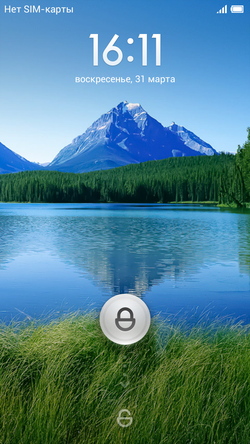
On the figure lock screen, you can select several sizes of shapes, and even hide points when turned on. The “empty” desktop after switching on will surely puzzle people who like to take other people's phones to “play around”. True, the figure will have to touch, but after some training work it does not make up.

In addition to the clock, you can add various widgets to the lock screen itself - from the weather to the player control. You can also add another lock screen, place a large widget or several small ones there, and switch to them by scrolling the screens left or right. Another very nice feature is that when the screen is off and locked, long pressing of the volume buttons switches the tracks in the player.


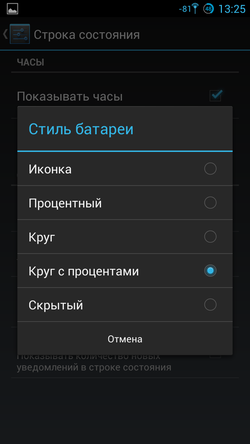
Manual settings are also related to the notification line - you can show or not show the clock, adjust the appearance of the battery and the signal icons. You can adjust the brightness when swiping your finger along the notification line - hold left, increase the brightness, hold right - decrease.


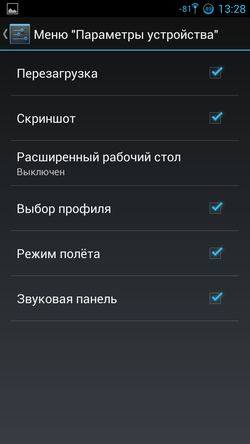
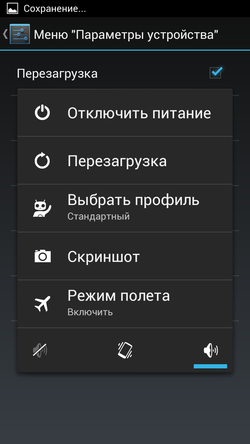
The menu that is configured when the power button must be pressed can also be changed - add a screenshot button there, a profile selection, the ability to reboot in Recovery mode. Extended desktop is a mode without top menu. I do not know, really, why it is needed.
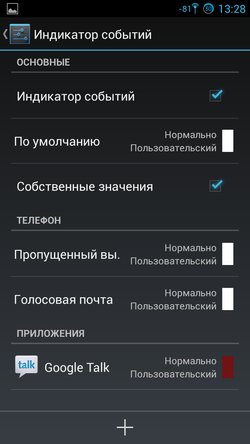
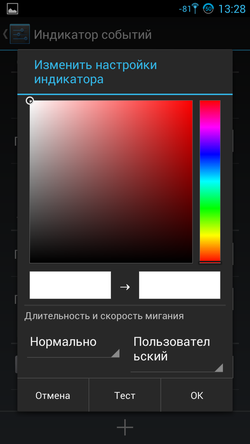
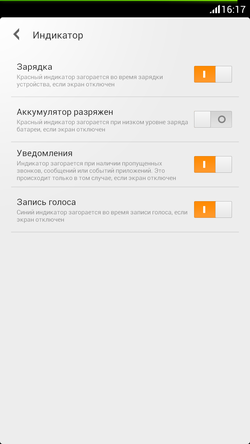
Notification LED is also configured. The fact that the usual firmware is done through third-party programs, here it is present in the system itself. You can adjust the colors that indicate the degree of charging (although the thresholds are always standard - 15%, 50%, 80%), you can change the colors of different types of notifications, or individual applications.

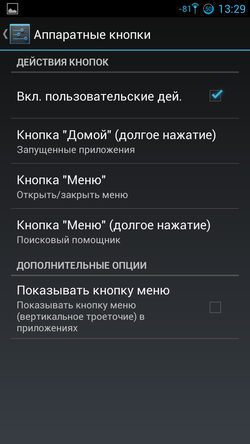
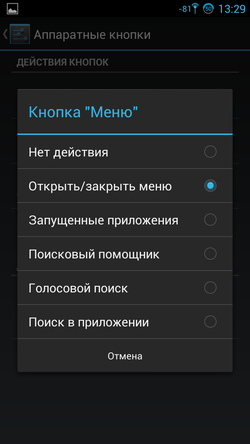
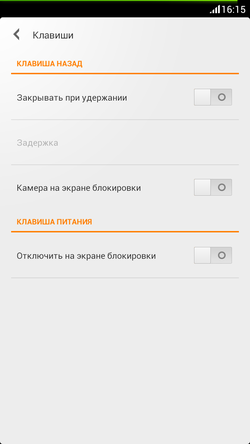
Change the function of the hardware buttons. For example, I changed the action of the menu button to the list of running applications - I switch between applications more often than open the menu. A menu hung on a long press of a button.
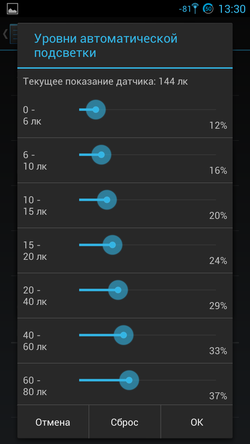
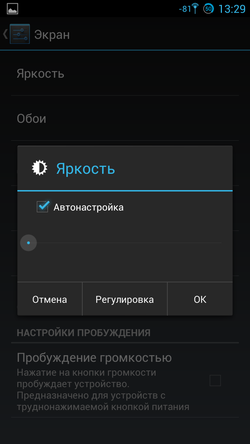
And, you can adjust the auto-brightness completely for yourself - up to what value of the brightness in lux will correspond to the brightness of the backlight in percent.
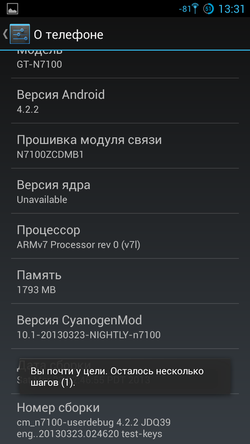
By default, developer settings are hidden for some reason. To activate them, you need to click on the line "Assembly number" 7 times in the information about the phone:
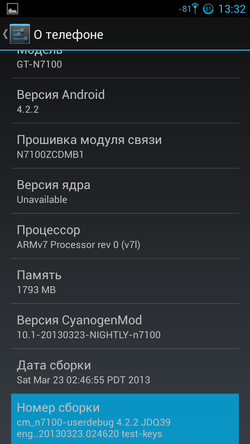
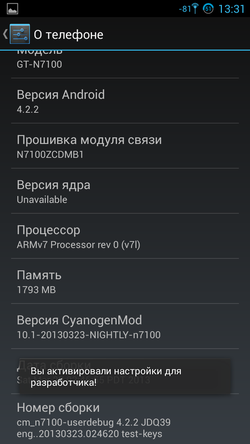
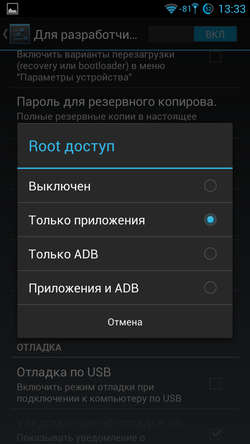
In the settings for the developer, you can configure the Root access settings and enable debugging (with the annoying debugging icon, you can disable)

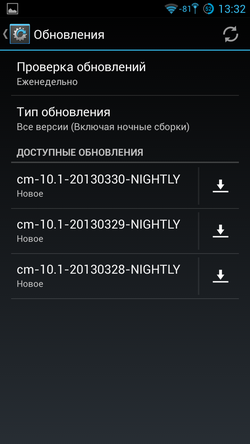
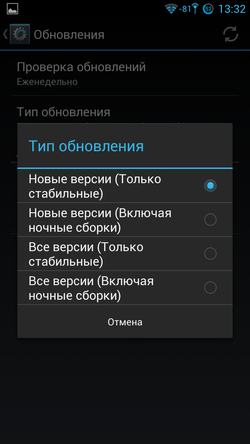
Configure automatic system updates. Everything happens automatically - the phone will only ask if it is possible to update itself and download the file, reboot into rekoveri and install it.
As for the "inferiority" of alternative firmware for devices on Exynos 4, then those who have experienced problems - please comment. I have only one claim - the screen brightness does not change smoothly, but by steps.
NEAK core

Since Andoid is based on Linux, the kernel in it is almost independent of user space. If you do not touch the standard system calls, then the kernel can be replaced by any, with the necessary tweaks and settings. Yes, and to collect the kernel, noting the fad in the pseudo-graphic interface, by and large it is not necessary - good people have already made all the settings in beautiful programs. Each core in the description is super efficient and economical, and on the forum users break spears in discussions, how many percent per night which core saves them. Honestly, I did not see much of a difference, so I will only mention the kernel, which has the largest number of settings - NEAK - Like a Dream (v1.7x). It can be installed on the stock firmware - the process is no different, but I put it on CyanogenMod
Go to the official kernel theme on XDA Developers, and download the latest kernel -
for official firmware , for cyanogenmod .Installation is also not difficult at all - we download the kernel to a memory card (this can be done directly from the phone), reboot into the Recovery mode (holding the combination of buttons or selecting an item in the menu) and install the file just like the firmware.
Download, download the application from Google Play, and launch it. There are many settings, and I will not describe them all. I will show briefly:
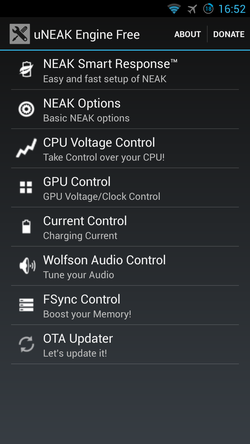


The program has presets for various modes of operation - Normal Mode, Battery Mode, Game Mode. Normal mode, active power saving mode, and maximum performance game mode. There are sound controller settings, but my ear did not catch any special differences.
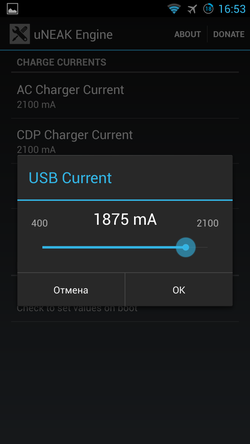
But a very convenient feature that allows you to set the charge current for different sources of charge. The maximum current is 2.1A.

For example, in the standard firmware, the charge current from the computer is limited to 800mA. For batteries with a capacity of two times the standard, this is especially true.
MIUI v4
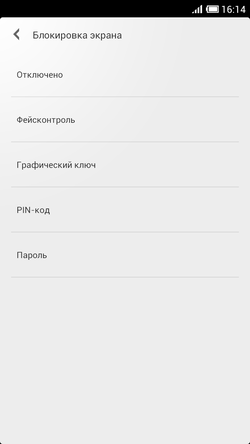
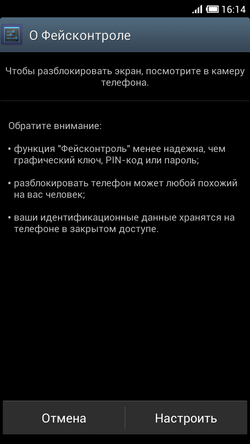
We do the same, only the firmware file is taken here from here . The installation is the same. As if in contrast to the minimal stock android, MUIU looks very bright.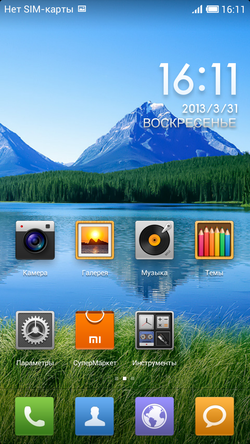
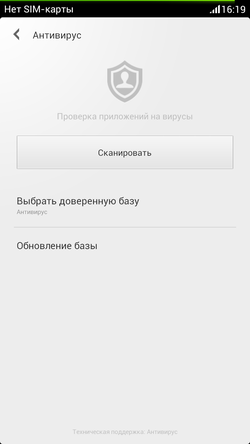
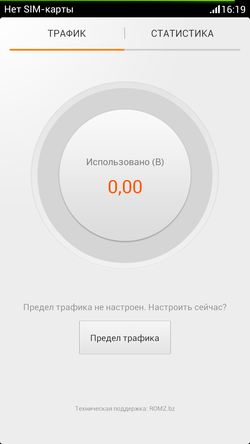
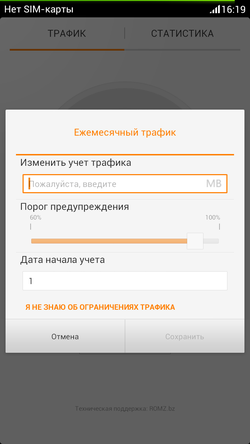
The system has: antivirus, accounting and limiting monthly traffic
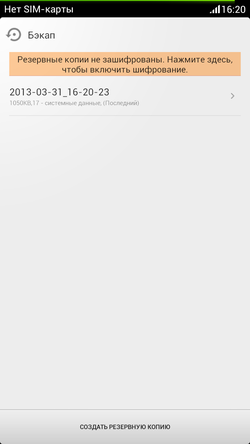
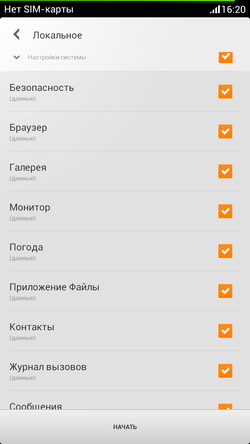
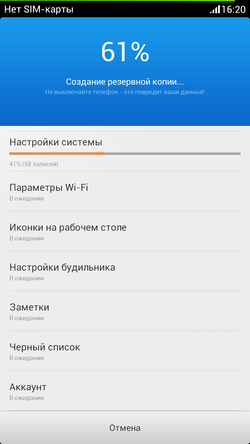
Backup utility:
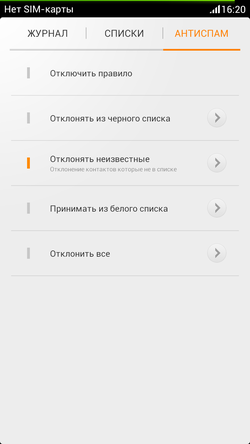
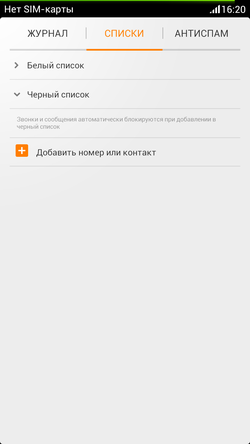
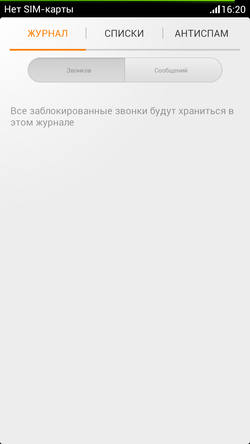
Antispam for calls and SMS with black and white lists:
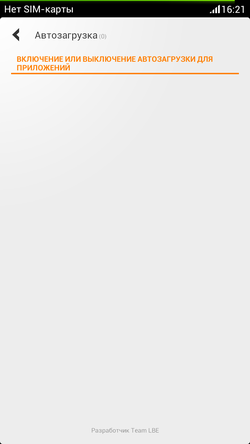
Startup editor and permissions management for each application (!). Any permitted action of any application can be viewed and customized system response to it.


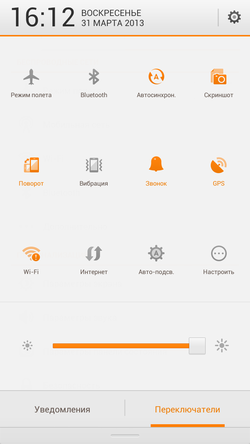
The top menu is quite flexible and is not inferior in function. CyanogenMod


An interesting mechanism is made to select the switches that will be shown in the panel (second screenshot):
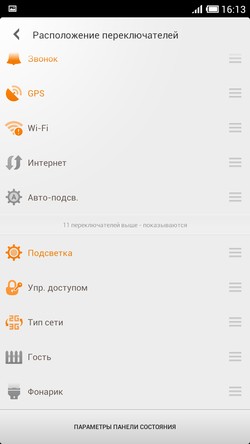

Settings are divided into two categories - often used and all.


All menus redrawn to the style of the system. Almost all.

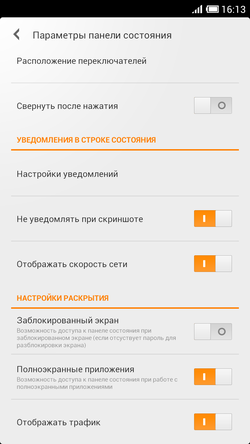
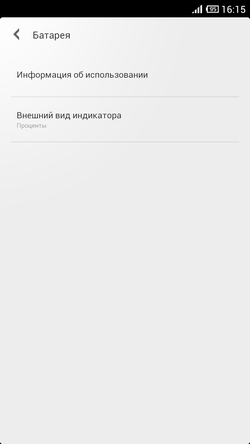
Also, in the upper bar, you can customize the type of battery indicator - a standard indicator, with percentages, or a long bar at the top of the screen. By the way, when charging, it is pretty animated.

These screenshots have disappeared somewhere, but there you can still configure the display of the current speed and the amount of traffic spent in the upper bar.
The settings of the buttons are pretty scanty, as are the displays - you cannot adjust the color for each program.

But there are settings from the original firmware:


Links
 About ClockworkMod recovery (CWM)
 Latest CWM recovery on XDA Developers CyanogenMod 10 / CM10.1 Firmware MIUI V4 firmware
If you do not have an account on Habrahabr, you can read and comment on our articles on BoxOverview.com
Source: https://habr.com/ru/post/175795/
All Articles