Search on Drupal 7 with Apache Solr Part 1 - Basic Setup

I want to write not just another post “how to screw Solr to Drupal”, but a series of detailed posts starting from the basic setting and ending with the facets.
Based on your comments and questions, I am ready to include additional material in the next post.
List of articles:
- Search on Drupal 7 with Apache Solr Part 1 - Basic Setup
- Search on Drupal 7 using Apache Solr Part 2 - learn how to customize the index
- Search on Drupal 7 using Apache Solr Part 3 - learn to add your own fields and options to the index
- Search on Drupal 7 using Apache Solr Part 4 - faceted filters
- Search on Drupal 7 using Apache Solr Part 5 - widgets for facet filters
- Search on Drupal 7 using Apache Solr Part 6 - configure apache solr + tomcat
- Search on Drupal 7 using Apache Solr Part 7 - full-text search in Russian
Several advantages of searching through Apache Solr over regular Drupal searching:
- Apache Solr search is much faster and does not load the database server
- flexible search options
- the site is easier to scale, you can easily place Apache Solr on a nearby server
- use of facets (refinement search)
')
So in the first part we start with the basic settings.
Input parameters:
I am using Ubuntu 10.04 OS
I took Drupal 7.22 as a basis and modules for search search_api and search_api_solr
Apache Solr 3.6.1 Search Server
The list of modules that need to be downloaded: search_api, search_api_solr, entity, ctools, views
1. Install Apache Solr
Download the server from the official site
There is a newer version of Apache Solr 4.x, but the schema files in the search_api_solr module are only for the third version, so you should use it.
Unpack the downloaded archive into any folder convenient for you.
In my case, this is /home/kainz/applications/apache-solr-3.6.1. To start the server, you need Java. I have the openjdk-6 package installed, you can choose this or any other that suits you.
To start the server, go to the Apache Solr directory in the console, and then in the example (in my case, this is /home/kainz/applications/apache-solr-3.6.1/example) and run the
java -jar start.jar .In the case of a successful launch, you will see a bunch of service information and at the very end of the message:
"2013-04-05 00: 27: 09.845: INFO :: Started SocketConnector@0.0.0.0: 8983" or something similar (depends on the version).
If you have problems compatibility of new versions of Apache Solr with Drupal modules, you can download the server that I used when writing this manual. It is already up and running.
2. Connect Apache Solr to Drupal
First install the search_api and search_api solr modules.
I used search_api_solr 7.x-1.0-rc2 and search_api 7.x-1.4
In addition to the modules, you need to install the SolrPHPClient library. Download it here . The downloaded library must be placed in the sites / all / libraries / SolrPHPClient folder in your Drupal site.
Now you need to go to the search_api_solr module and copy two files from there - schema.xml and solrconfig.xml to the folder with server configs (in my case /home/kainz/applications/apache-solr-3.6.1/example/solr/conf). These files are needed for Drupal to interact with Apache Solr. After you copy these files, you must restart the server. Try to go to localhost : 8983 / solr / admin / to make sure that the search server is working.
3. Customize the search in Drupal
If you have not yet enabled the search_api and search_api_solr modules, then turn them on and clear the cache.
On the admin / config / search / search_api page you can create two entities - a server and an index.
The server serves as a bridge between Drupal and Apache Solr. It stores settings for accessing the Apache Solr server.
The index allows you to customize the search in a specific way. You can create multiple indexes for a single server. For example, different indexes for different types of nodes.
So, let's create the admin / config / search / search_api / add_server server
As a class of service, select "Solr service". If you cannot select a class, then make sure that the SolrPHPClient library is installed in the sites / all / libraries / SolrPHPClient and the search_api_solr module is enabled.
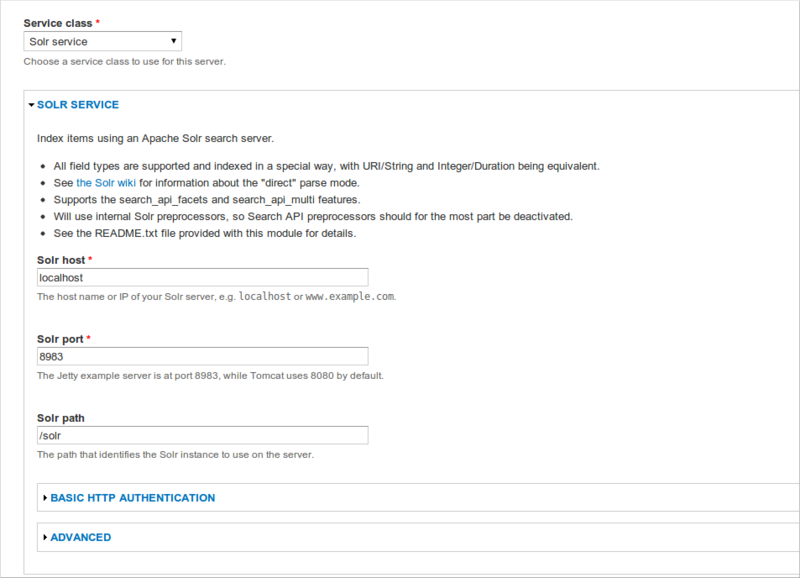
Server data such as host, port, and path are suitable for the default installation. If the server is configured correctly, after submitting the form you will see an informational message:

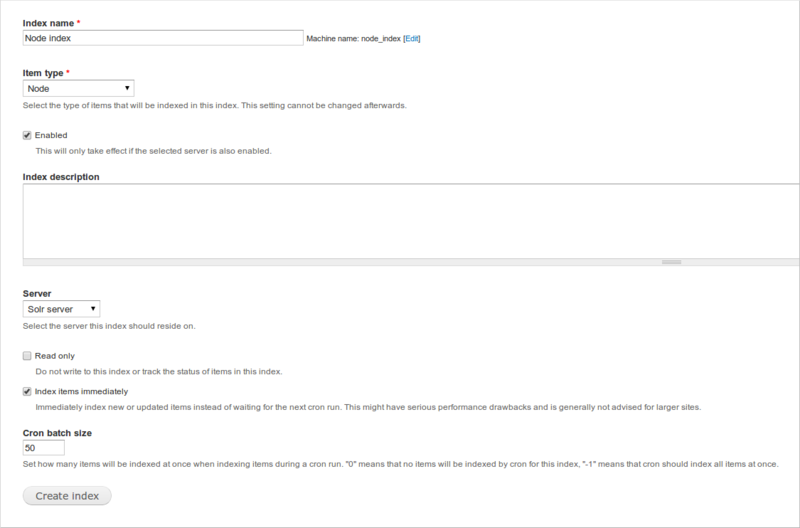
Now create an index - admin / config / search / search_api / add_index. Let's call it Node index, as a server, choose the Solr server we created. Index items immediately is a useful option that allows you to index nodes at the time of creation (if you do not select it, then nodes will be indexed by crown).
The next step is the selection of fields by which we will search. For now, we’ll select only the title and save the form. Now we create a view (view) in order to display the search results - admin / structure / views / add. Before that, you must include the modules search_api_views, views, views_ui and ctools.
For search results there is a special type of views for the views module. Select your index - Node index and create a view with the display page and customize it.

To do this, add the Title and Body fields for output. Then we will add the contextual filter “Search: Fulltext search” and select the Title field in the settings of this filter. Thus, the search will occur in the Title field. In addition to this, let's add another exposed filter so that you can enter search arguments through the form.

Save the view. We start indexing of nodes, if they are not indexed on this page yet admin / config / search / search_api / index / node_index / status. I created a couple of node articles in advance.
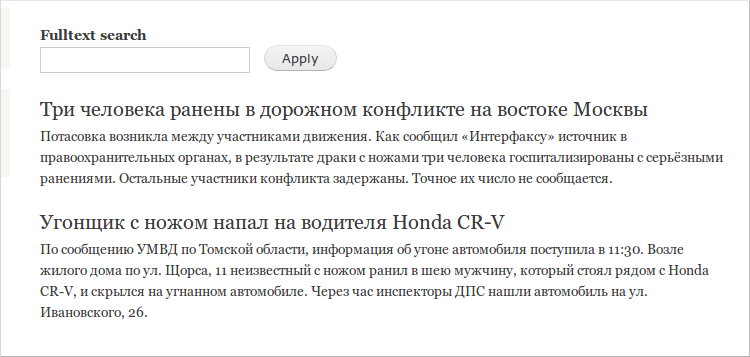
Go to the page / search-results - this is the address I indicated for the display with the page type.
All nodes are displayed now, as the keywords are not specified.
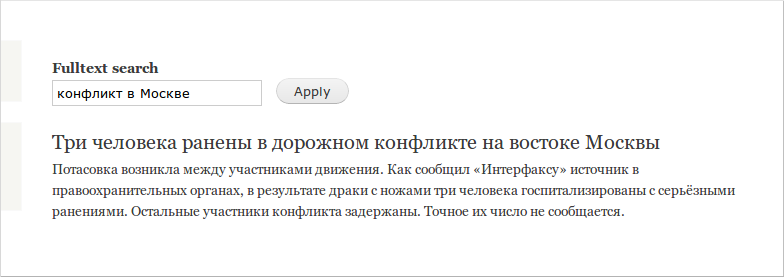
This is how keyword search results look like.
Conclusion
By default, Apache Solr does not look good in Russian. To fix this, find the lines in the schema.xml file
<!-- <filter class="solr.SnowballPorterFilterFactory" language="English" protected="protwords.txt"/> --> and replace them with
 <filter class="solr.SnowballPorterFilterFactory" language="Russian" protected="protwords.txt"/>

   ,    ,           Apache Solr,            .           ,   .       ,     .
<filter class="solr.SnowballPorterFilterFactory" language="Russian" protected="protwords.txt"/>
, , Apache Solr, . , . , .Source: https://habr.com/ru/post/175527/
All Articles