Development for BlackBerry 10. Start
The BlackBerry 10 platform has long attracted attention. The decision from RIM turned out to be quite interesting, so why not try your hand at this field.
Today we will try to launch a simple application for BB 10 in the simulator and look at this miracle.
Cascades is one of the main application development tools for BB. It is included in The BlackBerry 10 Native SDK and is designed to create a graphical interface. This beast is based on Qt and QML, supports 2D and 3D effects, animation. It also allows you to create your own elements based on existing ones. To demonstrate the simplicity of the development of UI in Cascades, we give an example of creating a button that can be rotated by pressing a button using QML and C ++.
Rotary button in QML:
')
C ++ Rotating Button:
First, we need to fill up with the toolbox:
In addition, you need to get the keys here and fill out the form. Be sure to remember or write down your PIN, it will still come in handy.
After some time, the keys will come to your e-mail.
Now:
Before you begin, set up the simulator:
That's all.
PS Write your reviews about the article and report it to the user about errors.
Today we will try to launch a simple application for BB 10 in the simulator and look at this miracle.
Little about birds
Cascades is one of the main application development tools for BB. It is included in The BlackBerry 10 Native SDK and is designed to create a graphical interface. This beast is based on Qt and QML, supports 2D and 3D effects, animation. It also allows you to create your own elements based on existing ones. To demonstrate the simplicity of the development of UI in Cascades, we give an example of creating a button that can be rotated by pressing a button using QML and C ++.
Rotary button in QML:
import bb.cascades 1.0 Page { content: Button { id: rotatingButton text: "My Rotating Button" animations: [ RotateTransition { id: rotButton toAngleZ: 360 duration: 350 } ] onClicked: { rotButton.play(); } } } ')
C ++ Rotating Button:
// Create the root page and the button Page* root = new Page; Button* myButton = Button::create("My Rotating Button"); // Create a rotation animation and associate it with the button RotateTransition* rotation = RotateTransition::create(myButton) .toAngleZ(360) .duration(350); // Connect the button's clicked() signal to the animation's play() slot, so that // when the button is clicked, the animation plays. Make sure to test the return // value to detect any errors. bool res = QObject::connect(myButton, SIGNAL(clicked()), rotation, SLOT(play())); Q_ASSERT(res); // Indicate that the variable res isn't used in the rest of the app, to prevent // a compiler warning Q_UNUSED(res); // Set the content of the page and display it root->setContent(myButton); app->setScene(root); Let's start
First, we need to fill up with the toolbox:
In addition, you need to get the keys here and fill out the form. Be sure to remember or write down your PIN, it will still come in handy.
This is the form
After some time, the keys will come to your e-mail.
Now:
- Install the SDK , (VMware player) and Simulator following the instructions;
- We start VMware palyer ;
- Select the item "Open a Virtual Machine" ;
- Find the file "BlackBerry10Simulator" in the folder with the simulator installed and click "Open" ;
- Select a simulator from the list and click “Play virtual machine” ;
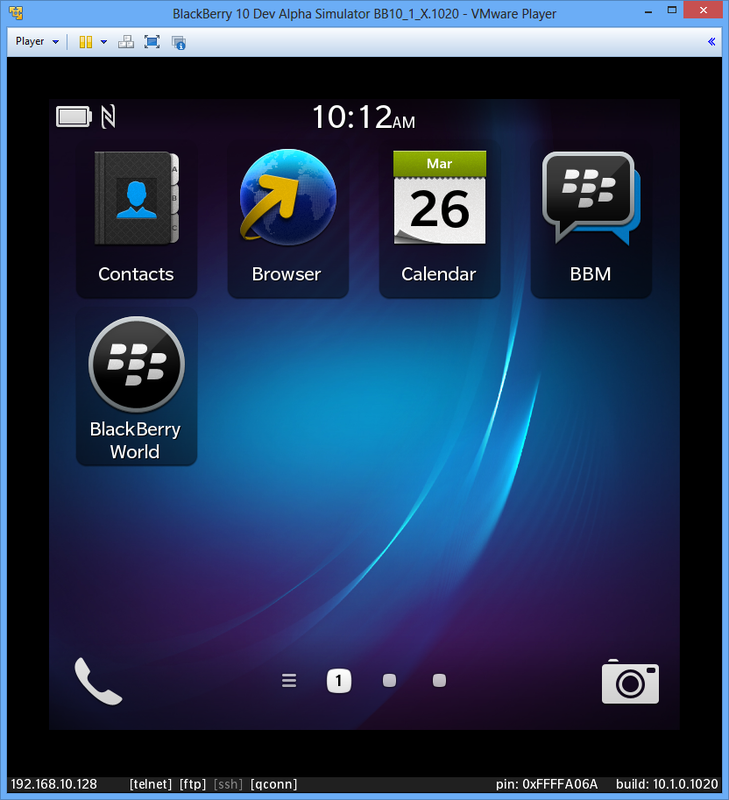
Running simulator
Bit of shamanism
Before you begin, set up the simulator:
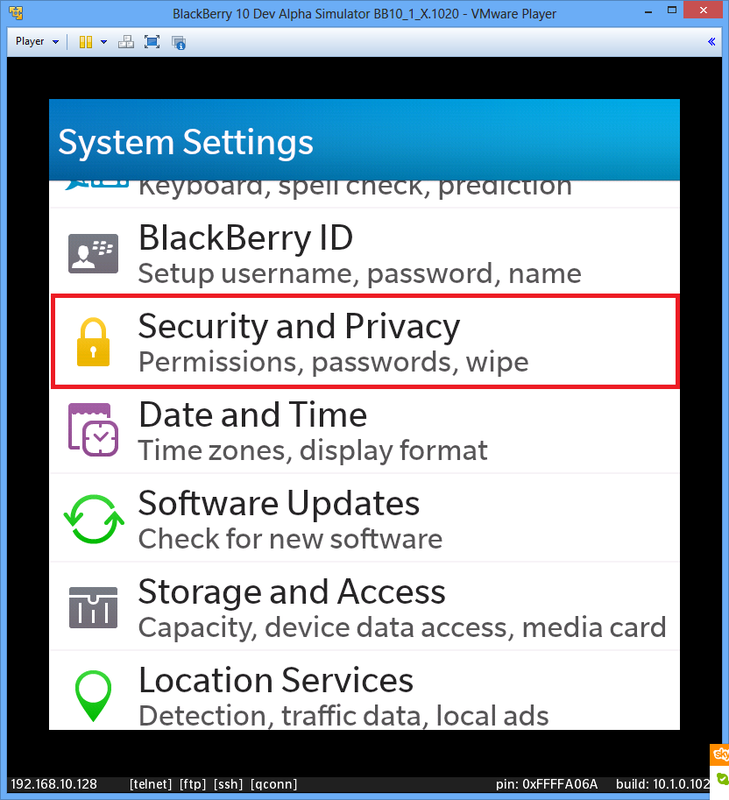
- We are looking for settings;
- In the settings, select the item "Security and Privacy" ;Hidden text
- There we find "Development Mode" ;Hidden text
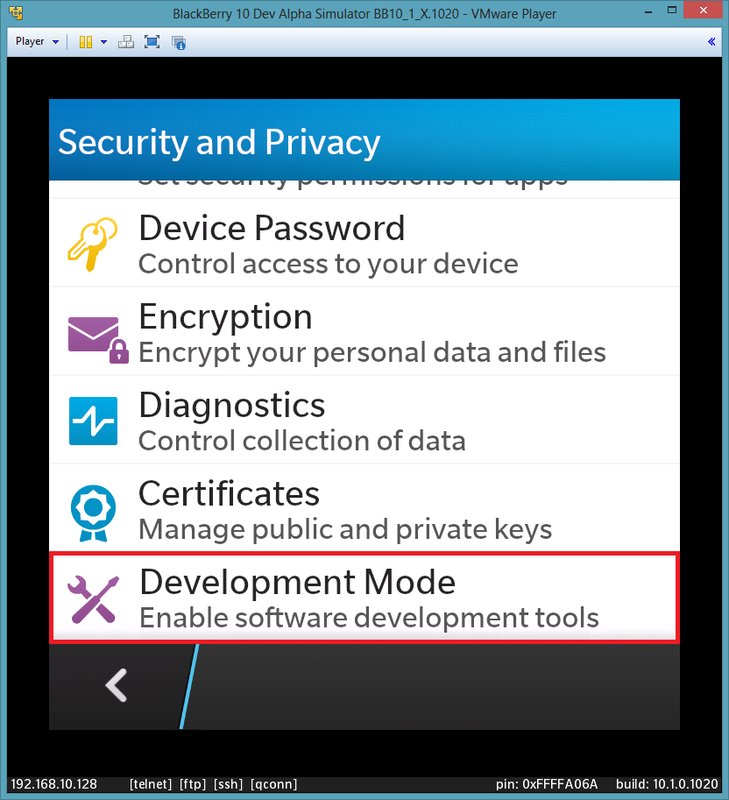
- We check that it is turned on (if not, then it must be turned on);Hidden text

Let's create
- First, launch the BlackBerry Native SDK .This is the most common Eclipse with its whistles;

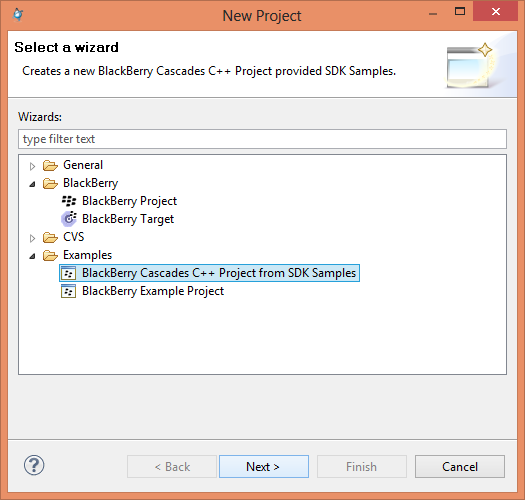
- Let's create a new project and select “BlackBerry Cascades C ++ Project from SDK Samples” .Like this;

- Now we need to select an application template.For example this;

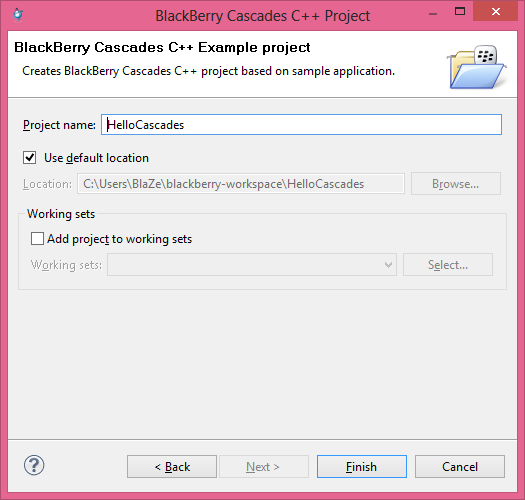
- Give it a name and select an icon;
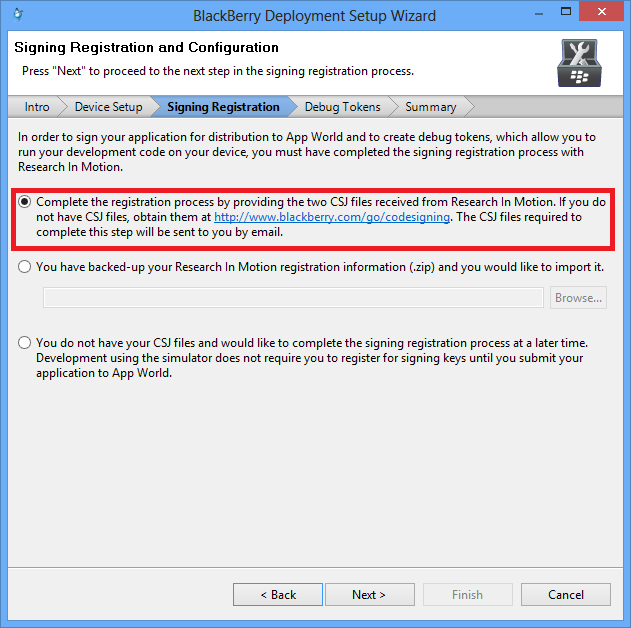
- We fall into the Deployment Setup Wizard and click Next ;
- Now you need to install the device.If the simulator is turned on, the device is automatically detected.
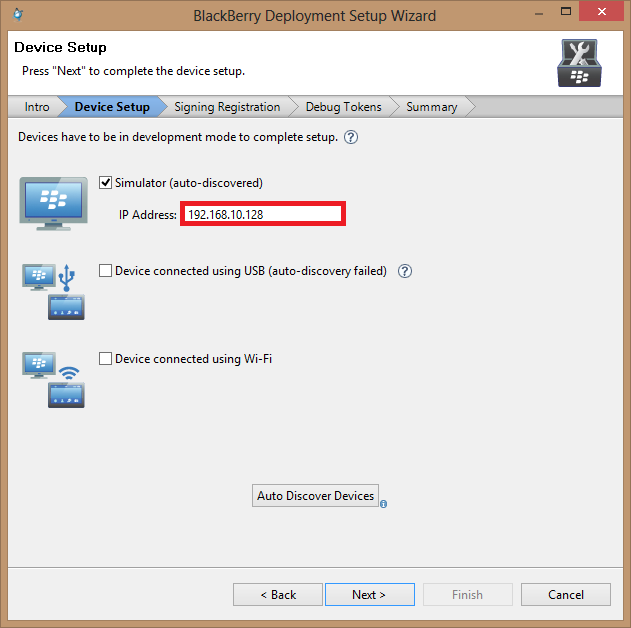
If not, copy the ip-address yourself.It can be seen in the lower-left part of the simulator (highlighted in red);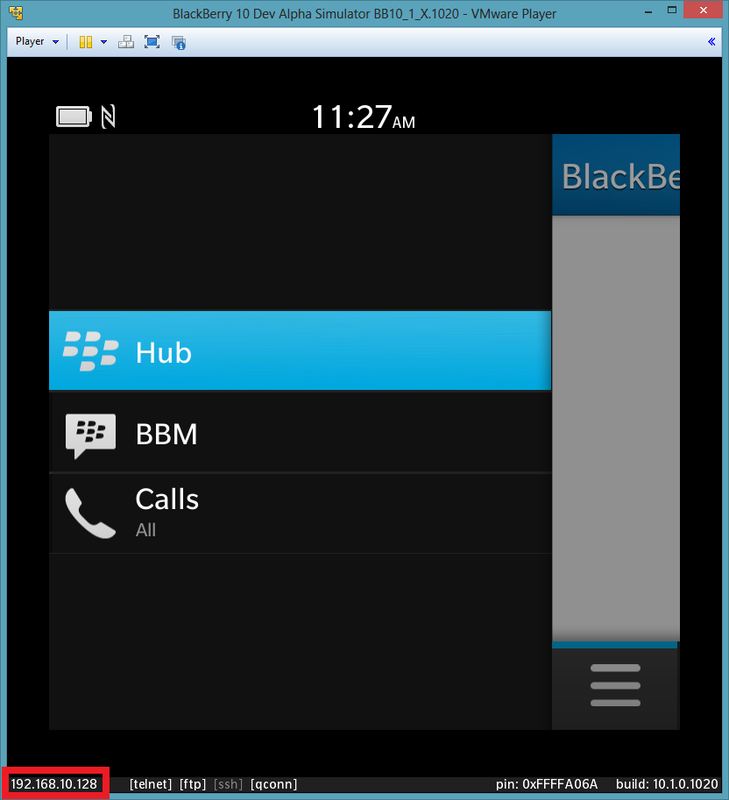
- Next, add the keys (they must come by mail, after sending the registration form).Select the first item and click Next.
Specify the path to the keys, PIN (which you specified when filling out the form) and password, as in the example under the spoiler.Example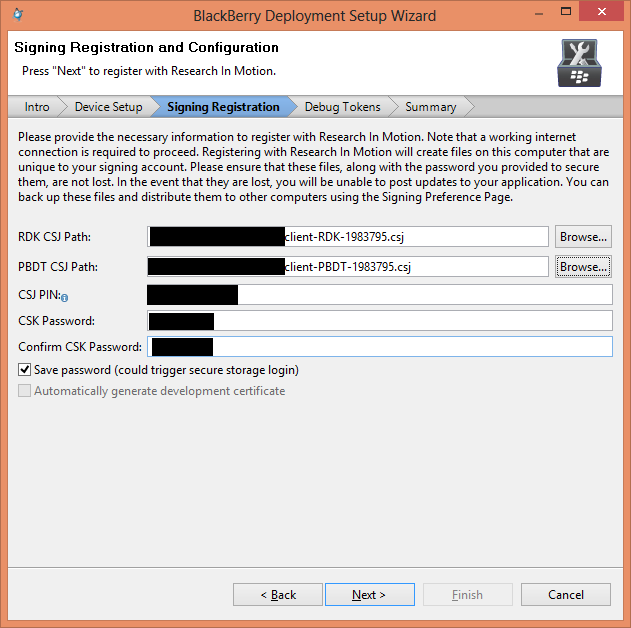
We will be asked about the backup keys and certificate. This item can be skipped (and, if desired, set up later); - This completes the work with the master, it remains to click “Finish” ;
- Still need to configure the build. To do this, click the right mouse button on the project and select Build Configurations-> Set Active-> Simulator-Debug ;Hidden text

- It remains only to collect the project (PCM on the project and the Build Project );
- And run (PCM on the project and Run As-> BlackBerry C / C ++ Application );
That's all.
Result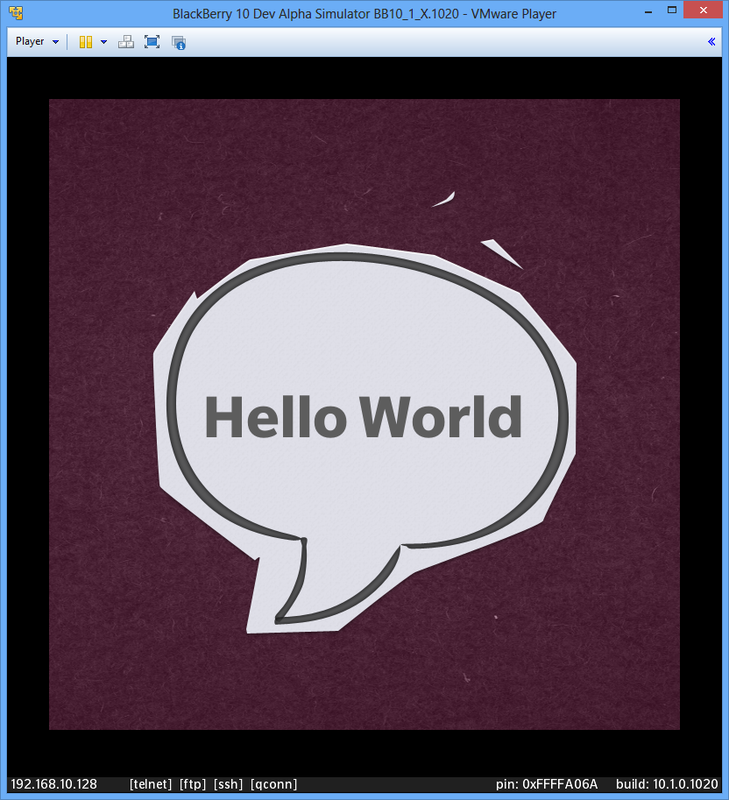
PS Write your reviews about the article and report it to the user about errors.
Source: https://habr.com/ru/post/174431/
All Articles