Installing your own applications without a developer certificate in 7 steps
Hi, Habr!
I suppose that most people who come across iOS development know that it’s impossible to test and debug an application on a real device without a developer certificate. It costs $ 99 per year. Of course, you can do with the built-in simulator, but its functionality is severely curtailed. In addition, testing and debugging on the device is much more convenient in terms of clarity.
But is it worth paying this money if, for example, you are just learning or your application is used for personal "home" use, i.e. Your applications do not have any financial benefits? I think no.
There is a way around this ban. However, it serves only to install its own applications, while debugging remains inaccessible.
')
If, despite the restrictions, you are interested - welcome under cat.
To begin with, all the manipulations were carried out on a Macbook Pro with OS X 10.8.3 and Xcode 4.6.1 on board, and the iPhone 5 with iOS 6.1 was taken as the device. Thus, at the moment the method is relevant and working.
First of all, you need to make a jailbreak of the device on which you are going to test the applications, since the evasi0n utility supports all devices on the latest firmware.
After that, you need to install AppSync for 6.x in Cydia . for example, AppSync 5.0+ from the cydia.xsellize.com repository (as it is done will tell Google).
Now create your own code signing certificate.
To do this, run the Keychain -> Certification Assistant -> create a certificate . The certification assistant window will open. Enter the name (for example, iOS developer) and select the “code signature” certificate type. Do not forget to put a tick in front of the "Replace the default settings."
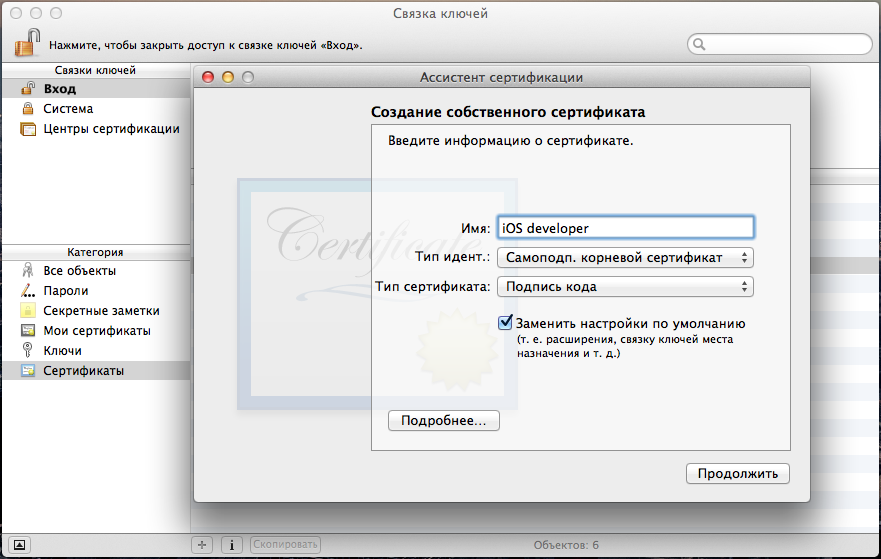
Next, select the expiration date. In the information about the certificate, the field “e-mail address” is left blank. And click "continue" until the certificate is created.
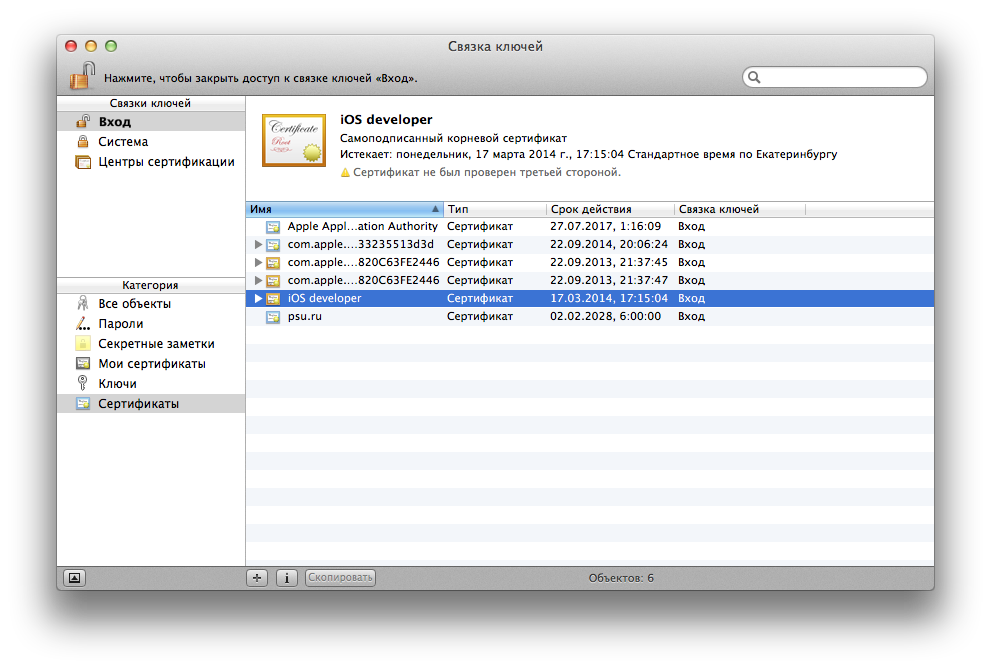
As a result, the keychain should look like this.
Go to /Applications/Xcode.app/Contents/Developer/Platforms/iPhoneOS.platform , copy the Info.plist to the desktop and open it.

Replace the XCiPhoneOSCodeSignContext value with XCCodeSignContext. It occurs in the file 3 times: DefaultProperties, RuntimeRequirements and OverrideProperties .
Copy the modified file back to /Applications/Xcode.app/Contents/Developer/Platforms/iPhoneOS.platform/ and replace the original one, not forgetting to make it backup.
Close and restart Xcode. Now create a new or open an existing project. In Targets, select Build Settings and in the Code Signing tab, select the generated certificate.

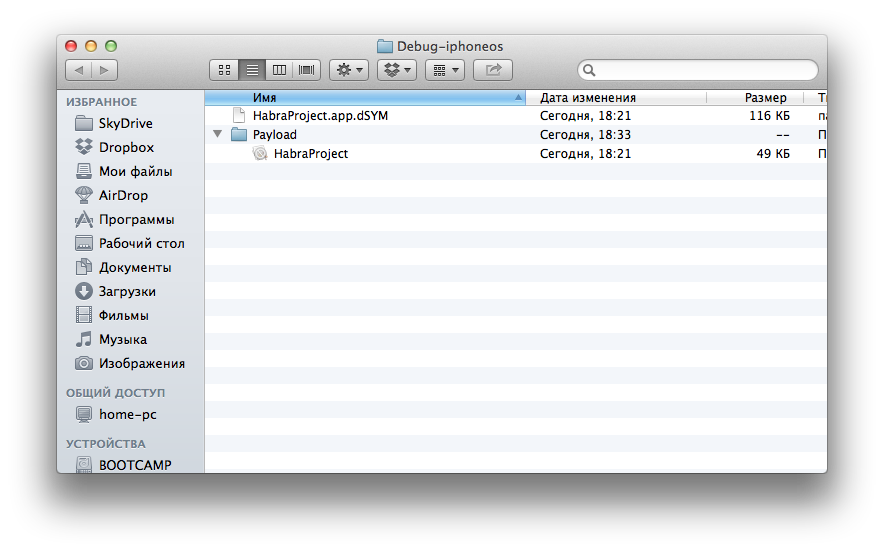
Finally, you can build the application ( Product -> Build ). And the cherished assembly will appear in the Products folder.

Choose our build and right click "show in Finder". Create a Payload folder and copy
[application name] .app to this folder (by default, all files are saved along the path
/ Users / [username] / Library / Developer / Xcode / DerivedData / [application name] / Build / Products / Debug-iphoneos / ).
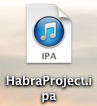
Archive and get Payload.zip renamed to [application name] .ipa and get the application ready for installation.
Such an application can be installed via iTunes or dropped on the device and installed, for example, via AppCake .
UPD.: Thanks for the alternative, and most importantly automatic version of kjuby . To do this, download the jailcoder utility and follow the instructions to add 2 certificates, patch Xcode and patch the project. After that, the testing and debugging mode will be available.
I suppose that most people who come across iOS development know that it’s impossible to test and debug an application on a real device without a developer certificate. It costs $ 99 per year. Of course, you can do with the built-in simulator, but its functionality is severely curtailed. In addition, testing and debugging on the device is much more convenient in terms of clarity.
But is it worth paying this money if, for example, you are just learning or your application is used for personal "home" use, i.e. Your applications do not have any financial benefits? I think no.
There is a way around this ban. However, it serves only to install its own applications, while debugging remains inaccessible.
')
If, despite the restrictions, you are interested - welcome under cat.
INSTEAD OF PREVENTION
To begin with, all the manipulations were carried out on a Macbook Pro with OS X 10.8.3 and Xcode 4.6.1 on board, and the iPhone 5 with iOS 6.1 was taken as the device. Thus, at the moment the method is relevant and working.
STEP ONE
First of all, you need to make a jailbreak of the device on which you are going to test the applications, since the evasi0n utility supports all devices on the latest firmware.
After that, you need to install AppSync for 6.x in Cydia . for example, AppSync 5.0+ from the cydia.xsellize.com repository (as it is done will tell Google).
STEP TWO
Now create your own code signing certificate.
To do this, run the Keychain -> Certification Assistant -> create a certificate . The certification assistant window will open. Enter the name (for example, iOS developer) and select the “code signature” certificate type. Do not forget to put a tick in front of the "Replace the default settings."
Next, select the expiration date. In the information about the certificate, the field “e-mail address” is left blank. And click "continue" until the certificate is created.
As a result, the keychain should look like this.
STEP THREE
Go to /Applications/Xcode.app/Contents/Developer/Platforms/iPhoneOS.platform , copy the Info.plist to the desktop and open it.
Replace the XCiPhoneOSCodeSignContext value with XCCodeSignContext. It occurs in the file 3 times: DefaultProperties, RuntimeRequirements and OverrideProperties .
Copy the modified file back to /Applications/Xcode.app/Contents/Developer/Platforms/iPhoneOS.platform/ and replace the original one, not forgetting to make it backup.
STEP FOUR
Close and restart Xcode. Now create a new or open an existing project. In Targets, select Build Settings and in the Code Signing tab, select the generated certificate.
STEP FIVE
Finally, you can build the application ( Product -> Build ). And the cherished assembly will appear in the Products folder.
STEP SIX
Choose our build and right click "show in Finder". Create a Payload folder and copy
[application name] .app to this folder (by default, all files are saved along the path
/ Users / [username] / Library / Developer / Xcode / DerivedData / [application name] / Build / Products / Debug-iphoneos / ).
STEP SEVEN
Archive and get Payload.zip renamed to [application name] .ipa and get the application ready for installation.
Such an application can be installed via iTunes or dropped on the device and installed, for example, via AppCake .
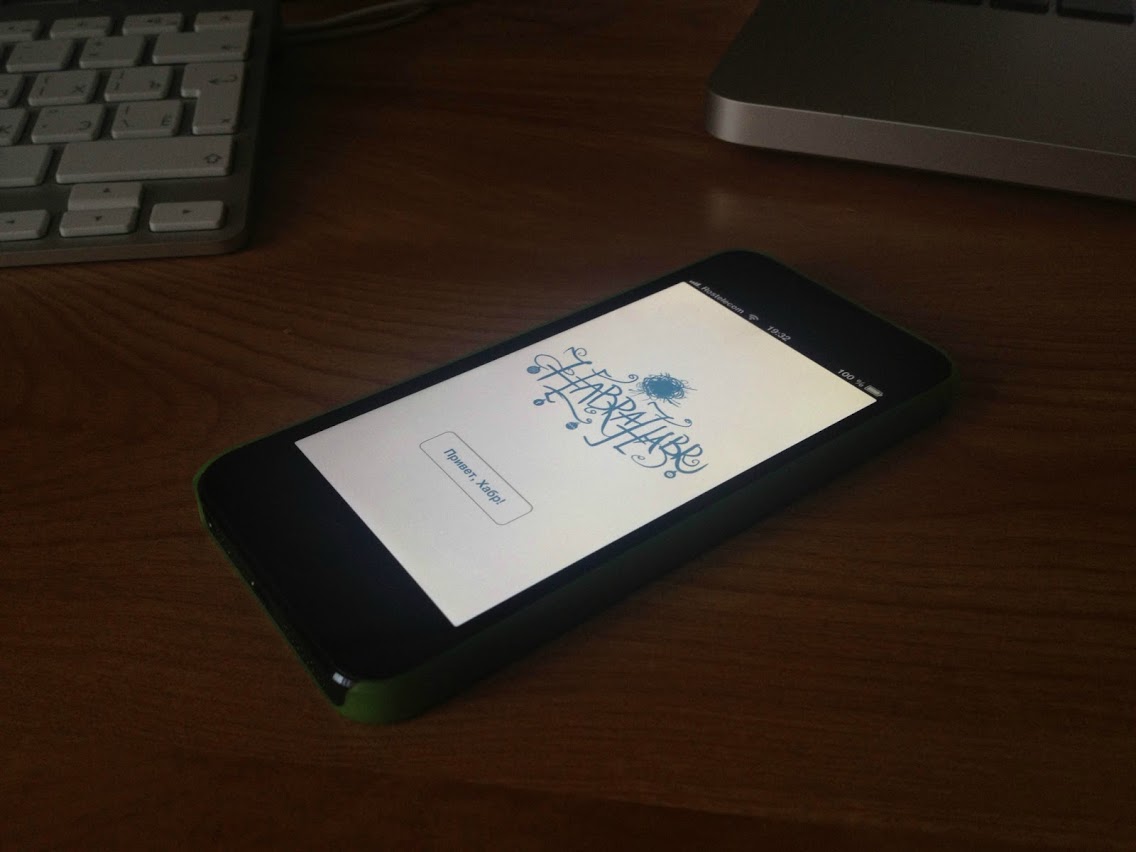
And finally, the photo application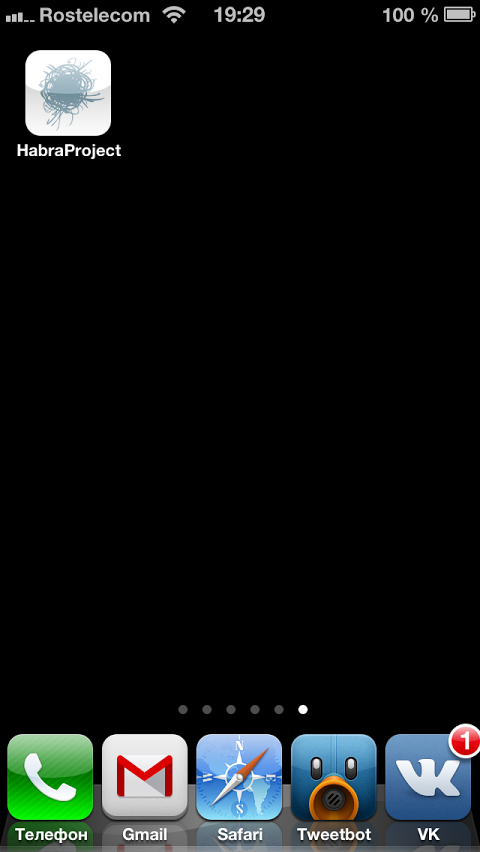

UPD.: Thanks for the alternative, and most importantly automatic version of kjuby . To do this, download the jailcoder utility and follow the instructions to add 2 certificates, patch Xcode and patch the project. After that, the testing and debugging mode will be available.
Source: https://habr.com/ru/post/173293/
All Articles