Configure IPSec VPN server through strongSwan and On-Demand on iOS
It all started with the fact that it became necessary to protect user data transmitted to the server. And it was necessary to do it in such a way so as not to frustrate users of corporate iPads. I couldn’t think anything smarter how to use IPSe
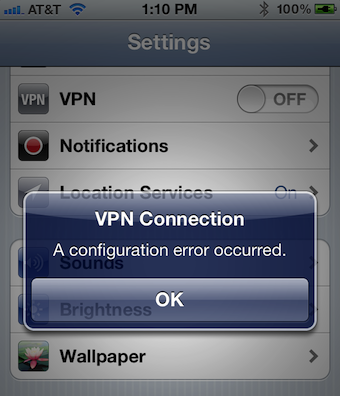
How did I suffer with this ... How did I hate this message in the picture above ... The Internet is full of articles and ready-made examples, but they all use login and password authentication.
And now I want to save time for those who dare to go through this thorny path.
')
The beginning of the way
Determine what should get the output:
- configured VPN server
- client certificates that we install on iOS
How it should work:
VPN should be enabled on the iPad itself as soon as we turn to a specific host, for example, “ya.ru”. At the same time without requesting a password from the user.
What we will use:
- Ubuntu
- strongSwan 5.0.3
What do we do:
- Sniper keys
- Let's extort from a git-repository and collect by hands strongSwan
- Configure Configs
First blood
As it turned out, RSA authorization in strongSwan is done via xauth. And this same xauth, in addition to the certificate, also requires a login with a password. This is their implementation. StrongSwan has quite a decent description of how to raise IPSec VPN to work with iOS. But the problem here is just a password request. Therefore, this option does not suit us.
But it is not all that bad! Tobias Brunner and his commit will save us! Without this commit, we would have failed. Thank him so much. This code is a plugin for xauth, which does not require additional authentication of the user login and password. Those. RSA key authentication only occurs. What we needed was!
Certificates
I will not talk about how to generate keys. This is described in great detail in the tutorial of strongSwan . I just want to draw attention to several important points of the tutorial:
- The value of the common name (CN) field of the certificate must exactly match with the ip or domain name of the VPN server. In the case of Amazon EC2, it would be something like "ecX-XX-XXX-XX-XX.eu-west-1.compute.amazonaws.com".
- When installing certificates on the iPad, you need not to forget, in addition to client PKCS # 12 (* .p12), to install the root one as well. In the tutorial, it is called caCert.pem.
Let's get started
Before installing it is recommended to read and understand the recommendations on "hacking". Or rather, to build a package from the repository.
After installing all the necessary libraries and tools, proceed to the assembly:
- Pump up the branch with the magic plugin: git clone git: //git.strongswan.org/strongswan.git xauth-noauth strongswan-git-xauth-noauth /
- Create configuration scripts: ./autogen.sh
- Configuring: ./configure --prefix = / usr --sysconfdir = / etc --enable-xauth-noauth
- Build the package: sudo checkinstall -D --install = no
- And finally, install it: dpkg -i strongswan-git-xauth_5.0.3-xauth-noauth-1_amd64.deb
Do not forget to open ports on the firewall 500 and 4500, because IPSec works through them.
Let's allow packet forwarding through NAT:
 iptables --table nat --append POSTROUTING --jump MASQUERADE
 echo 1> / proc / sys / net / ipv4 / ip_forward
 for each in / proc / sys / net / ipv4 / conf / *
 do
     echo 0> $ each / accept_redirects
     echo 0> $ each / send_redirects
 done
Finally we can proceed to the configuration.
/etc/ipsec.conf
 version 2.0 # conforms to second version of ipsec.conf specification

 config setup

 conn ios
       keyexchange = ikev1
       xauth = server
       leftauth = rsa
       rightauth = rsa
       rightauth2 = xauth-noauth
       left =% defaultroute
       leftsubnet = 0.0.0.0 / 0
       leftfirewall = yes
       leftcert = serverCert.pem
       right =% any
       rightsubnet = 10.0.0.0 / 24
       rightsourceip = 10.0.0.0 / 24
       rightcert = clientCert.pem
       auto = add
/etc/ipsec.secrets
: RSA serverKey.pem
/etc/strongswan.conf
 charon {

         # number of worker threads in charon
         threads = 16
         dns1 = 8.8.8.8

         plugins {
         }
 }

 libstrongswan {
 }
The init.d script is too long. It can be picked up here .
Installing certificates on iOS
There are several ways to install certificates (clientCert.p12 and caCert.pem):
- Using the iPhone Configuration Utility
- By sending certificates to yourself by mail. And then get out on the iPad.
- Downloading them with Safari right on the device itself.
Personally, I advise you to use the iPhone Configuration Utility, because only there you can specify the domains for which the On-Demand VPN should be.
Questions, comments, criticism is welcome.
Thanks for attention.
Source: https://habr.com/ru/post/169463/
All Articles