Setting up Inkscape to work with black and white graphics
From childhood I breathed unevenly to the carcass and pen. From the moment of the appearance of the tablet, I looked for a graphic editor that could:
- work with the tablet, respond to the pressure of the pen;
- work with a vector so that you don’t have to think about scaling;
- quickly switch between black and white (or black and eraser);
- It is convenient to scale the image to work out small parts
- support work with layers and groups.
Delight there is no limit! I recently discovered that all of the above can be found in the free lightweight Inkscape editor.
')
Briefly tell your recipe settings editor for drawing diagrams , sketches , and other black and white graphics.
The story will go about version 0.48 under Windows, although for other operating systems it should not differ much.
If you are too lazy to set up and there are no special settings that you feel sorry for, you can use my preferences.xml file (you need to copy it to C: \ Users \ username \ AppData \ Roaming \ inkscape)
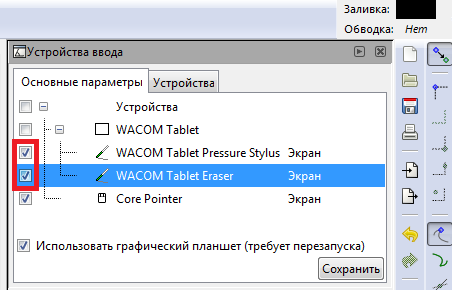
Input Device Setup
In order for the pen to respond to pressing force and the eraser worked, you would need a couple of clicks. You may have to restart Inkscape.
Instruments
Calligraphy pen
By default, the pen can be turned on by pressing Ctrl + F6 or the icon on the toolbar.
The Marker mode will suit us: it is a round brush with no frills.

The only thing we need to change is to enable the option “Pressing the input device to change the width of the pen” on the tool parameters panel (above)
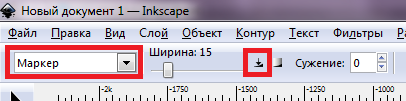
The width can be left 15 - it will be so with maximum force pressing the pen. I like to make a pen “hard” in the settings of the tablet driver, draw mostly with a thin line, but at particularly expressive moments make it thick.
Eraser
Eraser is activated by pressing Shift + E.

Put the mode "Cut from objects" and increase the thickness. I put the same as the pen.

Select and Transform Objects tool
Turns on by pressing F1. What is it for is clear from the title.

Inkscape Setup
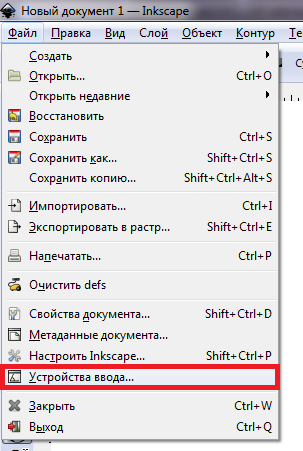
A few more things that simplify life. To open the settings window, you can press Shift + Ctrl + P or select the menu item “File”:

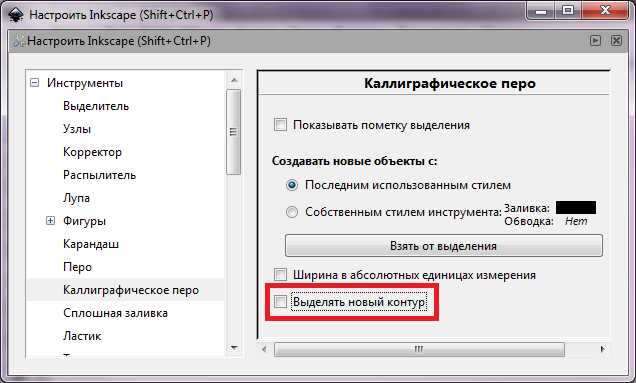
Eraser erases everything that falls under its line. However, if at least one object (stroke) is selected, it will work only for selected objects. By default, each new stroke of the calligraphic pen is highlighted, and the eraser stops working for everything else. It does not suit us, turn off:
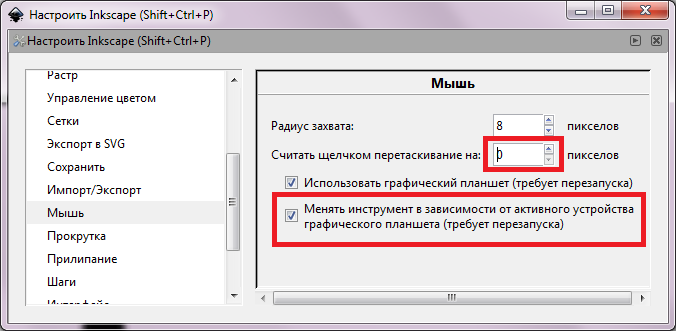
In order for the eraser and calligraphic pen to switch automatically when drawing with different ends of the stylus, put another check mark. You can at the same time reduce the minimum radius of dragging objects, it is unpleasant when they “stick”.
In order for the settings to take effect, restart Inkscape. Now it is enough to turn on the stylus with one end of the stylus, turn the stylus over and turn on the eraser and - voila! Inkscape remembered everything.
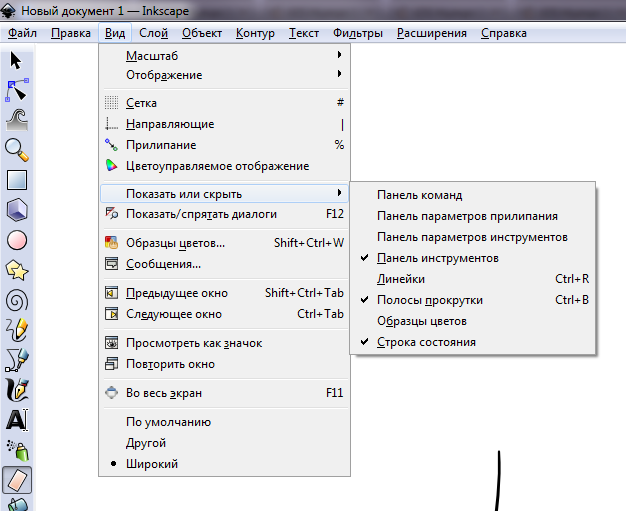
Customize panels
Wealth is emptiness. Remove unnecessary panels.
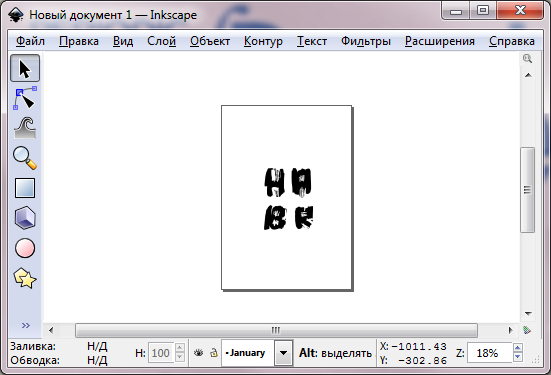
Now the editor looks like this:
Drawing process
Now the best part. We draw!
Switch between stylus flipping tools or hotkeys, here’s the full list of hotkeys .
Scale Ctrl + wheel or "+" / "-" on the Num-keyboard. A pleasant surprise: when you change the scale, the pen size does not visually change. This allows you to work out the details or paint over the vast planes without changing the size of the pen, simply by scaling the image. I did not find such a convenient option in Adobe graphics editors.
Shift up and down - the wheel, left-right - Shift + wheel. You can also use Ctrl + arrows.
You can work with layers by pressing Shift + Ctrl + L.

By default, the document background is transparent, which is noticeable when exporting to png. You can put any other in the "document properties" (Shift + Ctrl + D).
It is very convenient to use the Git repository for version control of the image: the changes to the vector file are very compact.
What failed to overcome
- After the reboot, the tools assigned to the pen and eraser fly off, you have to re-install them. Also, sometimes you have to repeat the setting of input devices.
- I could not change hotkeys for the necessary tools to convenient ones, and in fact, using the keys, to switch tools faster than by turning the stylus.
Epilogue
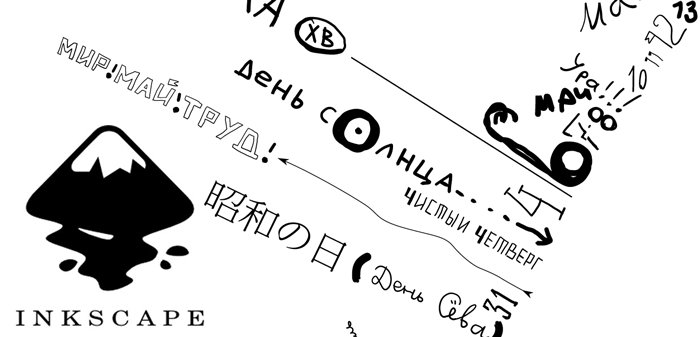
All of the above discoveries helped me draw a gift poster calendar with the holidays for 2013 (a fragment at the beginning of the article).
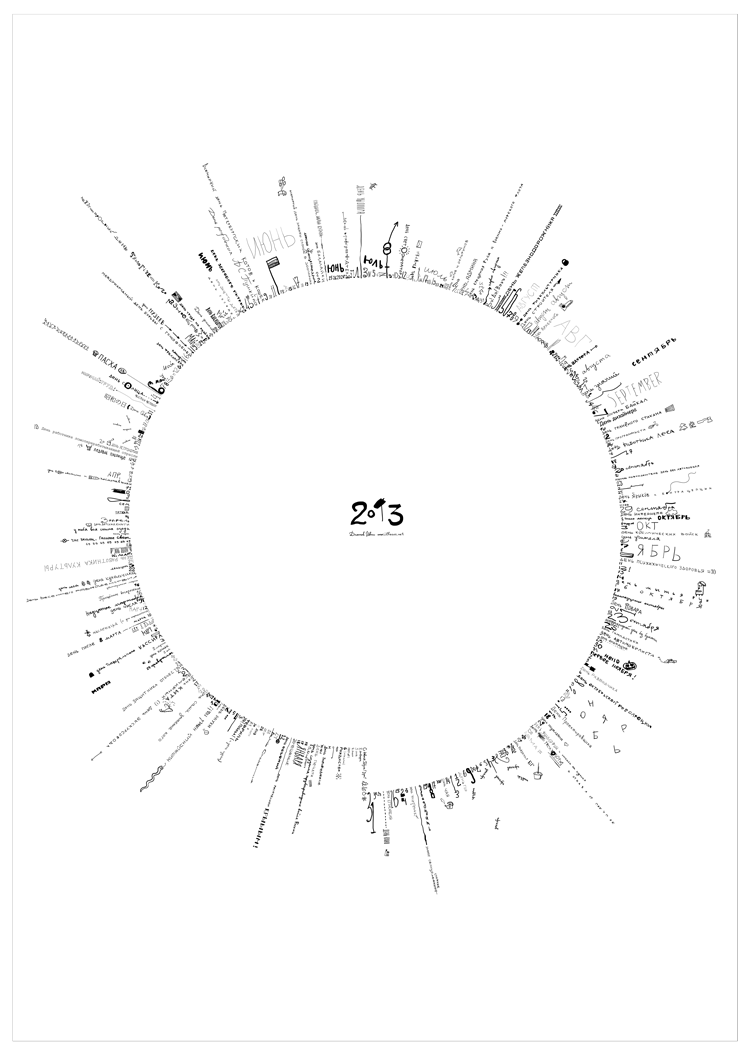

This artwork is available under the Creative Commons Attribution 3.0 license 3.0 Unported .
Download the source and tif can be on github , if you print - no less than A1, otherwise the details disappear.
The article wanted to finish before the end of December, but better late than never.
Happy New Year!
Source: https://habr.com/ru/post/168697/
All Articles