Robotomia. Lesson one. Installing the Coocox developer toolkit for ARM microcontrollers under Windows. Connection gcc compiler. First project
Robotomia. Lesson one. Installing the Coocox developer toolkit for ARM microcontrollers under Windows. Connection gcc compiler. The first project.

In the introductory article, we chose the C programming language and the Developer Toolkit for microcontrollers with the ARM Cortex M0 / 3/4 core - Coocox for our training course.
This kit is completely free and has open source.
The package consists of the following main parts:
• CooCox CoIDE - highly integrated visual development environment for microcontrollers with ARM Cortex M0 / 3/4 core.
• CooCox CoSmart - a tool to facilitate the configuration of the ports of the microcontroller.
• CooCox CoOS - real-time multitasking operating system.
• CooCox Colink / CoLinkEx - toolkit for hardware debugging of programs.
• CooCox CoFlash - utilities for programming the microcontroller's flash memory. It can work both with a graphical interface and from the command line.
At first, the eyes run up and it seems that the installation will take a whole day, but fortunately everything is much simpler, since everything you need can be downloaded from one place. Follow the manufacturer's link to our scarves on the CoCentre download page: www.brc-electronics.nl/cocenter-installation
It describes in detail the process of starting the installation, here is a link to start it www.coocox.org/Tools/CoCenter-1.4.7.exe
Basically the process is reduced to choosing the path in which the files will be located. In the last window you will be asked if you want the program to launch (launch) immediately after installation. If you confirm your consent with a check mark, the center will start and you will find an icon on the bottom right of the screen that you need to click on. If not, you can start it from the desktop.

After that, you will see a window on the screen of the following form:

Click on all the Download links and the components are automatically downloaded. I tried to install the center on two different operating systems. Windows XP and Windows 7 64 bit version. The figure shows a window for the 64 bit version. It can be seen that the USB driver file does not have a size, it looks like it is simply not found or does not exist yet. Need to understand. In any case, I never downloaded it on a laptop with Windows 7, apparently as a result, the debugger cannot be run on the 64 bit version. This is very regrettable. I will continue to describe the work of the installation example on my desktop with Windows XP, everything goes smoothly there.

As the component is downloaded, Install will appear as in the image above. After downloading everything, click on Install from top to bottom. The installation process does not seem to cause any difficulties. Well, the last step left before the launch - you need to download and install the actual C compiler itself, since it is not included in the package. When working with the environment, you can use different versions of compilers, but the developer recommends GCC stable version 4.6. You can download it here launchpad.net/gcc-arm-embedded/+download . I advise you to download the latest version of gcc-arm-none-eabi-4_6-2012q4-20121016.exe (md5). The installation will not cause difficulties, just do not forget to remember the way in which you make the installation and tick the last window so that the paths to the necessary variables are set.

Well, that's great. There is nothing left - to set the path to the folder where our environment will look for the compiler. I put it at the address offered by the compiler and I have this c: \ Program Files \ GNU Tools ARM Embedded \ 4.6 2012q4 \ bin.
Now we are launching our CooCox development environment, we can do this directly from CoCenter, by clicking the corresponding Run there. Next, specify the path, as shown in the figure below, which contains the executable files of the compiler, for my case it is c: \ Program Files \ GNU Tools ARM Embedded \ 4.6 2012q4 \ bin. The main thing is not to confuse with the bin that lies deeper, I have this c: \ Program Files \ GNU Tools ARM Embedded \ 4.6 2012q4 \ arm-none-eabi \ bin. And one more subtlety, before the installation, a window for language selection will appear, my advice to you is to choose English because reading pleasure in alternative coding is not a pleasure for the faint of heart.
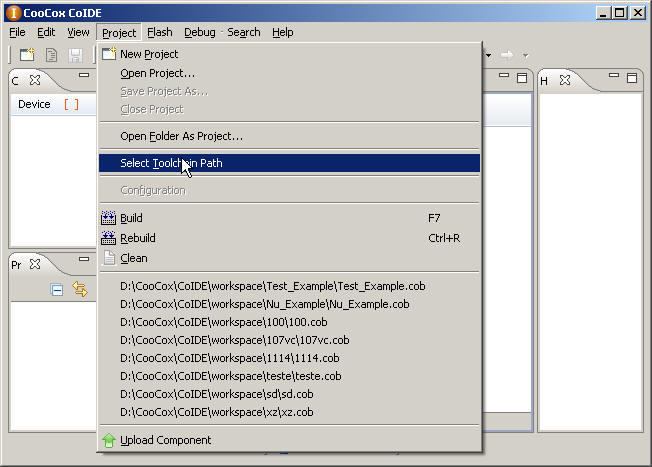
Now, finally, everything is ready to write the first program. For this you need to create a new project. Click Project -> New Project, select the name of the project file and the path by which we will have it. Next, the microcontroller selection window will open - select the one on which our board is based - the manufacturer of NXP, LPC17xx series, LPC1769 microcontroller, press on Finsh.

And here, in step 3, we open a window for lazy people. In it you can choose which ready-made modules and libraries we wish to use in our project. Wonderful. Well, of course we need standard libraries. Put a tick in front of the “C library”. What else will we use? Well, for example, I2C. Many sensors from our set are connected to the board via this two-wire interface. We put a tick against I2C and the smart environment adds us more ticks, without which this interface will not start. Let's see what else we were offered to add:
1. CMSIS core - system library
2. Common Header - description of common library functions
3. CLKPWR - control the power supply and clock frequency to the peripheral modules. The fact is that in modern microcontrollers to save energy, unused modules can be turned off.
4. PINSEL - setting the outputs of the microcontroller. Most of the conclusions of the microcontroller are universal and can be connected to different functions. In this microcontroller, many of the conclusions can be assigned to one of the four functions.
As a result, we get the following layout:

Wonderful. Everything seems to be on the case, nothing superfluous. Add another library “GPIO”, which is responsible for setting the I / O ports, which can also be configured differently in this microcontroller.
Well, everything seems to be done, let's try to write something, finally. To do this, in the window “Project” we find the inscription main.c and double-click on it. So we opened the text of our main program. Our lesson is coming to an end, so we'll write something quite short, just to see if our compiler is working. Modify the code as follows.
int main (void)
{ int i; i=0; while(1) { i++; } } We save the project by clicking on the icon with a floppy disk and try to compile the project either by clicking on the appropriate icon or on the “F7” key.
Oh, a miracle, it all worked. The project was compiled without errors.
You can try to practice programming yourself, you can try to connect ready-made examples, just keep in mind that not all of them work correctly for some reason, and we will meet in the next lesson. In it, we will finally connect the board to the computer, learn to stitch a program into it. Well, let's write something simple, but really working in the gland. Embedsdade instead of “Hello Word”, this blinking LEDs, of which there is plenty on our board.
Waiting for questions and clarifications. See you.
')
Source: https://habr.com/ru/post/165135/
All Articles