Jelastic plugin for IntelliJ IDEA
 Hello Habravchanam! As promised in the previous post , we finished work on the plugin for IntelliJ IDEA . So now not only Eclipse lovers can deploy projects to the cloud directly from the IDE, but also users of the most intelligent development environment for Java. A special plugin allows you to log in to Jelastic , deploy applications, manage them and view logs. Working with the plugin is very easy and convenient, but still let's consider the main features with the help of brief instructions.
 Plug-in installation
* Jelastic plugin has been supported since version 11 of IntelliJ IDEA. It requires a JavaEE plugin for IDEA (built into the Ultimate version).
')
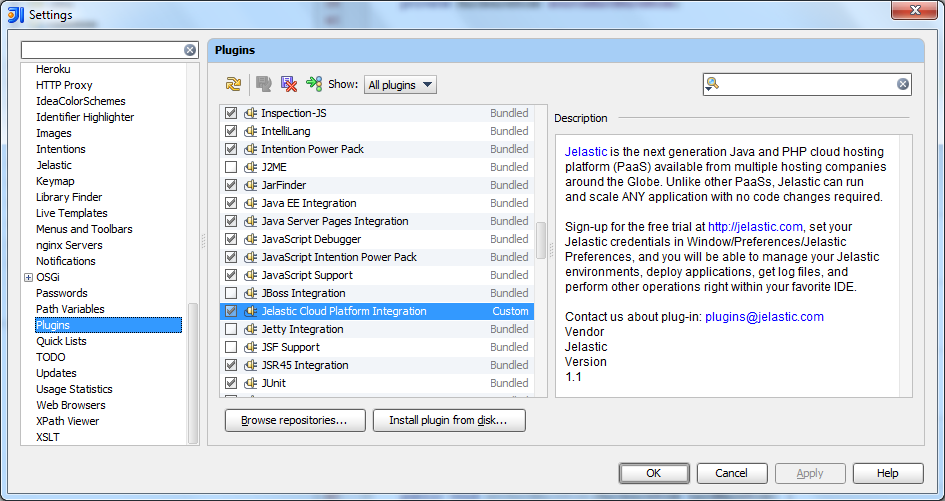
To install the plugin, simply go to Settings> Plugins , click on Browse repositories and select the plugin from the Jelastic list. Then download and install it.
Entering Registration Data
In order to work with Jelastic, you need to enter account information. On the settings page, the Jelastic Settings tab will appear, fill in all the required fields (login, password and hoster):

Deploying Applications
On the IDEA toolbar, a button with the Jelastic logo will appear, which performs the unfolding. Select the appropriate artifact ( war archive), specify the context and select the environment from the list. After clicking the Deploy button, the project will be created in the war archive and deployed to your environment.

Work with existing environments
To display the Jelastic Tool Window in IDEA, you need to click on the button with the Jelastic logo:
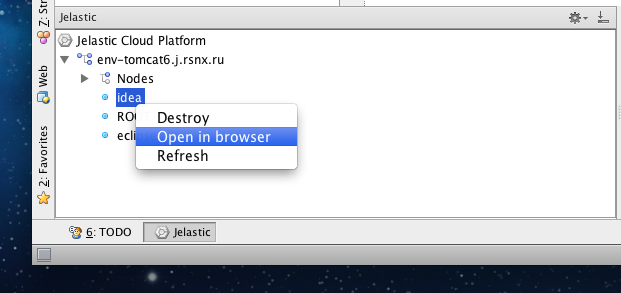
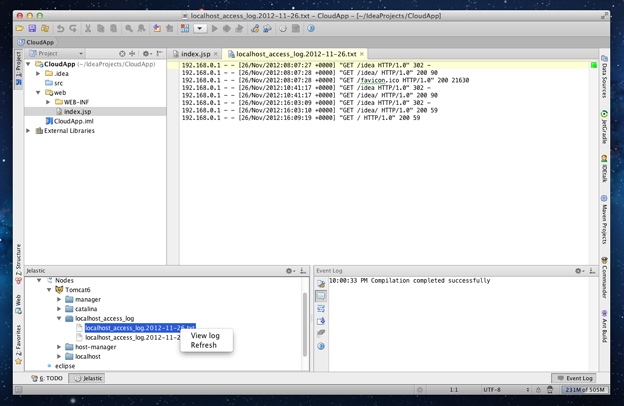
Using this control panel, you can see the current environments and applications located in them, manage their work (start / stop) and view the logs:
Creating a web project in IDEA and artifacts
In order to be able to deploy projects in Jelastic from IDEA, you need to create them as a Java Module
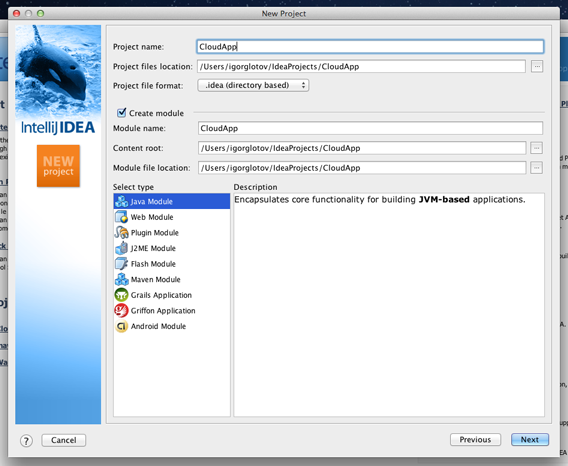
With Web Application Framework support:
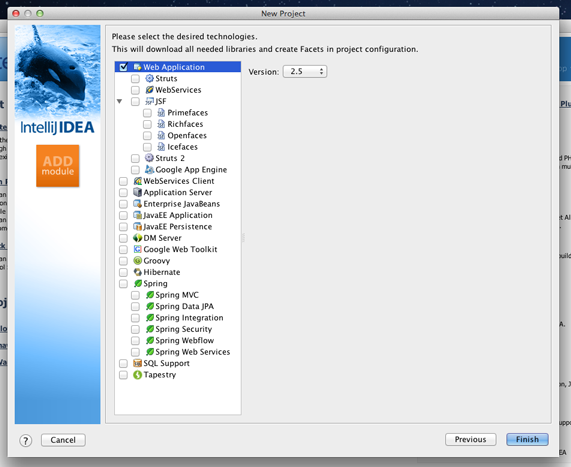
After creating the project, an artifact will be generated by default - exploded war archive , which contains the executable files of the web project, as well as static pages. You can view existing artifacts for a project in the menu File> Project structure> Artifacts .
You need to create an artifact of type war archive . After the project is configured, the code is written - everything is ready for deployment: the Jelastic plugin will build or reassemble the project and deploy the artifact.

Checking:
Make sure the application is deployed:

Thank you all for your attention! As usual we will be glad to your suggestions and wishes how to make Jelastic even better. And of course do not forget about the free trial subscription, which you can get at jelastic.com at any time.
Source: https://habr.com/ru/post/161537/
All Articles