Installing the virtualization management system (openvz, kvm) proxmox 2.2 on the server in Hetzner

Proxmox for the end-user web-based interface for managing virtual machines, allows you to create linux virtual machines in kvm and openvz containers, windows in kvm. Cut video resources in the number of cpu cores, memory size, io limits in megabytes per second, and iops (kvm only). There are automatic backups, it is possible to do them on a remote storage, you can mark some disks in virtuals with a tick “not for backup”.
The day we started we ordered a server in hetzner with virtualization support in the processor (these are all ex and xs servers) with Debian 6.0 minimal x64bit. On weekdays, the server is usually given to me within an hour. Next, we go through ssh and change the root password for more security.
passwd root
Proxmox installation
Install the proxmox repository key
wget -O- " download.proxmox.com/debian/key.asc " | apt-key add - Register in /etc/apt/sources.list
# PVE packages provided by proxmox.com
deb download.proxmox.com/debian squeeze pve
')
Making an update of data from the repository
apt-get update
Install the proxmox itself
aptitude install proxmox-ve-2.6.32
reboot
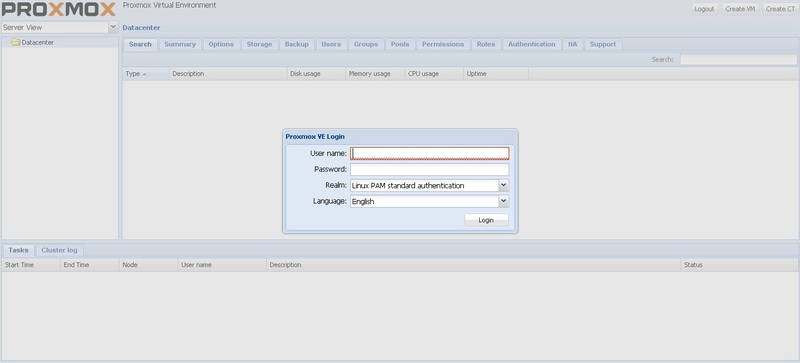
The web interface is available on ip : 8006 is written in extjs and is quite pleasant.
Ready-made images for openvz containers can be downloaded from download.openvz.org/template/precreated , you need to put them in a folder
/ var / lib / vz / template / cache
The settings for installing kvm operating systems should be placed in / var / lib / vz / template / iso
Order additional ip and network configuration
The next step is to order the IP subnet of the addresses in the hetzner robot.your-server.de control panel (single ip give 1 euro to three pieces) select the server there and go to the ips folder and click on Ordering of additional IP, failover IP or subnet, select the required subnet size, in the column how you will use them, I usually specify for my new vps. The cost of the subnet is 8 ip 15 + 5.4 = 20.4 euro, for 16 ip 15 + 11.2 = 26.2 euro. Ip on weekdays during working hours is issued within an hour.
After that, we need to configure the vmbr interface in proxmox, if you have been given a subnet 78.36.234.176 / 29 tons, then in proxmox choose your server-> network> create-> bridge

After that, you need to reboot or, in the linux console, do service networking restart to launch the new interface.
Regarding ipv6 for kvm, I never managed to launch it in three days of torment, if someone has a working config for proxmox with ipv6 I will be glad to see it.
Well, in general, and the system is ready for work, you need to download iso or images for openvz and press the create ct (openvz) and create vm (kvm) buttons.
Problems
There are problems installing proxmox on EX 6S servers (problems with network drivers for the current kernel version, I had to manually install the older proxmox kernel, the problem was observed in proxmox 2.1, possibly resolved in 2.2) and EX 4S (problem in the current version time to time server hang, proxmox is currently updated from version 2.1 to 2.2, it is possible that something is fixed, the problem is observed on several servers).
If you have any questions, ask.
UPD1 from fon.vosi@gmail.com:
Hi, I'm a banned troll with a habr (http://habrahabr.ru/users/vosi/))))
I wanted to add an article with my own ipv6 setup experience
it works for me
in /etc/network/if-up.d/
ipv6 executable file
in him
#! / bin / sh
ifconfig vmbr0 add 2a01: ----: 161: 90c0: 0100 :: 1/80
ip -6 route add 2a01: ----: 161: 90c0 :: 1 dev vmbr0
ip -6 route add default via 2a01: ----: 161: 90c0 :: 1 dev vmbr0
by this, i have assigned un 2a01: ----: 161: 90c0: 0100 :: 1 with a subnet 80 in nat. a car
further in the container
/ etc / network / interfaces
auto eth0
iface eth0 inet static
address 5.5.5.5
netmask 255.255.255.224
gateway 5.5.5.1
iface eth0 inet6 static
address 2a01: ---: 161: 90c0: 101 :: 1/80
up ip -6 address add 2a01: ---: 161: 90c0: 101 :: 2 dev eth0
up ip -6 address add 2a01: ---: 161: 90c0: 101 :: 3 dev eth0
up ip -6 address add 2a01: ---: 161: 90c0: 101 :: 4 dev eth0
up ip -6 address add 2a01: ---: 161: 90c0: 101 :: 5 dev eth0
up ip -6 address add 2a01: ---: 161: 90c0: 101 :: 6 dev eth0
up ip -6 address add 2a01: ---: 161: 90c0: 101 :: 7 dev eth0
up ip -6 address add 2a01: ---: 161: 90c0: 101 :: 8 dev eth0
up ip -6 address add 2a01: ---: 161: 90c0: 101 :: 9 dev eth0
repeat for others, if necessary, like me, each site has its own ipv6
up ip -6 route add 2a01: ---: 161: 90c0 :: / 64 dev eth0
up ip -6 route add default via 2a01: ---: 161: 90c0 :: 1 dev eth0
that's all, the traffic inside your subnet is spinning inside, going to the external via the hetznerovsky gate
By the way, I would have added more about lvm ... for by default, hetzner doesn’t seem to have any lv sections, I rearranged the debian manually
there is a nuance that needs to be left unallocated in the physical volume of about 10-20 gig (well, depending on the size of the containers), so that online backups work (i.e., without stopping the virt. container, using a dump of the logical volume)
With each dump, a temporary logical partition is created, for which you need to leave free space in the physical. tome
and yet, the logical volume for backups should be separate ... for you should dump the current logical volume to the current
Source: https://habr.com/ru/post/158061/
All Articles