Rambler-Kart API Widgets

In this article we will talk about one of the most promising features of the Rambler-Maps API - connecting custom widgets .
What are widgets? Strictly speaking, these are JS modules created from a template to increase the functionality of the API. Figuratively speaking, if the API is the foundation of working with maps, the widgets are the home. And how it will be - you decide. By writing your own widget, you can implement your wildest cartographic ideas.
At the moment, we have already developed four widgets: "Routing" , "Line" , "Traffic jams" and "Cameras" . On their example, it is quite possible to get an idea of what are the Rambler-Kart API widgets, why they are needed and how they work. By the way, you can send us your own widgets and we will post them on the website so that everyone can use them!
')
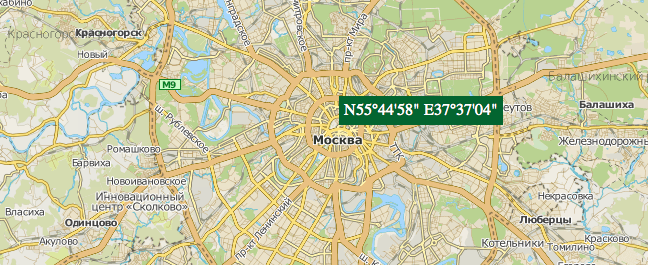
From words get down to business. Next, we will step by step analyze the creation of a new widget that performs a simple task: after turning on, display a tip from the (cursor) geographic coordinates near the cursor, perform a reverse geocoding when clicking on the map and show the address of the click location in this prompt, and hide everything.
So, create a widget. Everything necessary for its operation is passed by arguments to the RMap.registerWidget method. The first argument is the name of the widget (for subsequent reference to it), the second is an object with parameters, which we will discuss in detail.
First you need to assign output: specify the author, a brief description of the widget and the version number.
RMap.registerWidget('Location', { author: 'Alex.', about: 'location tooltip', version: '0.0.1', Then the parameter controls , an array of widget controls. In our case, this is one button switch (SwitchButton). Among the properties of the control object, the important funcs should be highlighted, consisting of switchOn and switchOff - these are functions that are triggered when the button is turned on and off. It is enough to pass on their names, we will return to them later.
controls: [{ type: ['SwitchButton'], id: 'control', groupId: 'loc', style: { /* . Location.js */ }, funcs: { switchOn: 'switchOn', switchOff: 'switchOff' }, params: { autoSwitch: false, autoSwitchCall: false }, parent: 'map.controls.groups.loc' }], The cursors parameter allows you to specify which cursors to use in certain situations. Say, for our widget, one crosshair cursor is enough for accurate positioning.
cursors: { crosshair: { cur: false, def: "crosshair" } }, The next optional parameter, eventTypes, is a widget event type that can be used, for example, to interact with other widgets.
eventTypes: { TURN_ON: "turn on", TURN_OFF: "turn off" }, The handlers parameter establishes connections between events and their handlers. In our widget, there are four handlers: show (shows a hint when you hover over the map), move (moves the hint after the cursor), hide (hides the hint when the cursor leaves the map or turns off the button) and geocode (converts coordinates into an address). From the inside of the widget, the events can then be addressed as this.event.call (“turn on”, [{data: ...}]); Additional data is simultaneously transmitted.
handlers: { show: { type: ["mousemove"], handler: "show", isObject: true, sleeped: true } // . Location.js }, The tools parameter is a list of API libraries that are used in the widget. By the way, I remind you that widgets can and even need to use any available API methods.
tools: ["JSON", "Events", "util"], And finally, the variables and functions of the widget.
// topP: 5, leftP: 5, tt: false, h: false, //, show: function(e) { // // . Location.js }, move: function(e) { // // . Location.js }, hide: function() { // this.tt.style.display = 'none' }, geocode: function(e) { // // . Location.js }, // switchOn switchOff switchOn: function() { this.handlers.show.activate(); this.handlers.hide.activate(); this.handlers.geocode.activate(); this.cursors.crosshair.show(); }, switchOff: function() { this.handlers.show.sleep(); this.handlers.geocode.sleep(); this.hide(); this.cursors.crosshair.hide(); }, // turnOn: function() { this.controls.control.switchOn(); }, turnOff: function() { this.controls.control.switchOff(); } A useful note is that any public functions of the widget, for example, turnOn or turnOff described above, can be called in the page script using an expression like map.widgets.Location.turnOn ().
Creating a widget is over. Further, the generated code can be placed directly in the body of the page, but (!) It is much more convenient to save it in a separate JS module and connect it along with the API. Then to call the widget, the getWidget method is used , and the script on the page is reduced to just a couple of lines.
<script type="text/javascript"> // - var map = new RMap('myMap', {widgets: false}); // map.getWidget("Location", function () {this.init()} ); </script> The full code of the example is available at http://maps.rambler.ru/api/examples/TutorialWidget.html
Source: https://habr.com/ru/post/155071/
All Articles