Foiling
We test OKI printers with equipment for foil printing.
The question of the possibility of applying foil on prints made on OKI printers, we were asked more than once. After all, many have seen colorful inscriptions, with iridescent shades in books, booklets and other printing. But how to make such an inscription - do not print the same! Although, wait - just about to print.
We called Good Goods, a firm that sells professional roll-type foaming machines and consumables. It turned out that they are often asked precisely about this. Representatives of the company agreed to help and tested on their equipment.
We made the first prints on the printers: B410, C8800 and C9650. Printed on paper of different density, including normal (80 grams).
')
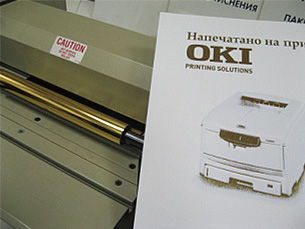
The foiling was carried out on a foil holder in the office of the Good-Goods company using a special toner-sensitive foil of different colors.
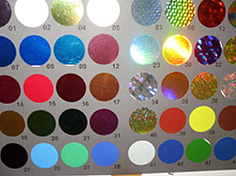

rolled foil type
The sheet, on which the imprint was made, was passed through the foaming machine. And the surface where the toner was applied was supposed to be covered with a layer of foil. The whole question was in the compatibility of the toner and the foil layer. We will return to the device of the foaming machine and the method of applying the foil a little later, now we are interested in the answer to our question.
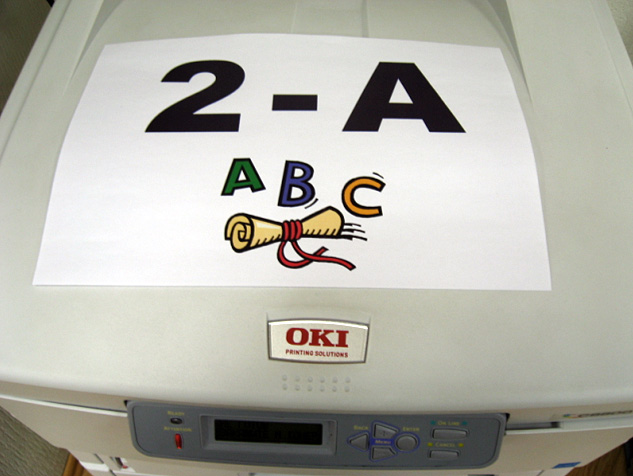
Foiling black and white images
Since the B410 printer is black and white, we decided to make an imprint on which there will be 2 colors: gray and black. Now let's see the result after applying the foil:
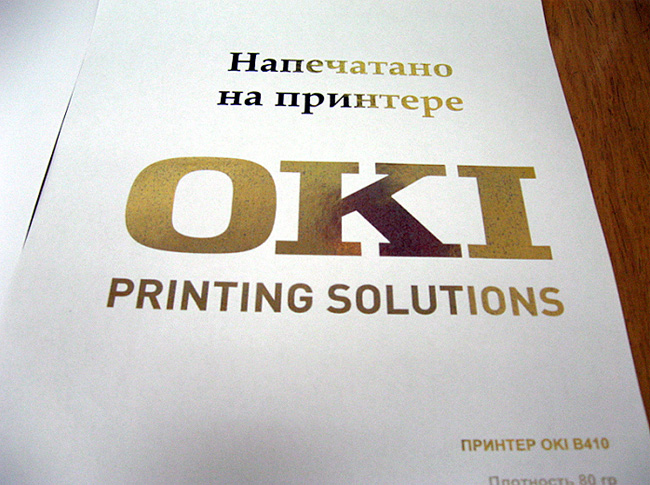
In the photo you can see the difference in the gloss of the foil on the toner, for example, between the lines "OKI Printer B410" and "Density 80gr." At first glance, it seems that where it was printed in black (“Printed on the printer” and “OKI Printer B410”), the foil lay down in a more dense layer, the foil layer is grayer than the thinner one. In fact this is not true. The layer remains constant, and the foil does not lie in a solid fill, but only on individual points that are obtained in the image as a result of screening. This leads to the fact that between the pieces of foil you can see pieces of paper. As a representative of Good-Goods explained to us, it is this fact that is used when creating a print, where there is a main drawing and a secondary one. Also, the specialist of the company was very surprised at the quality of foil deposition on the toner, as the usual 80 gr was used for this print. paper. He also explained that the result of applying foil depends on the quality of the paper. The result pleased us, but now we wanted to try out color prints.
Foil color images
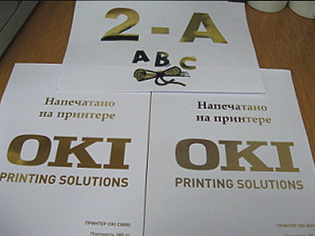
Color prints were made on an OKI C8800 printer, paper weight 80g. and 160 gr. For exponentially, we made two identical prints of 80 grams. paper, one of them was passed through a foaming machine, put them side by side and photographed:
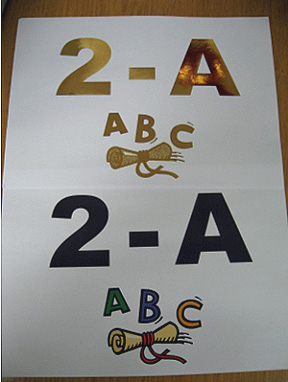

A closer look shows that red and yellow toner is visible through the foil, of course, you need to take into account the quality of the paper and the film property (the lighter the color, the smaller the foil layer remains on the toner).
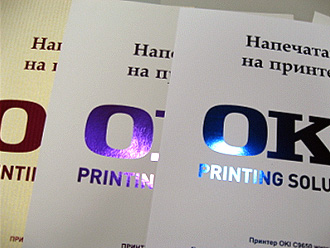
But what result did we get after foiling the print made on the OKI C8800 printer on paper with a density of 160g:
The result speaks for itself. This is what paper quality and foil density means!
For further tests, only thick paper from 216 to 298 grams was used. The depositions were made on color printers 8800 and 9650, foiling was carried out with foil of different colors. On each print we wrote information about the model of the printer that was used when applying the print, information about paper and foil.
Textured Paper Experiment
In addition, we decided to test the possibility of using textured paper. Below are shown a few prints on textured paper with a density of 250g.
Before foiling:

After foiling:
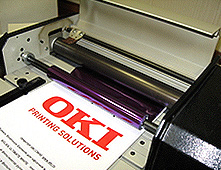
When foiling our prints, we used a roll-type foaming machine.
How it works: a roll of foil of the desired color is tucked into a constant tension mechanism, the foil passes under a teflon-coated metal shaft, such a system ensures a perfect fit of the foil to a sheet of paper. The shaft with a teflon coating must be heated to the desired temperature (in our case - 130 degrees), which is set by the regulator. Another regulator is setting the paper feed rate. When the desired temperature is reached, we turn on the feeder and feed an imprint to the foil (text, picture up). Take the print with foil applied and see the result.
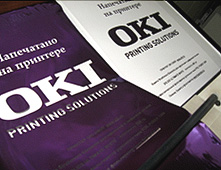
We made foiling on several more prints using rolls with foil of different colors:


PS
I would like to repeat once again that the testing was carried out on OKI B410, OKI C8800, OKI C9650 printers, on a roll-type fossilator using toner-sensitive foil. For more information about the foil holder and the foil, please contact the Good Goods Company, to which we express our gratitude for the equipment and consumables provided.
The author of the article: Svetlana Lapshenkova. Posted at the request of the author.
Source: https://habr.com/ru/post/154043/
All Articles