Casting on models printed on a 3D printer
Jeshua Lacock writes:
This page describes my first and successful attempt to cast aluminum parts directly from models printed by PLA on a 3D printer. The process is almost identical to casting from a wax model, but instead of burning out wax, I burned PLA plastic (bio-plastic)
I needed aluminum parts to mount the focusing lens for my 150W CO2 cutting laser. These parts must be fit and must be mounted on a frame assembled from found aluminum scrap.
I am delighted when I think about the possibility of doing everything in one day: concept -> design -> 3D printing -> finished metal casting
')
Step one - design details.
I used surprisingly powerful OpenSCAD to quickly develop the parts I needed. OpenSCAD reads the script in its language to render the 3D model. In my case, I simply painted the form in Adobe Illustrator and converted it into the OpenSCAD format using the Inkscape plugin .
Here is the design of the second part. I drew two forms in Illustrator and gave them depth in OpenSCAD. Very quick and easy. Now I have 3D models, it's time to print them!
The process of printing the first part on my Ultimaker (accelerated shooting).

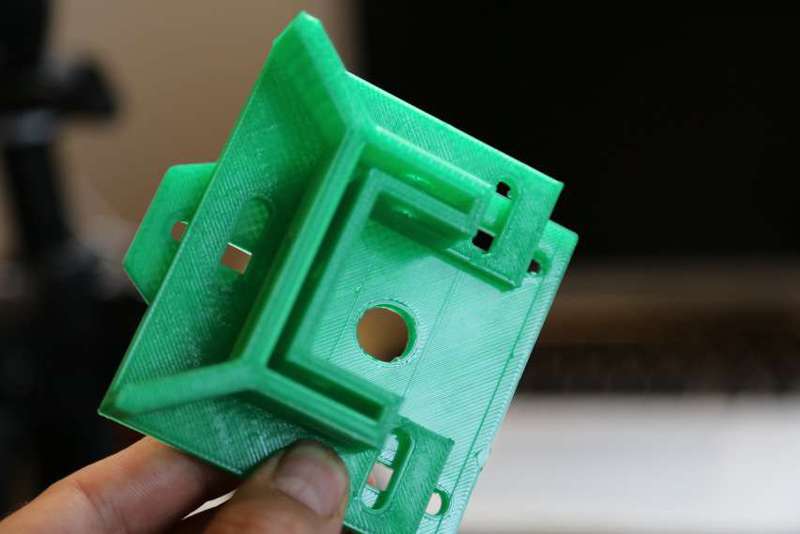
The resulting item in hand.
Print the second part.
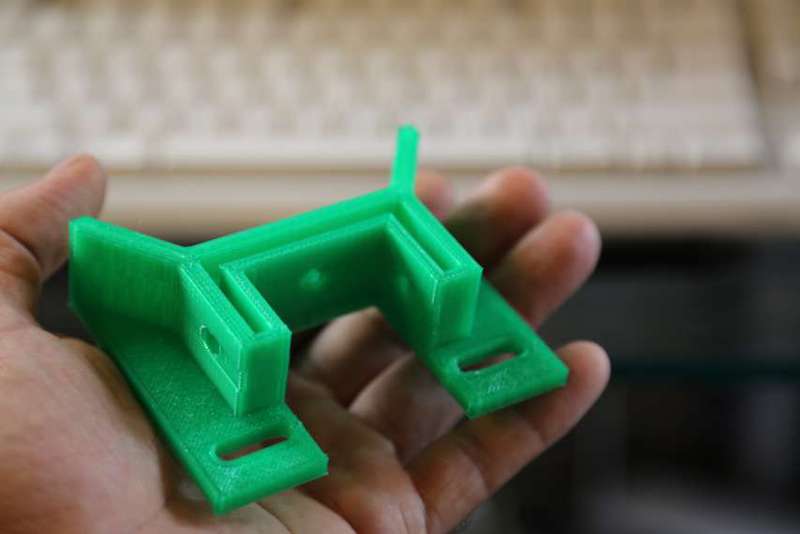
The second printed item in hand.
Check how the two parts fit together.

Sprues and air ducts are attached, everything is ready for pouring the molding compound.

Molding mass - 50% fine sand and 50% gypsum.
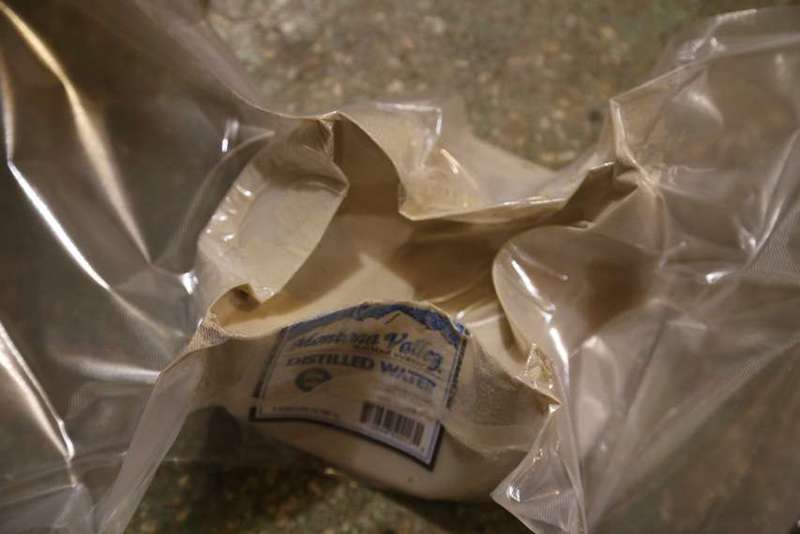
After adding water and mixing thoroughly, I used a home vacuum sealer for products to get rid of air bubbles in the moldable mixture.
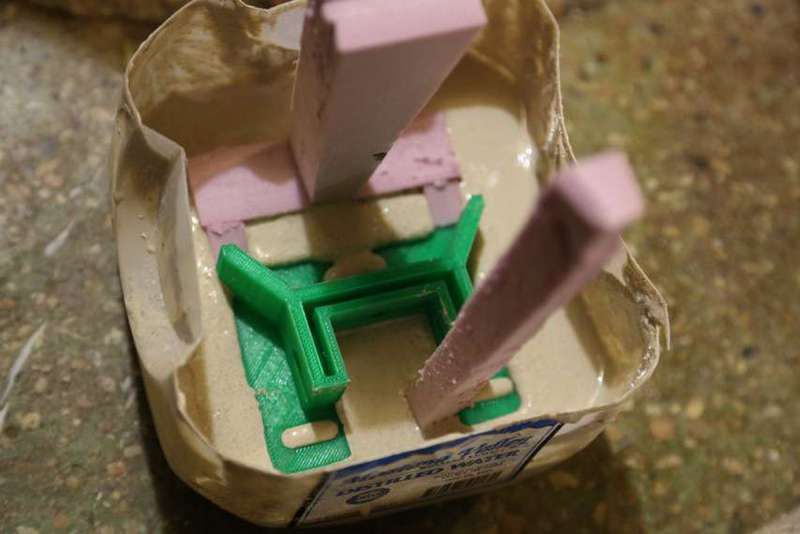
The second part is ready for molding!

The first part is poured!
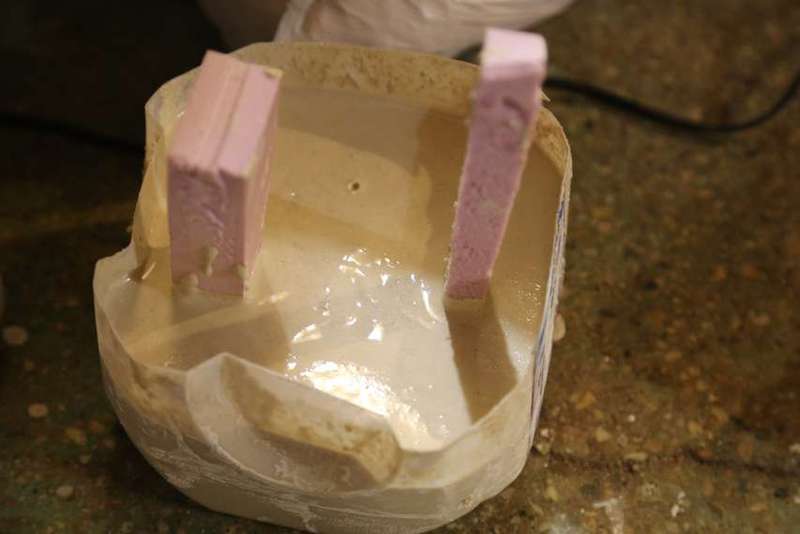
The item is completely immersed in the mix - I hope everything will turn out.

Both forms are set to dry.
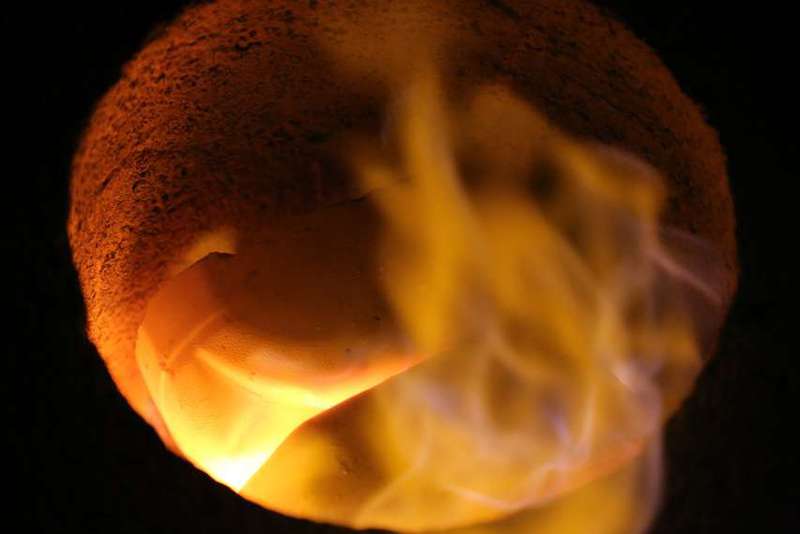
After a couple of hours, I put the molds in the oven on medium heat.
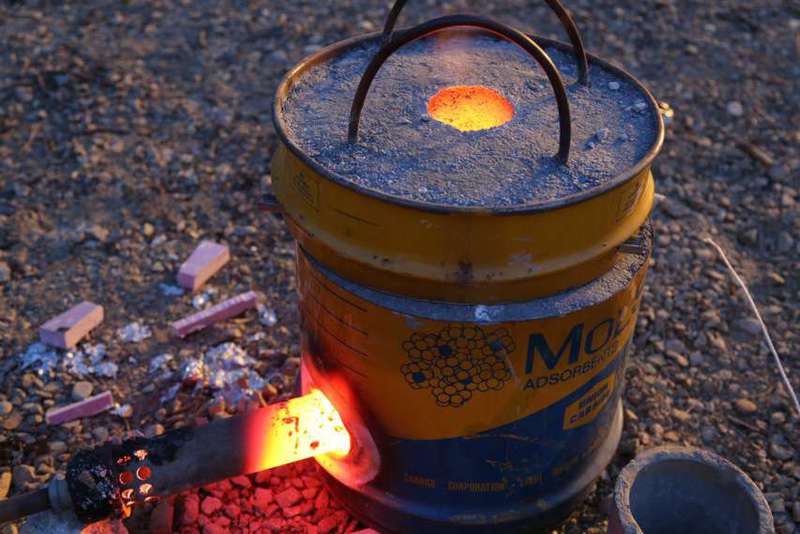
My new little stove. Heats up quickly for 10 pounds (~ 4.5 kg) or less of molten aluminum. 2 times more when it breaks out.
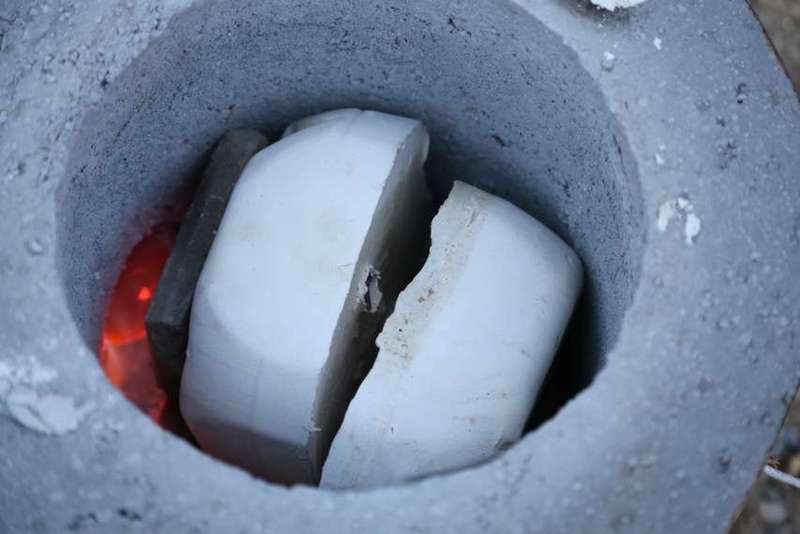
The shapes are nice and roasted. After warming up to about 1200F (650C), plastic has no chance. After extraction, I blew the molds with compressed air to blow out any remnants of ash.
Still hot forms are placed in dry sand. It serves several purposes:
- additional support, since the forms are rather fragile
- insulates forms and keeps warm when cured
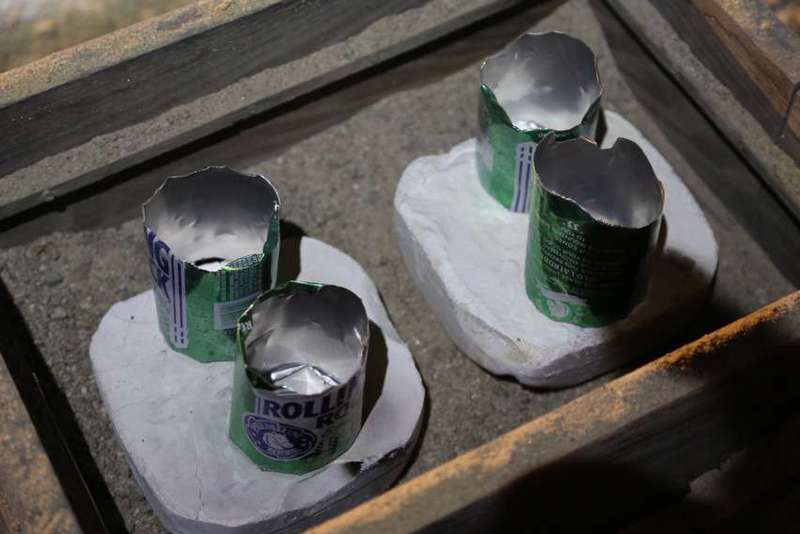
- allow me to install spreaders for gates (see below). The expander provides additional pressure during casting, and also acts as a riser that remains molten and provides additional metal while the casting solidifies and contracts.
My spreader is just cut aluminum cans. Works great!
After melting aluminum with a small addition of copper in the crucible, removing slag - time to pour!

So cool! Looks like the forms are filled perfectly. Now the hard part is to wait long enough for the metal to cool, so that I can see whether the parts are turned out or not.


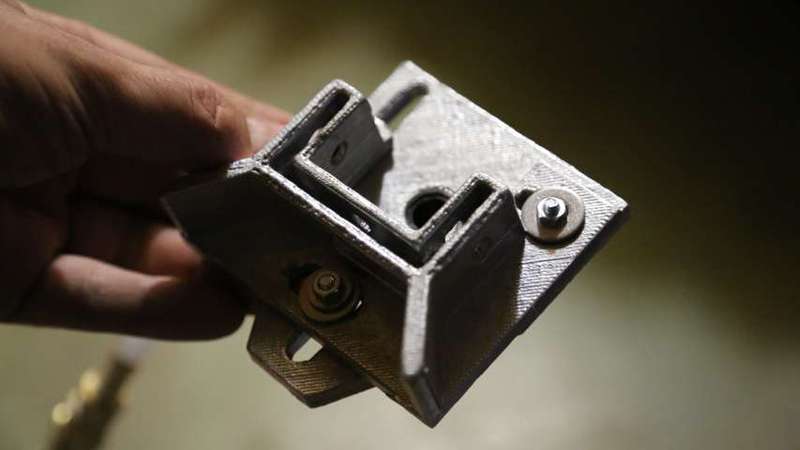
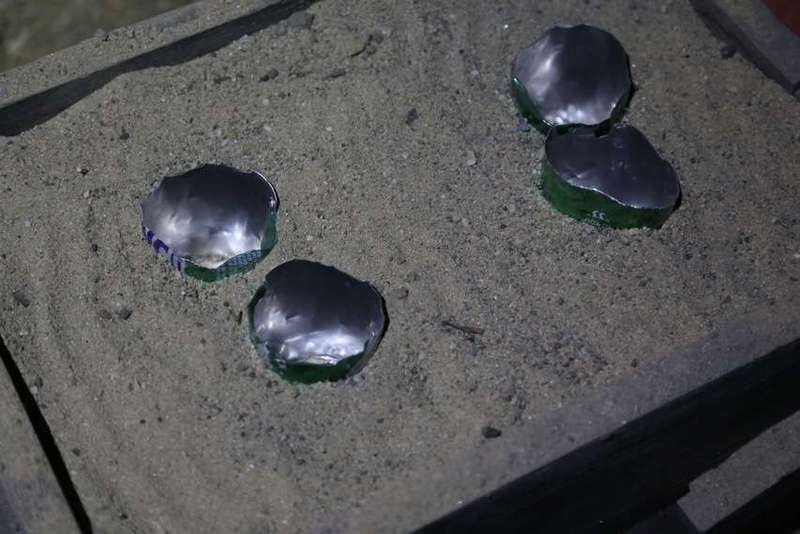
Fine! Details straight from the sand, only sprues and air ducts are cut off.
I cut the center hole with a small 14mm tap. It seems everything is perfectly connected.
I like the details on the casting - you can see all the lines from 3D printing, their width is only 0.2mm.

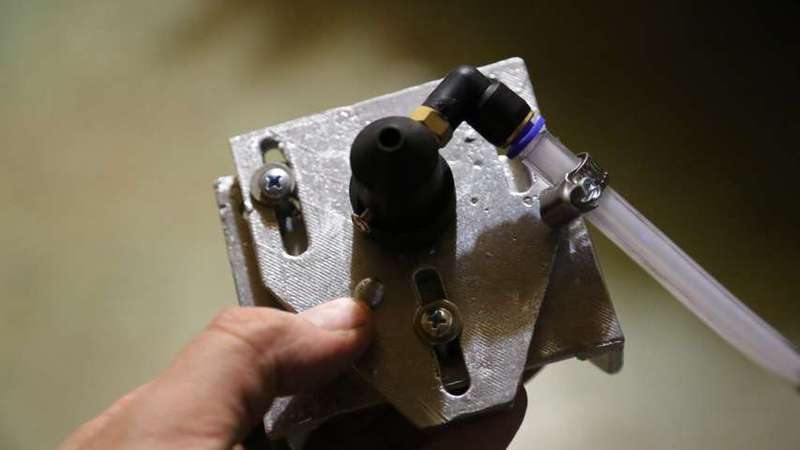
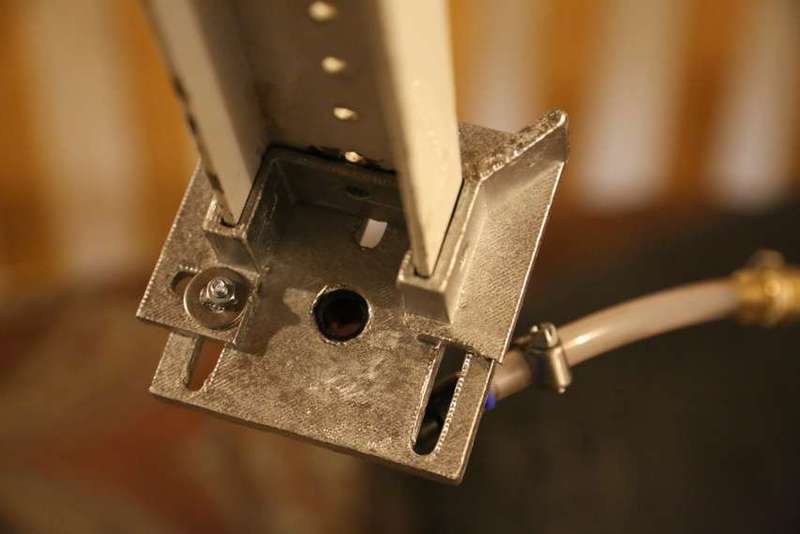
The moment of truth - is it fit to the frame? YES! I made a plastic part to fit the frame perfectly, then printed it again with an increase in size of 102%. When the aluminum cools it settles exactly at 2%.
The center of the black nipple is the place from which the focused CO2 laser beam will come out. The tube is for compressed air to blow smoke on the laser path (the so-called air-assist).

Looks like I can find a good use for this!

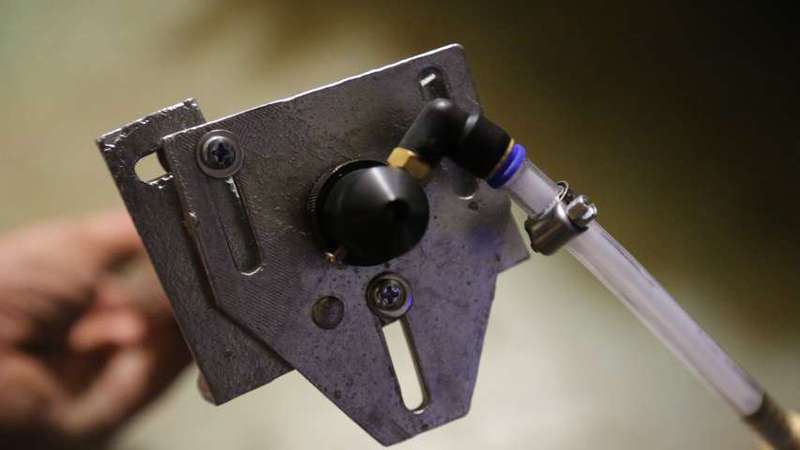
The black hole in the center is the focusing lens.
I am so glad that the parts fit the frame perfectly without additional processing and even without a file!
This is the first test of my laser. Approximately 60% power. Instantly burns wood.
jeshua@3DTOPO.com
From the translator:
Jeshua Lacock did a wonderful, actually step by step, guide to casting aluminum from plastic models printed on a 3D printer. For those interested in practical aspects, instructables.com has many recipes for making an aluminum casting furnace . Even from the coffee can !
Source: https://habr.com/ru/post/154021/
All Articles