Play on QuickTiGame2d in Appcelerator Titanium. Part 2

In the first part of this article " Playing on QuickTiGame2d in Appcelerator Titanium. Part 1 " I told about some points of working with the engine that, in my opinion, will be useful to those who are going to read this publication. Now I propose to consider the creation of the simplest game on Appcelerator Titanium.
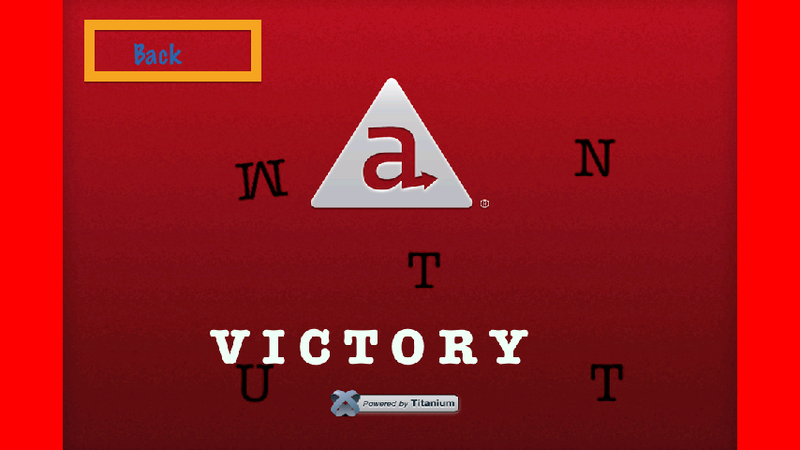
The essence of the game is that from the letters that appear, you need to collect the word "TITANIUM", after which a corresponding message about the victory will be displayed and the game will be over.
First, create the file pathsToFiles.js, in which we assign the paths to the available resources:
//menuScene var pngMenuBackground = "pictures/menu/background.png"; var pngButtonNewGame = "pictures/menu/newGame.png"; var pngButtonHelp = "pictures/menu/help.png"; //helpScene var pngHelp = "pictures/help/help.png"; var pngBackFromHelp = "pictures/help/back.png"; //mainLoadingScene var pngMainBackground = "pictures/game/background.png"; var pngBackToMenu = "pictures/game/back.png"; var pngVictory = "pictures/game/victory.png"; var xmlCharactersPosition = "pictures/game/charactersPosition.xml"; //sound var soundClick = "sound/click.wav"; First of all, let's turn to the app.js file. Let's create the game screen, connect the js files with which we will work, and also describe the screen layout for Android and iOS:
')
var window = Ti.UI.createWindow({ backgroundColor : 'black' }); var quicktigame2d = require('com.googlecode.quicktigame2d'); var game = quicktigame2d.createGameView(); if (Titanium.Platform.osname === 'android') { game.orientation = Ti.UI.LANDSCAPE_LEFT; window.orientationModes = [Titanium.UI.LANDSCAPE_LEFT]; } else { game.orientation = Ti.UI.LANDSCAPE_RIGHT; window.orientationModes = [Titanium.UI.LANDSCAPE_RIGHT]; } Ti.include('pathsToFiles.js'); Ti.include('helpScene.js'); Ti.include('menuScene.js'); Ti.include('mainScene.js'); Next, we calculate the required scale of the game for the device, initialize the loaded scenes, which will be described below, add the game screen to the application window, open it and launch MenuScene.
var WINDOW_SCALE_FACTOR_X = 1; var WINDOW_SCALE_FACTOR_Y = 1; game.addEventListener('onload', function(e) { var screenScale = game.size.height / 640; game.screen = { width : game.size.width / screenScale, height : game.size.height / screenScale }; WINDOW_SCALE_FACTOR_X = game.screen.width / game.size.width; WINDOW_SCALE_FACTOR_Y = game.screen.height / game.size.height; MenuScene.init(); HelpScene.init(); MainScene.init(); game.pushScene(MenuScene.scene); game.start(); }); window.add(game); window.open({ fullscreen : true, navBarHidden : true }); Now let's create MenuScene for the game. To begin, create it directly:
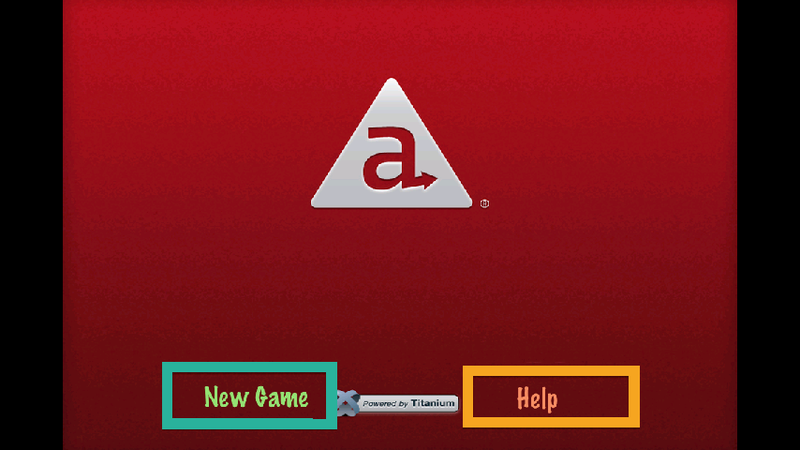
var buttonMargin = 20; var clickSound = null; var MenuScene = { scene : null, background : null, buttonNewGame : null, buttonHelp : null, init : function() { this.scene = quicktigame2d.createScene(); ... }, }; Here buttonMargin is the indent that will be used later, and clickSound is a variable for storing sound.
Now it’s worth adding some actions. Run the current scene when loading sprites:
var onloadsprite = (function(self) { return function(e) { if (e.name == pngButtonHelp) { game.startCurrentScene(); } }; })(this); We describe the events of clicking on the "New game" and "Help" buttons. When you press and when you release the button, its picture will change. Also, when pressed, a short sound will be produced, and if you “release”, the game scene will be changed to the selected one:
var touchstart = (function(self) { return function(e) { var x = ex * WINDOW_SCALE_FACTOR_X; var y = ey * WINDOW_SCALE_FACTOR_Y; if (self.buttonNewGame.contains(x, y)) { self.buttonNewGame.frame = 0; clickSound.play(); } if (self.buttonHelp.contains(x, y)) { self.buttonHelp.frame = 0; clickSound.play(); } } })(this); var touchend = (function(self) { return function(e) { var x = ex * WINDOW_SCALE_FACTOR_X; var y = ey * WINDOW_SCALE_FACTOR_Y; self.buttonNewGame.frame = 1; self.buttonHelp.frame = 1; if (self.buttonNewGame.contains(x, y)) { game.pushScene(MainScene.scene); } if (self.buttonHelp.contains(x, y)) { game.pushScene(HelpScene.scene); } }; })(this); Now we initialize the variables and set the coordinates of the buttons and the game menu background. Add the relevant elements to the scene, as well as event listeners:
var activated = (function(self) { return function(e) { if (clickSound == null) { clickSound = Ti.Media.createSound({ url : soundClick }); } if (self.background == null) { self.background = quicktigame2d.createSprite({ image : pngMenuBackground }); } if (self.buttonNewGame == null) { self.buttonNewGame = quicktigame2d.createSpriteSheet({ image : pngButtonNewGame, width : 275, height : 100 }); } if (self.buttonHelp == null) { self.buttonHelp = quicktigame2d.createSpriteSheet({ image : pngButtonHelp, width : 275, height : 100 }); } self.background.x = (game.screen.width * 0.5) - (self.background.width * 0.5); self.background.y = (game.screen.height * 0.5) - (self.background.height * 0.5); self.buttonNewGame.x = (game.screen.width - self.buttonNewGame.width) / 4; self.buttonNewGame.y = (game.screen.height * 0.8); self.buttonHelp.x = (game.screen.width - self.buttonNewGame.width) / 4*3; self.buttonHelp.y = self.buttonNewGame.y; self.buttonNewGame.frame = 1; self.buttonHelp.frame = 1; self.scene.add(self.background); self.scene.add(self.buttonNewGame); self.scene.add(self.buttonHelp); game.addEventListener('touchstart', touchstart); game.addEventListener('touchend', touchend); self.scene.addEventListener('enterframe', enterframe); }; })(this); We describe the function of deleting all created elements (unloading textures, deleting event listeners):
var deactivated = (function dea(self) { return function(e) { self.scene.remove(self.background); self.background = null; self.scene.remove(self.buttonNewGame); self.scene.remove(self.buttonHelp); self.buttonNewGame = null; self.buttonHelp = null; game.unloadTexture(pngButtonNewGame); game.unloadTexture(pngButtonHelp); game.removeEventListener('touchstart', touchstart); game.removeEventListener('touchend', touchend); }; })(this); It remains only to add listeners of events for activating / deactivating scenes and loading sprites:
this.scene.addEventListener('activated', activated); this.scene.addEventListener('deactivated', deactivated); this.scene.addEventListener('onloadsprite', onloadsprite); Scene menu is ready. We turn to the scene Help. In principle, all the processes of loading and unloading elements are very similar, so we will not repeat and consider the elements that are most interesting to us. One of them is to create a background help:
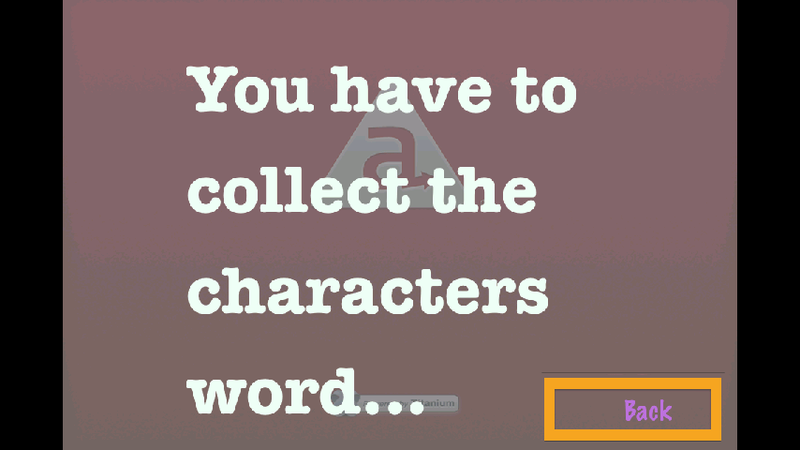
if (self.background == null) { self.background = quicktigame2d.createSprite({ image : pngMenuBackground }); } if (self.menuLayer == null) { self.menuLayer = quicktigame2d.createSprite({ width : self.background.width, height : self.background.height }); self.menuLayer.color(0.5, 0.5, 0.5); self.menuLayer.alpha = 0.78; } if (self.foreground == null) { self.foreground = quicktigame2d.createSpriteSheet({ image : pngHelp, width : 960, height : 640 }); } Here we load 3 background layers. One of them is a layer in the menu, it will be the bottom. We set the second background on top (it has color and transparency). The third is the text layer. We define it as SpriteSheet to use multiple images for it.
We describe the location of the button in the corner of the screen relative to its size:
if (game.screen.width > self.background.width) { self.okButton.x = self.background.x + self.background.width - self.okButton.width - buttonMargin; self.okButton.y = self.background.y + self.background.height - self.okButton.height - buttonMargin; } else { self.okButton.x = game.screen.width - self.okButton.width - buttonMargin; self.okButton.y = game.screen.height - self.okButton.height - buttonMargin; } And add a text background animation:
self.foreground.animate(0, 2, 2000, -1); We now turn to creating a scene for the game process. It is worth creating a few variables:
var COUNT_OF_CHARACTERS = 9; var word = ""; var wordTitanium = "titanium"; Where COUNT_OF_CHARACTERS is the number of places on the field for the appearance of letters, word is the assembled word, wordTitanium is the word to be collected.
In the activated function, add the process of creating an array of elements with images of letters:
var xCoef = self.background.width / 4; var yCoef = self.background.height / 4; var xParam = 1; var yParam = 1; for (var i = 0; i < COUNT_OF_CHARACTERS; i++) { self.characters[i] = quicktigame2d.createSpriteSheet({ image : xmlCharactersPosition }); self.characters[i].x = self.background.x + xCoef * xParam; self.characters[i].y = self.background.x + yCoef * yParam; xParam++; if (xParam > 3) { xParam = 1; yParam++; } self.characters[i].z = 3; self.characters[i].hide(); self.characters[i].index = i; self.characters[i].status = "waiting"; self.characters[i].selectFrame("character0"); self.scene.add(self.characters[i]); if (self.charactersTransforms[i] == null) { self.charactersTransforms[i] = quicktigame2d.createTransform(); self.charactersTransforms[i].addEventListener('complete', oncharactersCompleted); self.charactersTransforms[i].index = i; } } Here we set the location for each element, hide it, set the status, the current image. It also sets its own event listener for each element. The event listener will look like this:
var oncharactersCompleted = (function(self) { return function(e) { var transform = e.source; var choosenCharacter = self.characters[transform.index]; if (choosenCharacter != null) { if (choosenCharacter.status == "moving") { choosenCharacter.show(); choosenCharacter = changeStatus(choosenCharacter, transform, "living"); } else if (choosenCharacter.status == "living") { choosenCharacter = changeStatus(choosenCharacter, transform, "dying"); } else if (choosenCharacter.status == "dying") { choosenCharacter = changeStatus(choosenCharacter, transform, "hiding"); } else if (choosenCharacter.status == "hiding") { transform.scale(0, 0); choosenCharacter = changeStatus(choosenCharacter, transform, "queue_waiting"); } else if (choosenCharacter.status == "queue_waiting") { choosenCharacter.hide(); choosenCharacter.status = "waiting"; transform.duration = 1000; choosenCharacter.transform(transform); } else if (choosenCharacter.status == "killed") { transform.rotate(-360); transform.scale(0, 0); choosenCharacter = changeStatus(choosenCharacter, transform, "queue_waiting"); } } }; })(this); function changeStatus(choosenCharacter, transform, statuscharacter) { transform.duration = 2000; choosenCharacter.status = statuscharacter; choosenCharacter.transform(transform); return choosenCharacter; } Here, depending on the status of the element, various kinds of actions will occur with it: rotation, zooming, hiding and appearing on the screen.
Add a method to complete the game, in which we remove the text in the already typed word, and also add to the scene the information that the player won, which in turn will cause the event listener victoryText:
function finishActivity(self) { word = ""; self.scene.add(self.victoryText); self.victoryTextTransform.duration = 1000; self.victoryText.transform(self.victoryTextTransform); } var onVictoryTextCompleted = (function(self) { return function(e) { if (self.victoryTextTransform.completed) { self.scene.remove(self.victoryText); closeGame(self); } else { self.victoryTextTransform.y = game.screen.height; self.victoryTextTransform.completed = true; self.victoryText.transform(self.victoryTextTransform); } }; })(this); In the enterframe should add the process of changing letters in the relevant elements. This will happen with the waiting status: elements will appear on the screen with a letter randomly created for them.
self.charactersTransforms[i].show(); self.charactersTransforms[i].scale(1, 1); self.charactersTransforms[i].duration = 500; self.charactersTransforms[i].delay = 0; self.charactersTransforms[i].easing = quicktigame2d.ANIMATION_CURVE_CUBIC_IN; var face = Math.floor((randomNumber * 100) % 8); for (var count = 0; count < wordTitanium.length; count++) { if (face == count) { self.characters[i] = addDataToWord(self.characters[i], self.charactersTransforms[i], "character"+count, wordTitanium[count]); self.characters[i].transform(self.charactersTransforms[i]); break; } } where the addDataToWord function is:
function addDataToWord(choosenCharacter, choosenCharacterTransform, frame, symbol) { choosenCharacter.isMoving = false; choosenCharacter.faceName = frame; choosenCharacter.symbol = symbol; choosenCharacter.status = "moving"; choosenCharacter.selectFrame(frame); choosenCharacterTransform.duration = 0; choosenCharacter.transform(choosenCharacterTransform); return choosenCharacter; } The last thing left to do is to register the function of clicking on the element:
var dblclick = (function(self) { return function(e) { var x = ex * WINDOW_SCALE_FACTOR_X; var y = ey * WINDOW_SCALE_FACTOR_Y; if (!self.loaded) return; if (!self.started) return; for (var i = 0; i < COUNT_OF_CHARACTERS; i++) { if (self.characters[i].status != "killed") { if (self.characters[i].contains(x, y)) { clickSound.play(); self.charactersTransforms[i].rotate(360); self.charactersTransforms[i].duration = 2000; self.characters[i].transform(self.charactersTransforms[i]); self.characters[i].status = "killed"; word += self.characters[i].symbol; Ti.API.info(word); if (wordTitanium.indexOf(word) == 0) { Ti.API.info(word + " " + wordTitanium); if(wordTitanium.length == word.length){ finishActivity(self); } } else { word = ""; } } } } }; })(this); At the same time, we change its status, add animation and check for the occurrence of this letter in the order of the letters in the corresponding word.
The result is:


Source: https://habr.com/ru/post/153051/
All Articles