Multilingual in Drupal 7
In this article I will tell you how to make your site multilingual in a quarter of an hour.
So, to make the content multilanguage in Drupal 7, we have two ways:
1) The Internationalization module and its sub-modules
2) Entity Translation module + Title module
We now consider them.
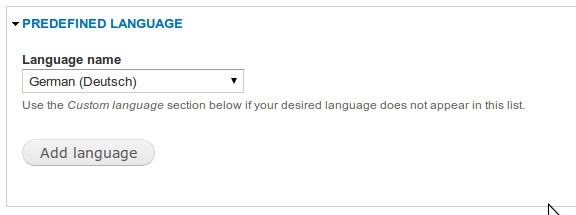
Before you do something, you need to add an additional language to the site. This can be done on the “admin / config / regional / language / add” page.
And enable it on the page: “admin / config / regional / language”

You also need to choose the method of determining the language, I prefer to take it from the URL. In the settings you can specify from which part of the URL to take the language (prefix or subdomain), the default is the prefix.
“Admin / config / regional / language / configure”

')
The Internationalization module appeared in D6, it can be used to translate various types of content. We will consider it on the example of node translation, since they make up most of the content.
To install and enable the module, we use the convenient tool - drush.
Since we are going to translate nodes, we need to enable the submodule.
The module is turned on and ready to go.
Go to the settings of the PT publication and select the item “Enabled, with translation”.

In the multi-language settings, select the options that suit you.

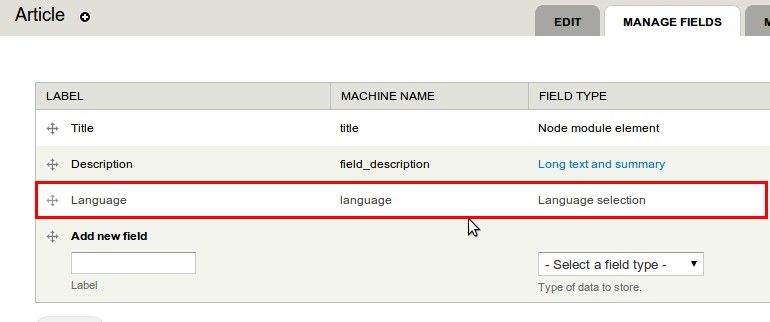
As you can see, a new field has appeared in the list of fields associated with the choice of language.
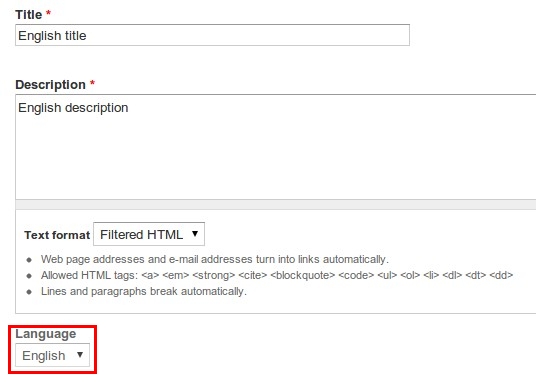
Fill in the fields, select the desired language and save.
Now a new Translate tab has appeared on the node editing page.

On the translation page, we are offered the choice of adding a new translation (1) or specifying another existing node as a translation (2). Because we have no ready translation, we will add it.

The node creation form is opened, only the language in it is already set and the field is disabled.

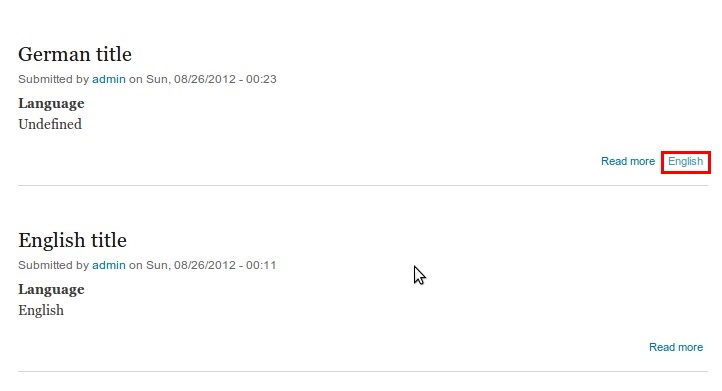
We have 2 nodes that have a different language. The node with the translation has a link to the original.
I think that this method is not the best, since there is duplication of content.
Therefore, we consider the second method, which allows you to avoid this.
On the “admin / config / regional / entity_translation” page, you can choose which entity types will be translated.

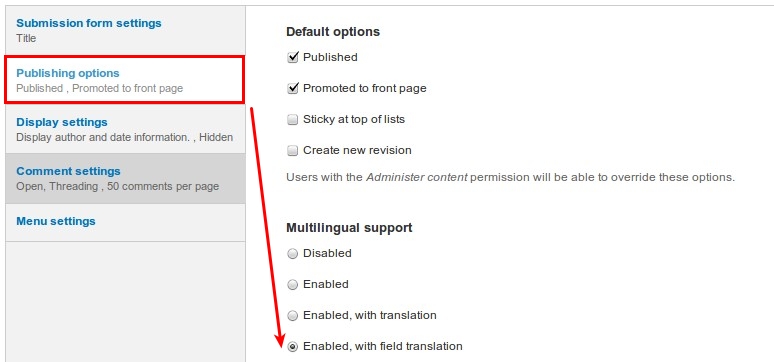
Go to the PT publishing settings and select the “Enabled, with field translation” option.
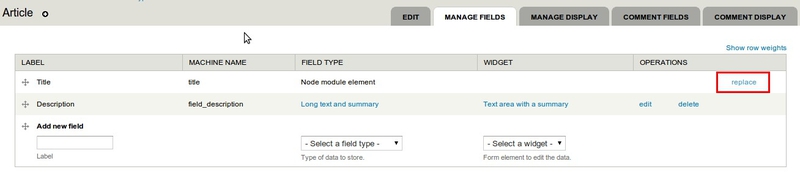
Next in the list of fields, you need to replace Title with a regular field (this allows the Title module) so that it can be translated.
Now you need to select the fields that can be translated (Title is selected by default)
On the “admin / structure / types / manage /% CT_name% / fields /% field_name%” page you need to enable Field translation.

Creating a node is no different from creating in the first method, just fill in the fields and choose a language. If you leave “Language neutral”, the translation will not be available.
On the edit page of the newly created node, the Translate tab appears.
There you can look at which languages the node has already been translated and translate into other available.

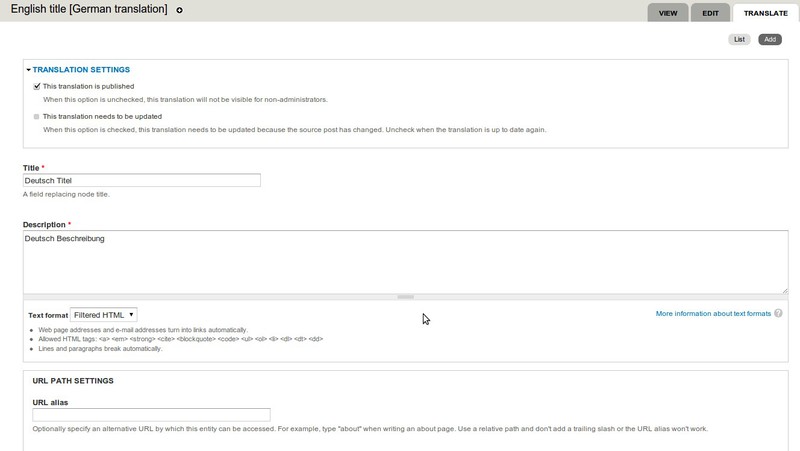
We fill in the fields available for translation, there is also a setting on the page for publishing the translation and you can specify an alternative URL.
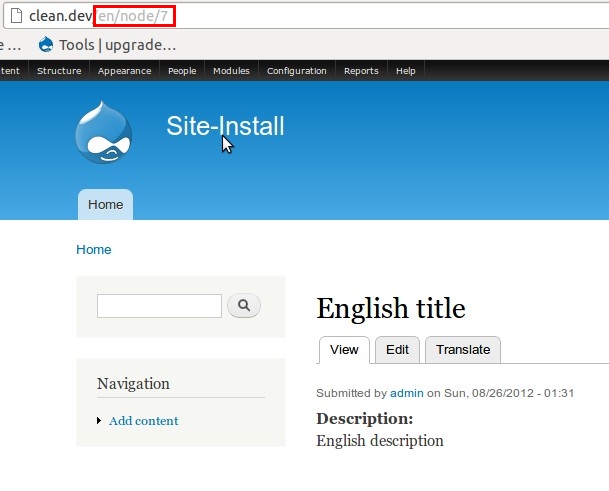
As a result, we have one node with two translation options.
English:
Deutsch:

So, to make the content multilanguage in Drupal 7, we have two ways:
1) The Internationalization module and its sub-modules
2) Entity Translation module + Title module
We now consider them.
Training
Before you do something, you need to add an additional language to the site. This can be done on the “admin / config / regional / language / add” page.
And enable it on the page: “admin / config / regional / language”
You also need to choose the method of determining the language, I prefer to take it from the URL. In the settings you can specify from which part of the URL to take the language (prefix or subdomain), the default is the prefix.
“Admin / config / regional / language / configure”
')
First way
The Internationalization module appeared in D6, it can be used to translate various types of content. We will consider it on the example of node translation, since they make up most of the content.
Module installation
To install and enable the module, we use the convenient tool - drush.
drush dl i18ndrush en -y i18nSince we are going to translate nodes, we need to enable the submodule.
drush en -y i18n_nodeThe module is turned on and ready to go.
Content type settings
Go to the settings of the PT publication and select the item “Enabled, with translation”.
In the multi-language settings, select the options that suit you.
As you can see, a new field has appeared in the list of fields associated with the choice of language.
Creating and translating nodes
Fill in the fields, select the desired language and save.
Now a new Translate tab has appeared on the node editing page.
On the translation page, we are offered the choice of adding a new translation (1) or specifying another existing node as a translation (2). Because we have no ready translation, we will add it.
The node creation form is opened, only the language in it is already set and the field is disabled.
Total
We have 2 nodes that have a different language. The node with the translation has a link to the original.
I think that this method is not the best, since there is duplication of content.
Therefore, we consider the second method, which allows you to avoid this.
Second way
Module installation
drush dl title entity_translationdrush en -y title entity_translationModule setup
On the “admin / config / regional / entity_translation” page, you can choose which entity types will be translated.
Configure Content type
Go to the PT publishing settings and select the “Enabled, with field translation” option.
Next in the list of fields, you need to replace Title with a regular field (this allows the Title module) so that it can be translated.
Now you need to select the fields that can be translated (Title is selected by default)
On the “admin / structure / types / manage /% CT_name% / fields /% field_name%” page you need to enable Field translation.
Creating and translating nodes
Creating a node is no different from creating in the first method, just fill in the fields and choose a language. If you leave “Language neutral”, the translation will not be available.
On the edit page of the newly created node, the Translate tab appears.
There you can look at which languages the node has already been translated and translate into other available.
We fill in the fields available for translation, there is also a setting on the page for publishing the translation and you can specify an alternative URL.
Total
As a result, we have one node with two translation options.
English:
Deutsch:
Source: https://habr.com/ru/post/150382/
All Articles