Creating a Windows Azure Web Site site and deploying ASP.NET MVC 4 applications there

So, you decided to try what Windows Azure Web Site is and what can be done there. You need to start, if you do not have a Windows Azure subscription, with a trial access . We will omit this step in the article, as simple and immediately move on to the main thing - the creation of a Web Site.
Creating a new Windows Azure Web Site
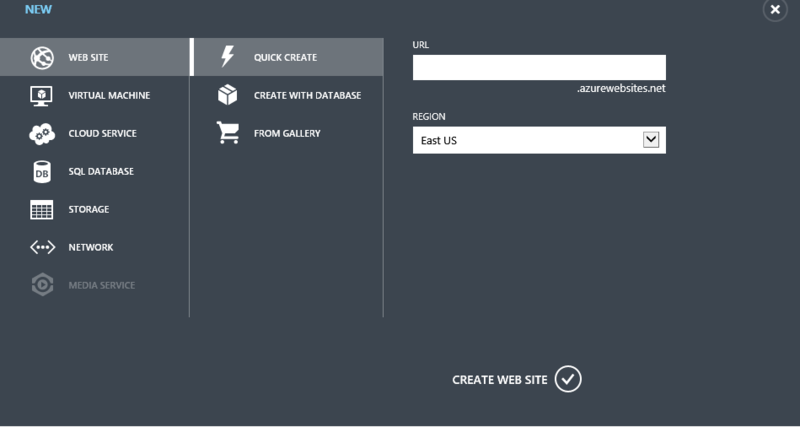
So, the account is created, go to the management portal in the Web Sites section:
Click on CREATE WEB SITE - we start the creation procedure, the interface for creating the site with the default option is selected - quick creation:
')
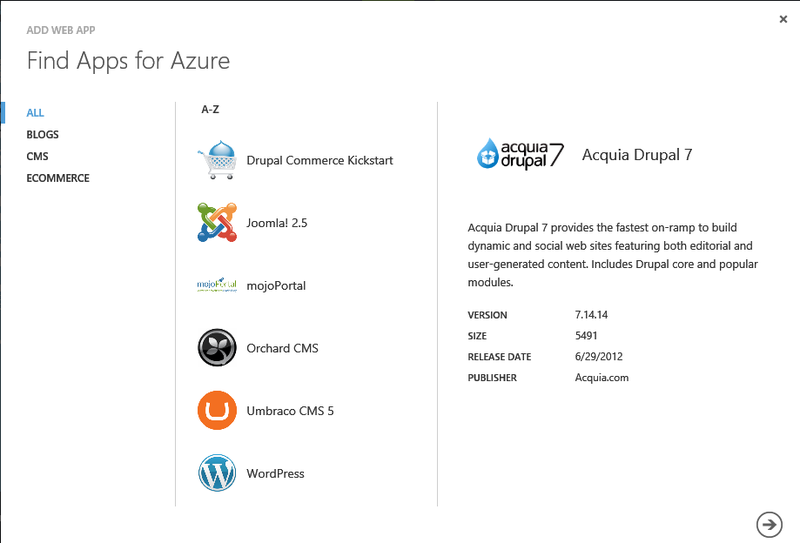
If desired, you can immediately deploy one of the gallery of supported applications to the site:
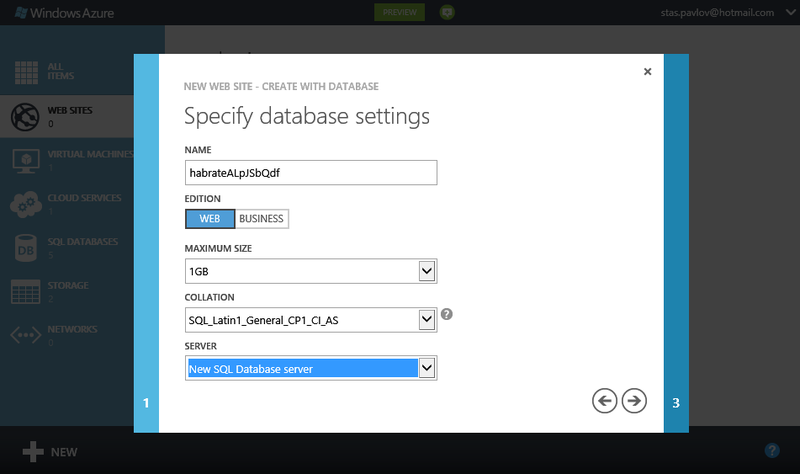
We will create a site with a database:
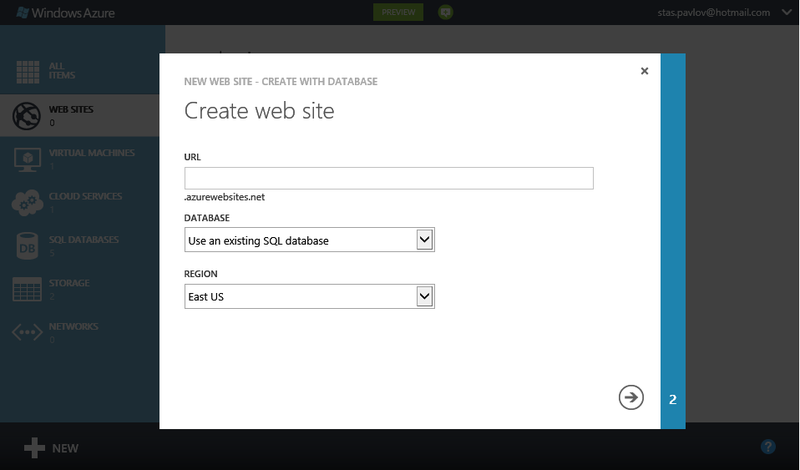
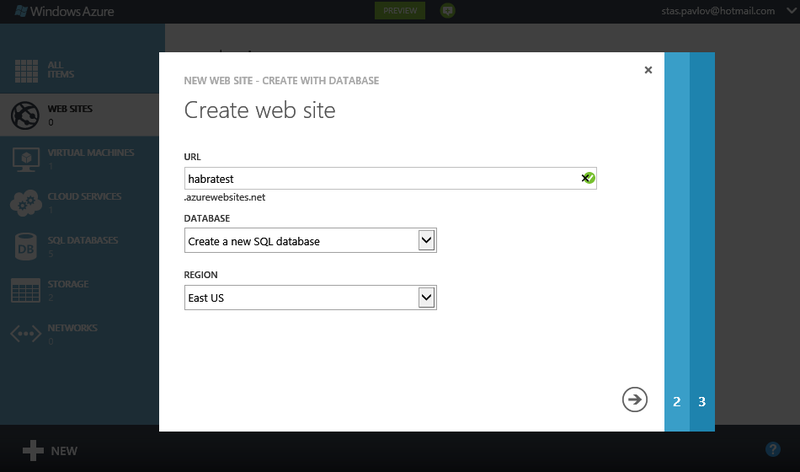
Create a habratest website and a new database:
Specify the parameters of the new database:
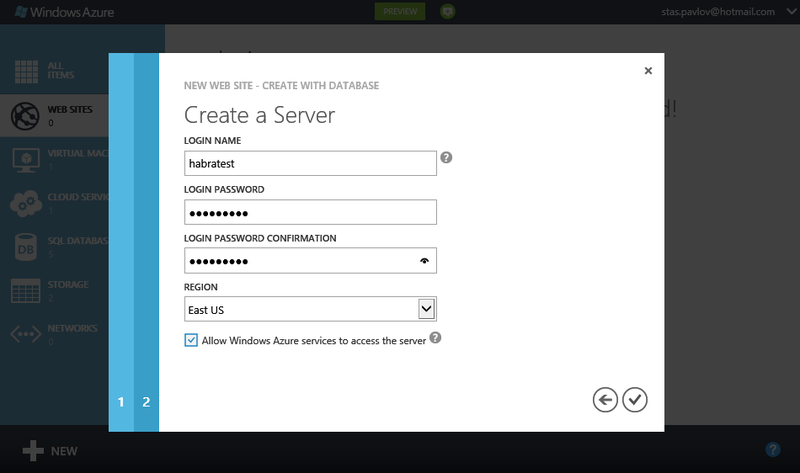
Including username and password:
Click the button with a check mark, start the process of creating the site:
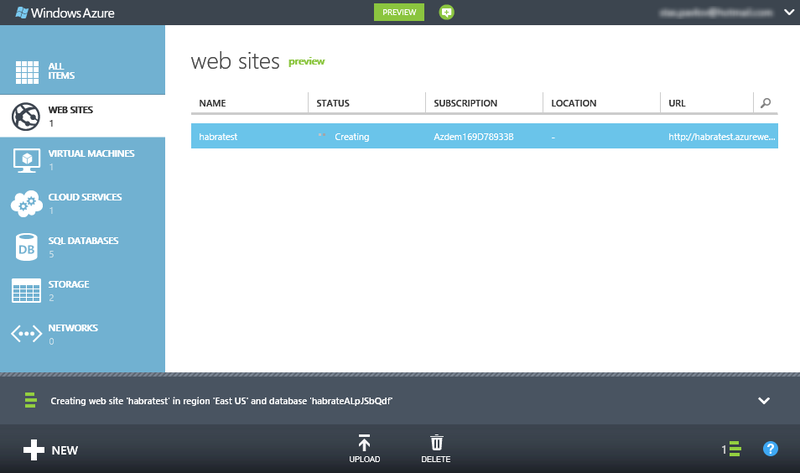
The site is created and launched.

When opening, the following page will be displayed:
So, we have created a Windows Azure Web Site with a SQL Server database linked to it.
Look at the control panel of our site.
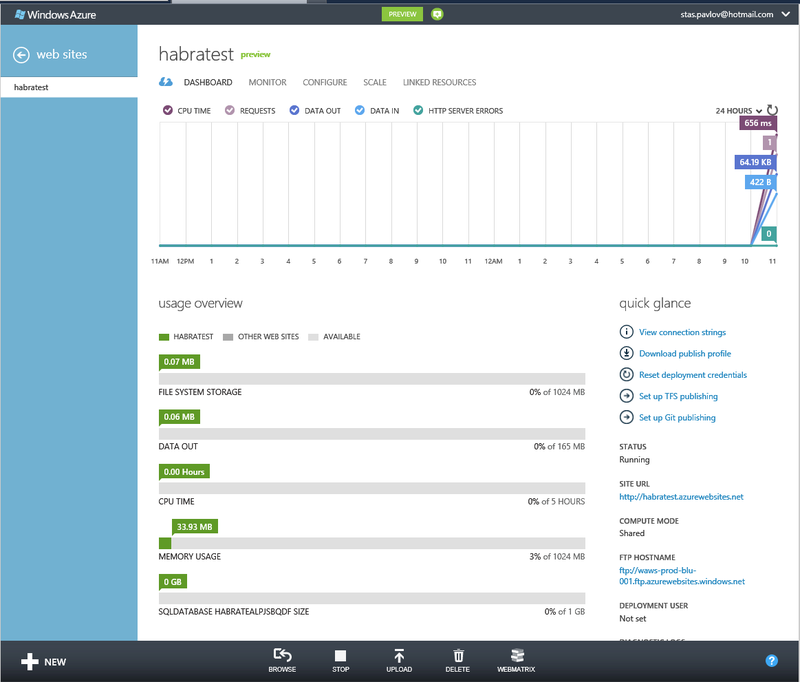
In addition to a variety of usage statistics on the Dashboard, take a look at some very useful links on the left:
- View connection string - connection string with your database (without a password);
- Download publish profile - the ability to download a profile for publication, which can then be imported into WebMatrix and Visual Studio;
- Reset deployment credentials — reset access credentials for deployment;
- Setup TFS / Git publishing - allows you to customize publishing from TFS / Git
Before moving on to the following steps, you need to prepare a little bit:
- Download the publish profile in advance, it will be required when publishing a site from Visual Studio 2012;
- Copy the settings of the connection to the database (View connection string).
Creating a new ASP.NET MVC 4 website
Create an ASP.NET MVC 4 application with .NET Framework 4.0 support (version 4.5 is not supported by Web Sites):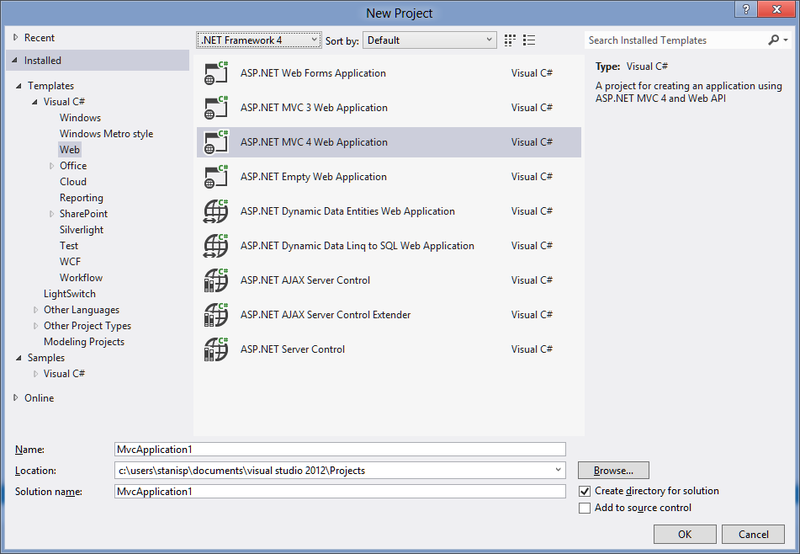
Leaving in the wizard for creating the application all the default settings wait for the creation of the site.
Everything! We are ready to publish our application on Windows Azure Web Sites!
Publish a website on Windows Azure Web Sites
Right-click on Solution and select Publish. The publish dialog will open: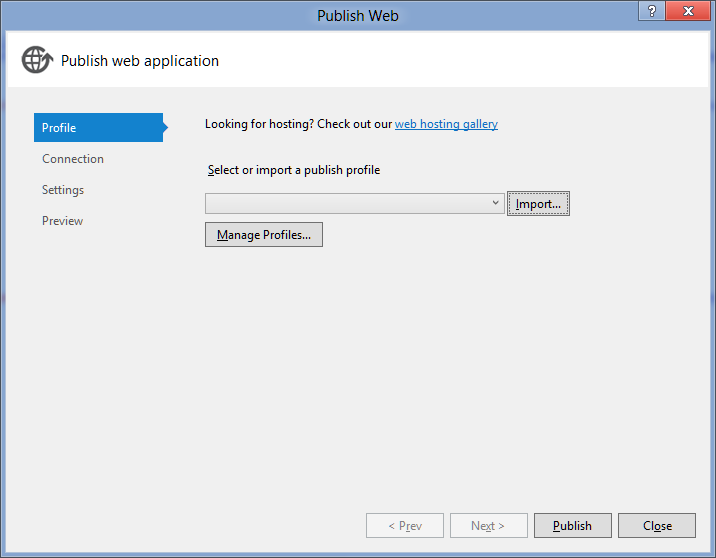
Nothing is filled, but we have an Import button. Click it and import the deployment profile that we saved after creating the Web Site. On the next page of the wizard, check the settings - everything is OK:

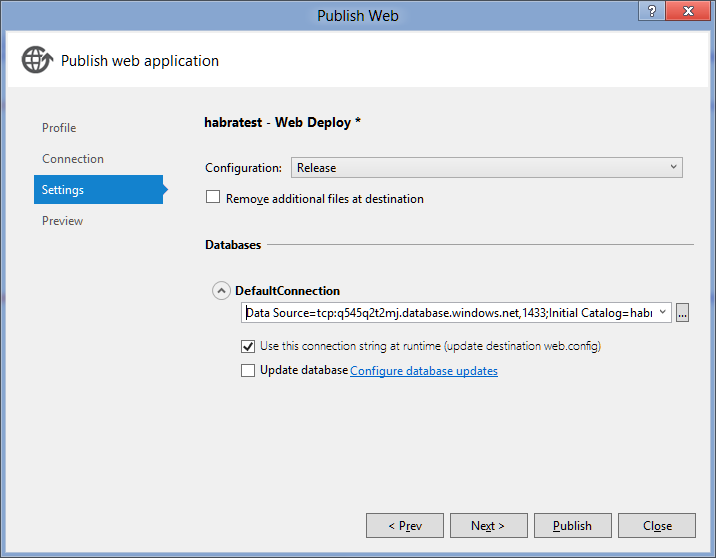
On the next page of the wizard, we will need the copied database connection settings and the knowledge of the password to it:
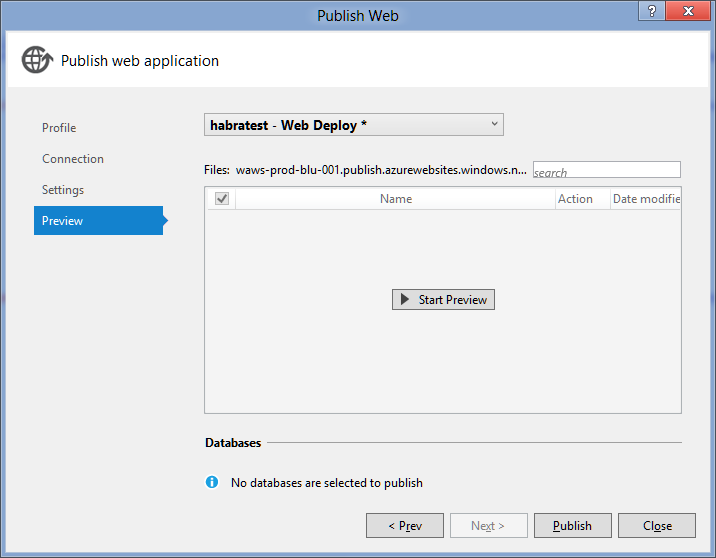
Click Next - everything is ready for publication:
We press button Publish and in some minutes we enjoy the site which works in Windows Azure Web Sites!
What else you need to know to use it in reality
If you use the Code First paradigm, then you will need to update the base on the hosting. This is done quite permanently. In the Package Manager Console console window, enter the following commands in sequence:enable-migrations
add-migration Initial
update-database
The corresponding code will automatically be generated, the publication wizard will determine its presence and can be configured in Settings:

Using SQL Server - paid initially. How much are Web Sites in different versions can be viewed in the calculator .
If you want to use PHP and MySQL, Web Sites support them.
Source: https://habr.com/ru/post/148866/
All Articles