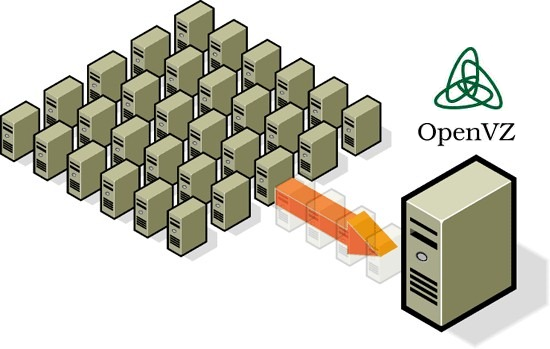
OS Migration to OpenVZ Container

In this article I want to tell how easy it is to transfer a Linux system from a physical server or full virtualization (KVM, XEN, VMware) to an OpenVZ container. There are enough materials on this topic, but I will talk about the simplest method.
To begin with, some theoretical calculations. What are the main advantages can be obtained from container virtualization:
- Minimum overhead for virtualization
- Transparent container file system from host machine
- High container loading speed
- Ease of live migration
But there are also disadvantages:
- The virtualization container uses the host system's kernel.
- The standard kernels of popular Linux distributions of OpenVZ patches are not included.
I needed to convert a VMware virtual machine with CentOS5. Specifically, I was interested in the VirtualPBX project, the necessary bundle for its operation is quite difficult to set up, but the author of the project uploads a VMware image for quick deployment, the image is based on CentOS 5.
So, first we download and run the VirtualPBX image with the help of the VMware player, everything works fine, but for permanent work it is not convenient for me to use the VMware image. I have several Proxmox VE 2.1 servers with KVM, OpenVZ virtualization and web-based management at my disposal. Therefore, without thinking twice, we proceed to the transfer of VirtualPBX from a VMware image to an OpenVZ container. We'll use the tar method to transfer the OS, ideally it is better to use rsync for this.
On the host with Proxmox, download the template for CentOS 5 and create a CT container using this template, setting the parameters you need! We launch the created container and check its operation (by connecting via ssh or to the console of the container via the Proxmox web interface), then stop it and transfer to the machine that needs to be transferred. These actions can be performed from the Proxmox console without using the web interface.
On the physical (VMware image in my case) machine we create a file with the exception of directories and files for tar archiving:
# nano non_tar .bash_history lost+found /dev/* /mnt/* /tmp/* /proc/* /sys/* /usr/src/* /etc/shadow /etc/inittab /etc/mtab /etc/rc.sysinit /etc/fstab /etc/sysconfig/network /etc/modprobe.d/blacklist /etc/resolv.conf /etc/sysconfig/network-scripts/* Next, we archive the root of the operating system, excluding directories and files from the list created earlier:
# tar --numeric-owner -czvf /tmp/virtualPBX_6309.tar.gz -X /root/non_tar /Copy the resulting archive via ssh to the virtualization host machine (Warning: it is copied to the host machine, not to the container):
# scp virtualPBX_6309.tar.gz root@IP_OpenVZ_Host:/tmpConnect to the host machine via ssh and go to the directory where our deployed CentOS 5 / var / lib / vz / private / 100 template is located, where 100 is the unique identifier of the OpenVZ virtuals, so you will most likely have another one.
# cd /var/lib/vz/private/100And expand our archive on top of the template (make sure you are in the directory of the recently deployed template, so as not to overwrite the root partition of the host machine or another OpenVZ container):
# tar xvpfz /tmp/virtualPBX_6309.tar.gzIn principle, at this stage you can run our container and enjoy the work of OC under OpenVZ with your settings.
Notes in the margins: I tried to deploy to the CentOS 6 template for interest, but the virtual machine did not work correctly, I didn’t understand much, as I usually prefer to use debian-based distributions.
The above method is very simple, and if you use rsync to copy, you can move the OS almost in real time with minimal downtime.
I would also like to say a few words about updating VirtualPBX. Since the image does not contain the latest builds of the project, we will make a small script for updating:
# touch /usr/bin/virtualpbx# chmod +x /usr/bin/virtualpbx# nano /usr/bin/virtualpbxAdd the following code:
#!/bin/sh read -p ' - (: 6446):' REPLY wget http://virtual-pbx.googlecode.com/files/VirtualPBX-$REPLY.tgz && echo " " || echo " , , " if [ -f VirtualPBX-$REPLY.tgz ]; then tar -xzf VirtualPBX-$REPLY.tgz rm -f VirtualPBX-$REPLY.tgz cd VirtualPBX-$REPLY rpm -Fvh *.rpm if [ $? -eq 0 ]; then echo " !!!" else echo " !!!" exit 1 fi exit 0 else echo " !!!"</li> fi exit 1 Now for updating it is enough to give the command
# virtualpbxand enter the desired revision number for the installation.
Already after writing a draft for the article, I learned that the author had provided for checking for updates. Inside there is a script /opt/VirtualPBX/contrib/utils/check_updates.pl, once a day it checks for updates and if it finds an update, a red sign appears at the top in the admin interface.
The method described above can be used to transfer other Linux distributions, changing the list of files and directories specific to the OS (in my example, the non_tar file), examples of settings for the transfer can be viewed on the Wiki . Successful to you experiments!
')
materials used to prepare the article:
tdev.me/2011/02/create-trixbox-2-8-template-for-openvz
wiki.openvz.org/Creating_a_CentOS_5.0_Template
Source: https://habr.com/ru/post/146677/
All Articles