How to overclock the Android emulator

Anyone who has ever worked with an emulator to develop applications for Android, knows that even on modern hardware, the emulator slows down so that it requires inhuman patience. That is, probably, you need to become an android cyborg yourself.
But there is another method - simpler.
Intel Hardware Accelerated Execution Manager (Intel HAXM) is a solution that uses hardware virtualization capabilities (Intel VT) and allows you to significantly speed up the work of the Android emulator.
')
This solution works in conjunction with an Android emulator for x86 devices. At the same time, the emulator will work at a speed close to the speed of the real device, which will help reduce the time to launch and debug the application.
In the case of developing an application that uses only Dalvik, the developer will not have to change anything, because The application will not notice the difference. In the case of the NDK application, you will need to add support for x86 architecture to the list of libraries being built. It's easy to do, you just need to add x86 support to the make file.
System requirements
- The processor with support for VT-x, EM64T, Execute Disable Bit. To find out if your processor supports the listed possibilities, you can use the site ark.intel.com
- At least 1 GB, and preferably 2 GB of RAM.
Supported OS
- Windows 7 (32/64), Windows Vista * (32/64), Windows XP (32)
- Mac OS X 10.6 and higher (32/64)
- Ubuntu (64)
Installation
Intel HAXM can be installed either manually or using the Android SDK Manager.
Manual installation
Go to software.intel.com/ru-ru/android and download the installation package for your platform. Next, run the installation and follow the prompts of the installation wizard.
Installation using Android SDK Manager

- Launch Android SDK Manager
- In the Extras section, select "Intel Hardware Accelerated Execution Manager"
- Tick it and click “Install package ...”
- Next, confirm the license agreement and click "Install"
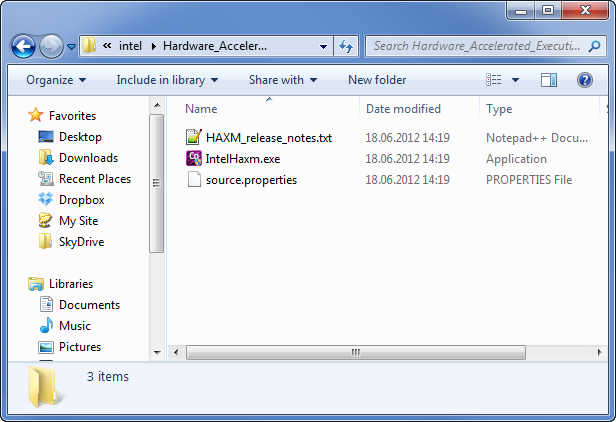
- The SDK Manager downloads and unpacks the package into the extras directory located in the directory where the Android SDK was installed.
- Navigate to this directory and run the Intel HAXM installation.
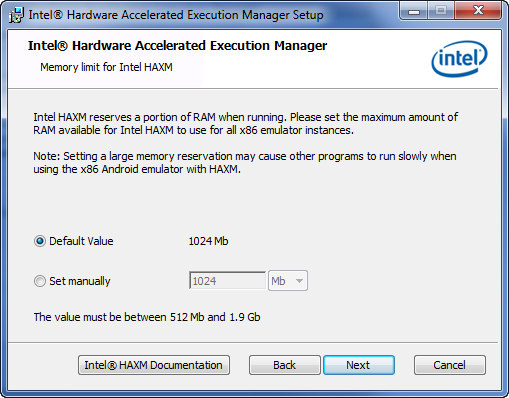
Installing Intel HAXM
During installation, you will be prompted to determine the amount of allocated RAM. You can leave the default value. If during the work you want to change this value - run the installation again.
During installation, this may occur
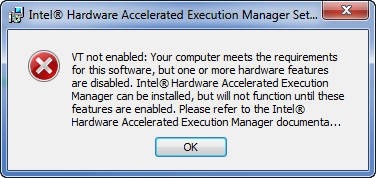
In this case, check the settings in the BIOS, perhaps virtualization is supported by your system, but is disabled by default.
In order to check that everything is installed correctly and works, you need to run the following command line:
sc query intelhaxm
After executing this command, you will see the current status of the service.

It may also be useful to stop the service:
sc stop intelhaxm
Start the service:
sc start intelhaxm
Installing the Android x86 emulator
The above described was nothing but the preparation of the soil. Now you need to install the emulator itself, which we want to “overclock” using Intel HAXM. Currently there are two of them:
- Android 4.0.3 (API 15)
- Android 2.3.3 (API 10)
They are installed using the Android SDK Manager. Run, tick off the images of interest to us and install.

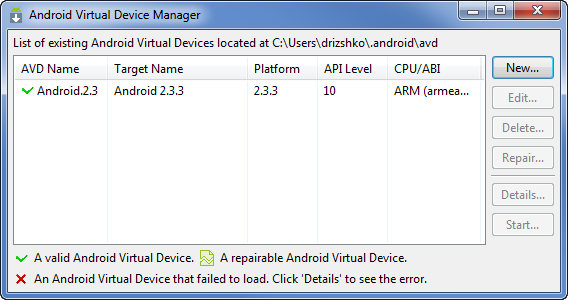
Creating a virtual device
After installing the Android emulator image for x86, you need to create a new virtual device using Android Virtual Device Manager. For this:
- Run ADV Manager
- Select the creation of a new device "New ..."
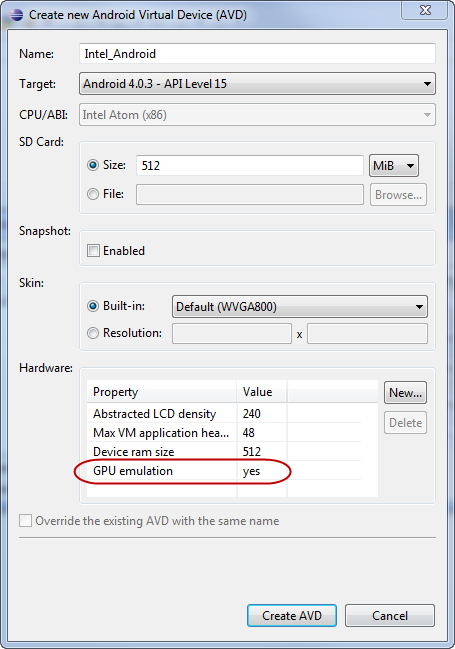
- In the properties window, set an arbitrary name, for example, "Intel_Android"
- We choose the version, in my case the version "Android 4.0.3 - API Level 15"
- Set the remaining parameters (size and availability of the SD card, resolution, etc.)
- Next, add a required parameter to the “Hardware” - “GPU Emulation” section (the “New” button, in the “Property” list, select “GPU Emulation”, then “OK”) and set it to “yes”
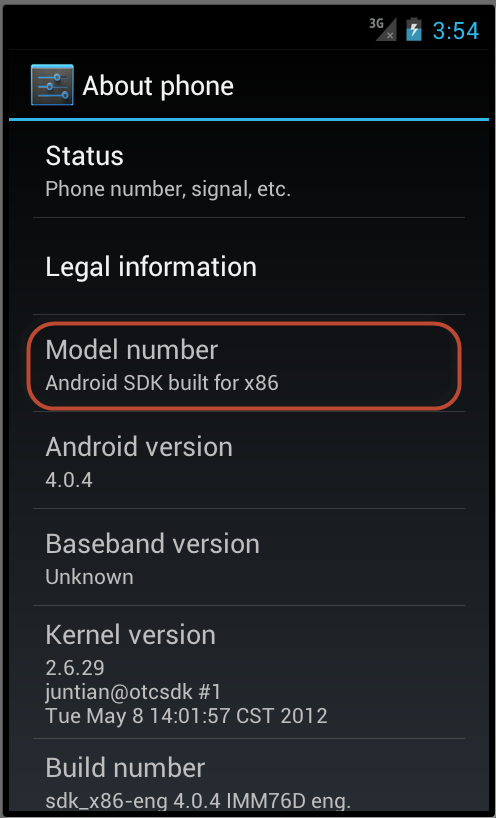
Done! Now it remains to run and check whether everything is configured correctly. Select the created emulator and launch it with the “Start” button. Next, go to the settings and see the name of the device. If everything was done correctly, then for our example, in the “Model number” field we will see the string “Android SDK Build for x86”.
The end of the torment and long expectations! Our emulator began to work faster, and so much so that you can directly watch videos from Youtube in real time, and not as before in a slide show.
Source: https://habr.com/ru/post/146114/
All Articles