Cloud management on open-source software
 Recently, solutions for building cloud systems have become very fashionable; clouds are built by all and sundry. For the end user, everything is transparent: “Here's your entry point, that's where your resources are - use it!” And few of them think about how everything is arranged inside. Yes, and they do not need to know, in essence. However, people who are busy just configuring such systems is very interesting, but how does it work for others? And most importantly - on what?
At the moment, there is enough software to create and manage cloud infrastructure. These are products from VMware, Citrix, Red Hat, etc. In the same row is a very interesting software called OpenNebula . It contains system administration tools with a console and graphical interface, as well as end-user tools that allow you to manage resources. You can see an example of the work on the video .
Well, let's try deploying our own cloud management system. It should be said that this material will not address the issues of connecting to virtualization hosts - only installation and review capabilities.
')
Preconfig
So, for the beginning we install Ubuntu 11.10 64 bit Server (you can install both on bare hardware and as a virtual machine). We do not consider the installation of Ubuntu, since it is simple and described wherever possible. Next, start the server preconfiguration.
Create oneadmin user and cloud group:
mkdir -p /srv/cloud/
groupadd -g 10000 cloud
/srv/cloud/one as home folder.
useradd -u 10000 -m oneadmin -d /srv/cloud/one -s /bin/bash -g cloud
passwd oneadmin
chown -R oneadmin:cloud /srv/cloud/
Check if you can login under oneadmin:
su -l oneadmin
exit
We put mysql and create a database:
apt-get install mysql-server mysql-admin

# mysql -u root -p
mysql> CREATE USER 'oneadmin'@'localhost' IDENTIFIED BY 'oneadmin';
mysql> CREATE DATABASE opennebula;
mysql> GRANT ALL PRIVILEGES ON opennebula.* TO 'oneadmin' IDENTIFIED BY 'oneadmin';
mysql> quit;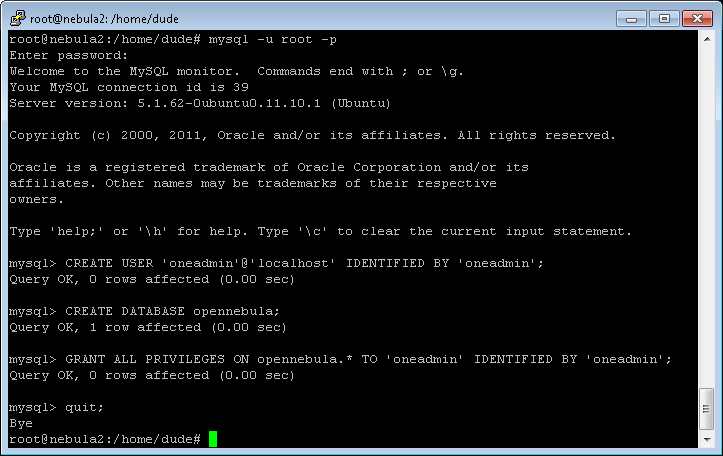
Install & Configure
Put the necessary packages:
apt-get install g++ libxmlrpc-c3-dev scons libsqlite3-dev libmysqlclient-dev libxml2-dev libssl-dev ruby libxmlrpc-c3-0 libxmlrpc-core-c3-dev gemsGo under oneadmin. Download the OpenNebula 3.4.0 distribution, unpack and go to the directory:
su -l oneadmin
wget dev.opennebula.org/packages/opennebula-3.4.0/opennebula-3.4.0.tar.gz
tar xzf opennebula-3.4.0.tar.gz
cd opennebula-3.4.0/
Set the package build parameters:
scons sqlite=no mysql=yes
exit
Install OpenNebula as root:
./install.sh -u oneadmin -g cloud -d /srv/cloud/oneAgain, go under oneadmin:
su -l oneadminAnd create variable environments:
nano ~/.bash_profile
export ONE_LOCATION=/srv/cloud/one
export ONE_AUTH=$ONE_LOCATION/.one/one_auth
export ONE_XMLRPC=http://localhost:2633/RPC2
export PATH=$ONE_LOCATION/bin:/usr/local/bin:/var/lib/gems/1.8/bin/:/var/lib/gems/1.8/:$PATH
Apply:
source ~/.bash_profileCreate an authentication file, the password is specified in the explicit form:
mkdir ~/.one
echo "oneadmin:<THE_PASSWORD>" > ~/.one/one_auth
Next, we make the necessary changes to the oned.conf configuration file:
nano ~/etc/oned.confNeed to comment out the line:
#DB = [ backend = "sqlite" ]And specify mysql as a backend:
DB = [ backend = "mysql",
server = "localhost",
port =3306,
user = "oneadmin",
# passwd = "password",
db_name = "opennebula" ]
The passwd value was commented out because the password for the oneadmin user in mysql was not set.
We start the oned service:
one startAnd we give the command “onevm list”, just to see if the service will start:
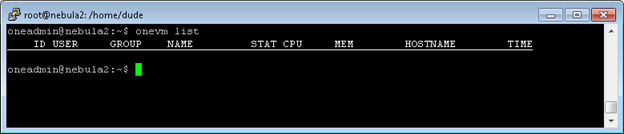
The conclusion, of course, will be empty.
Sunstone Install
So, the service has started, we put the necessary packages and GUI:
apt-get install rubygems
gem install json sinatra thin install rack rails rake sequel sqlite3
Next, you need to correct the Sunstone server configuration file:
nano /srv/cloud/one/etc/sunstone-server.confFind:
# Server Configuration
:host: 127.0.0.1
:port: 9869
And change to:
# Server Configuration
:host: 0.0.0.0
:port: 8888
Run the Sunstone server under oneadmin and get an error, look at the logs:
sunstone-server start
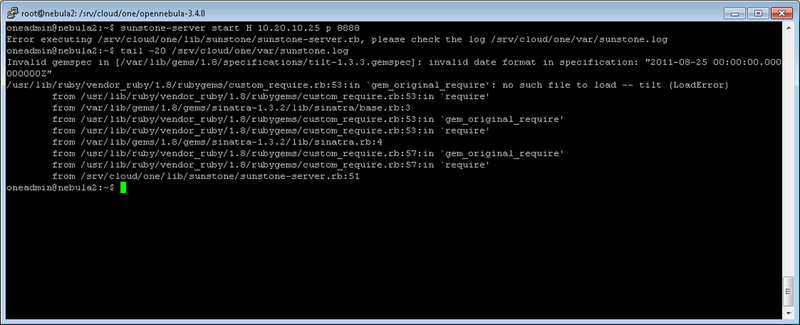
Correcting errors:
gem install rubygems-update
update_rubygems
gem update --system
Starting sunstone:
sunstone-server startGUI
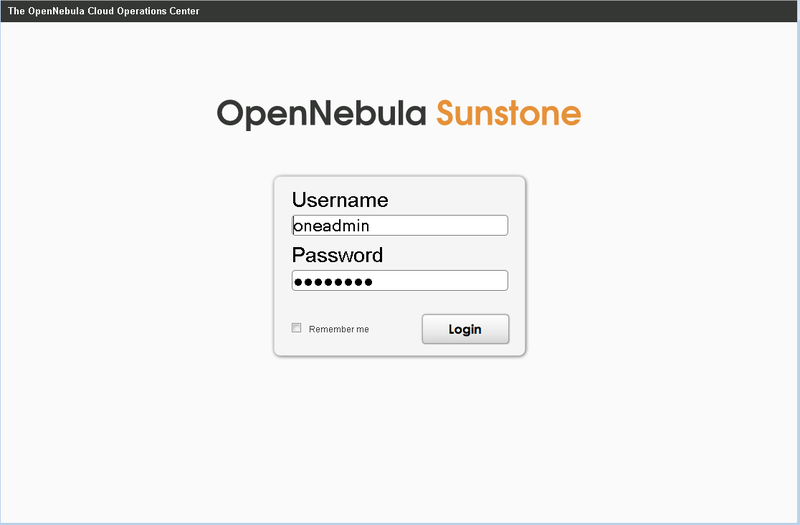
Go to the address http: // ip_address_or_hostname: 8888. Fill in the name and password fields previously registered in one_auth:
Rather ascetic dashboard. On the left side there is a tool tree, on the right - information about services and resources:

You can switch to Russian:

Who is more accustomed to:
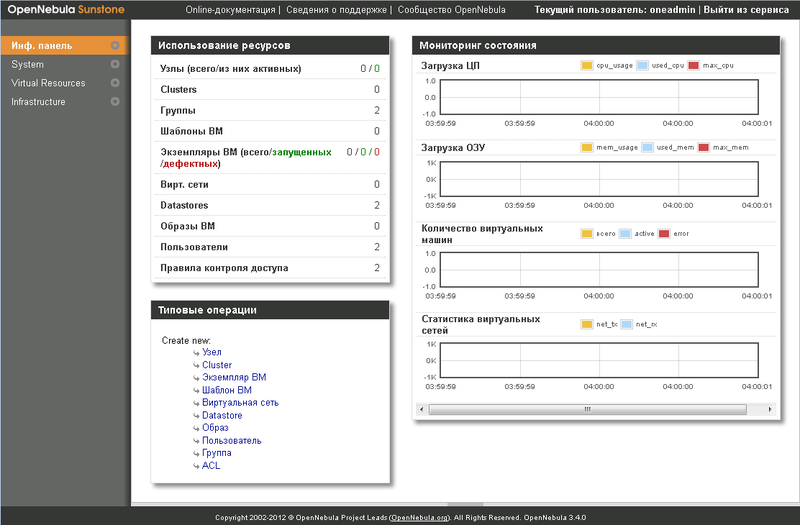
So what do we have?
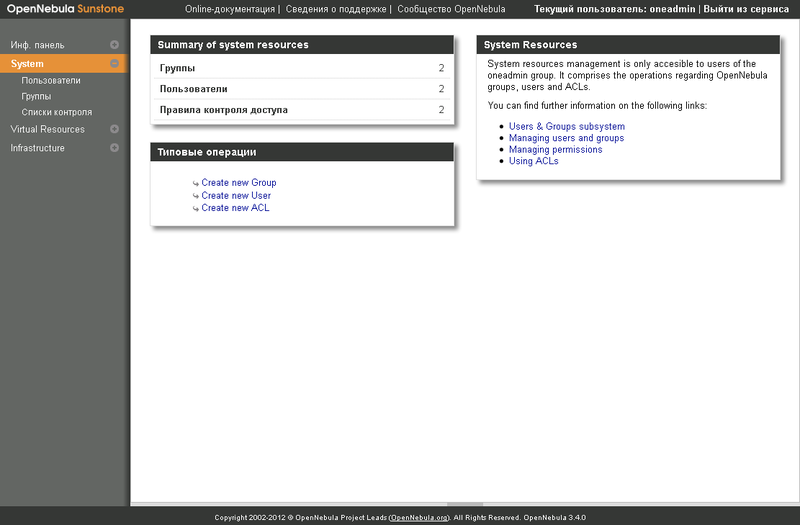
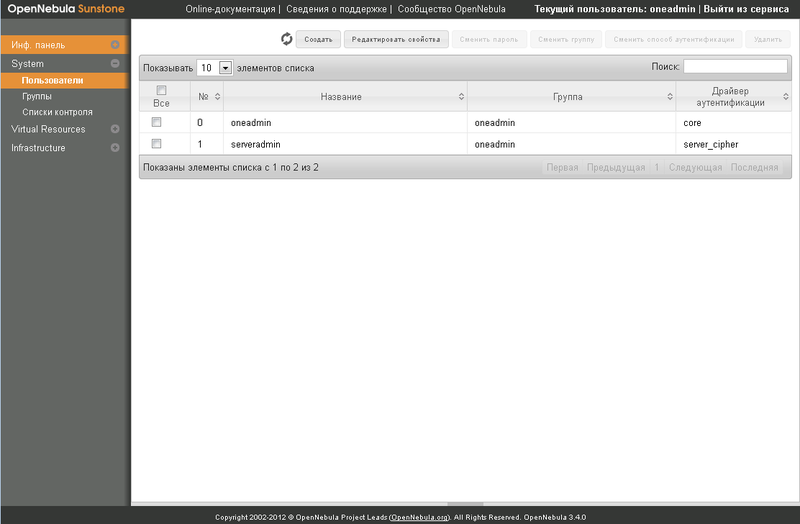
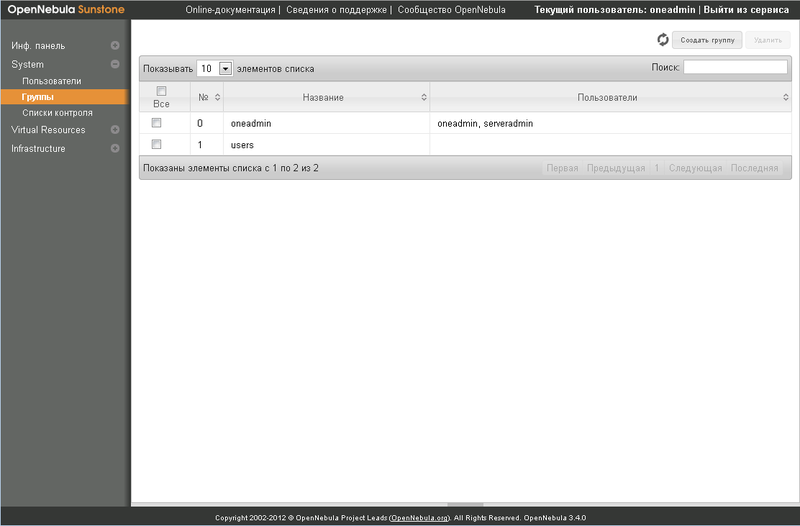
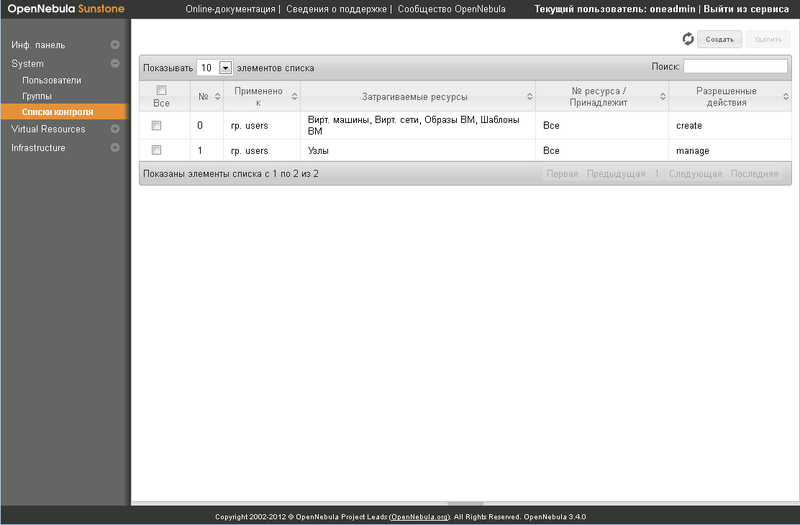
Tools for creating users, groups and access lists:
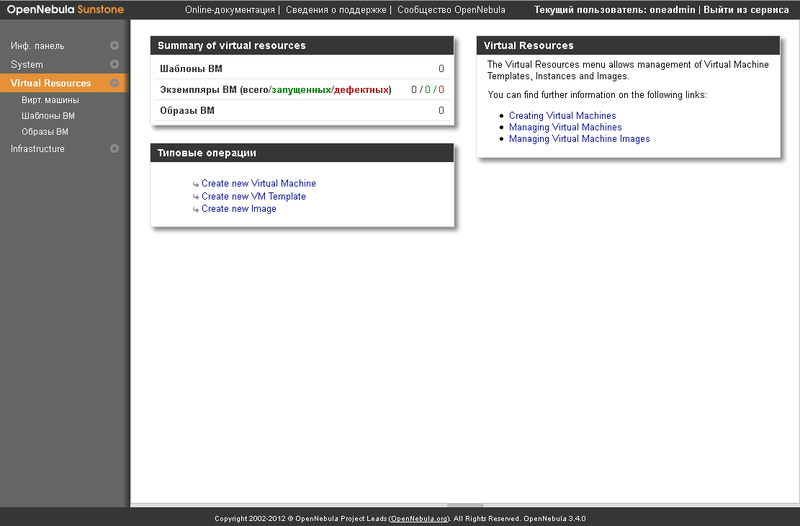
Panel for creating images of virtual machines, virtualoks and templates themselves:

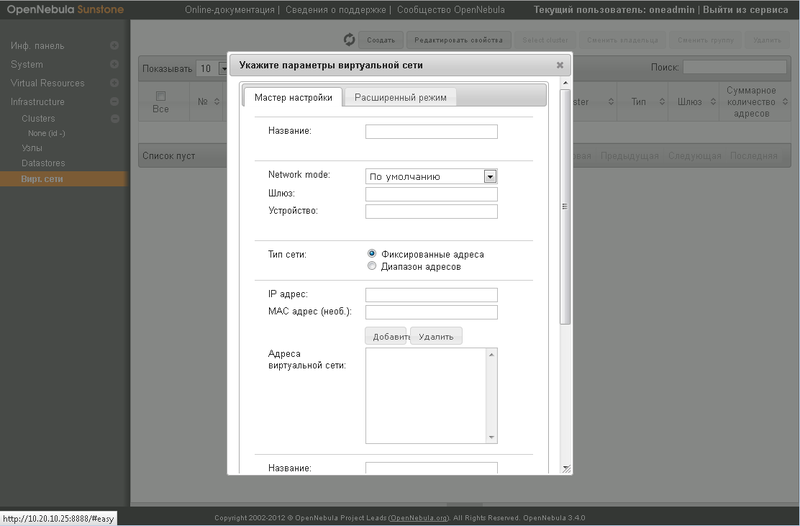
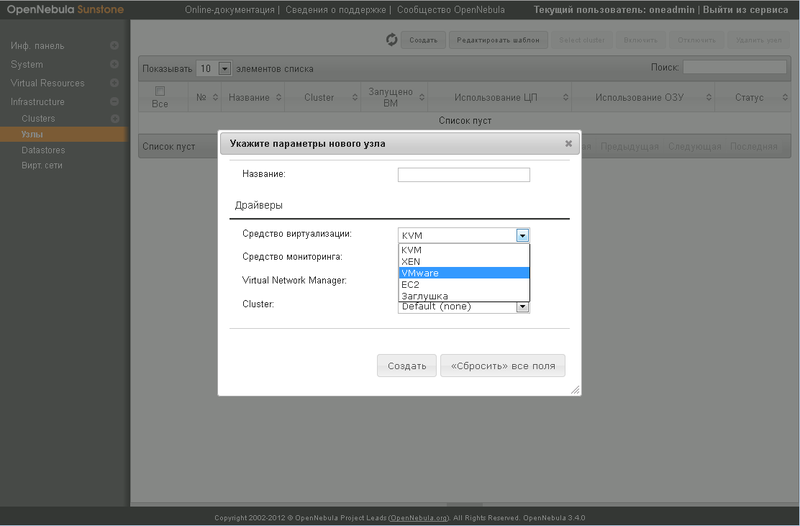
And at the very bottom - managing hosts, creating clusters, adding storage and creating virtual networks:

For example, a pop-up window:
It is possible to connect various hypervisors:
Enduser interface
This was the installation of administration tools. And what should the end user do? Do not give him access to the admin console ... For ordinary users, there is another toolkit.
Occi install
Find and edit the service occi configuration file:
nano /srv/cloud/one/etc/occi-server.confIn this file, you need to fix one line:
# Host and port where OCCI server will run
:server: localhost
:port: 4567
per line:
:server: 0.0.0.0We also changed the port - we installed 8889, because the installation is performed on the same host. Next, we deliver the necessary packages:
apt-get install libxml2 libxslt expatAnd we start the occi service:
occi-server startWe go to our IP-address or domain name (by the way, the documentation says that it is necessary to specify the FQDN in the config) and see what happened:
http:// ip-address_or_fqdn:8889/ui
Login to the self-service portal with the login oneadmin and the password that was specified earlier.
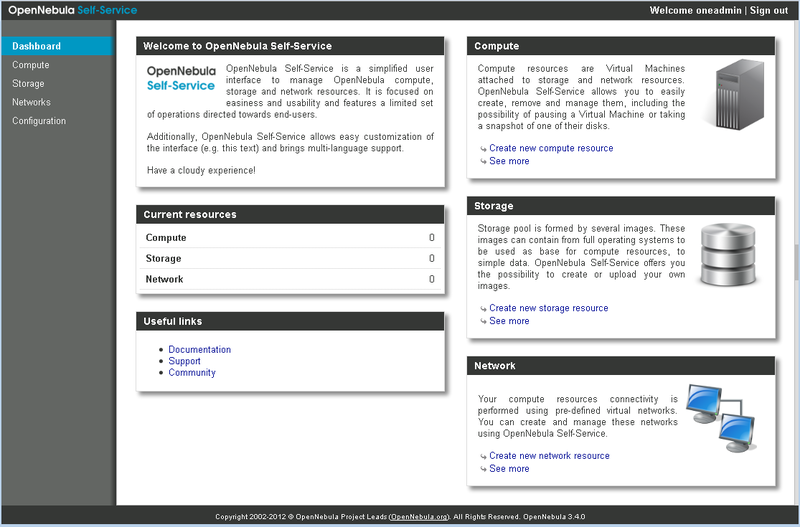
Further we will see only that configured for this user. If earlier we had created another user, configured a subnet, VM templates, etc. for him, we would see the corresponding image. And so we see pristine clean dashboards:
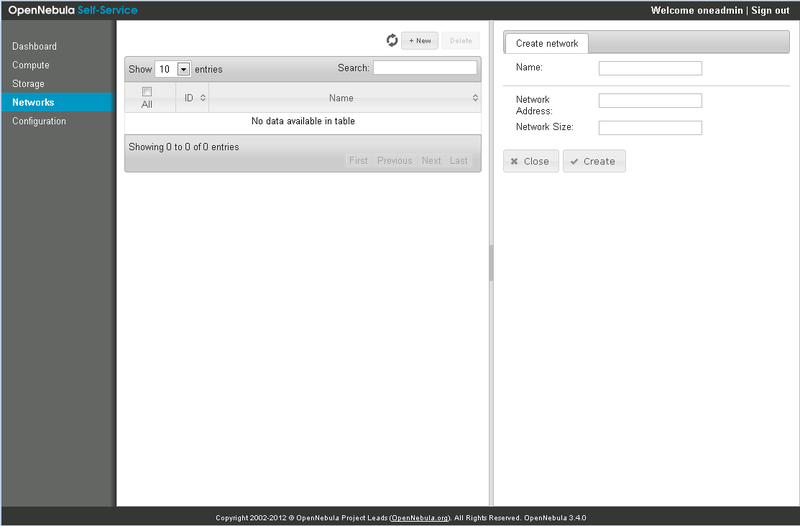
Well, then the points:
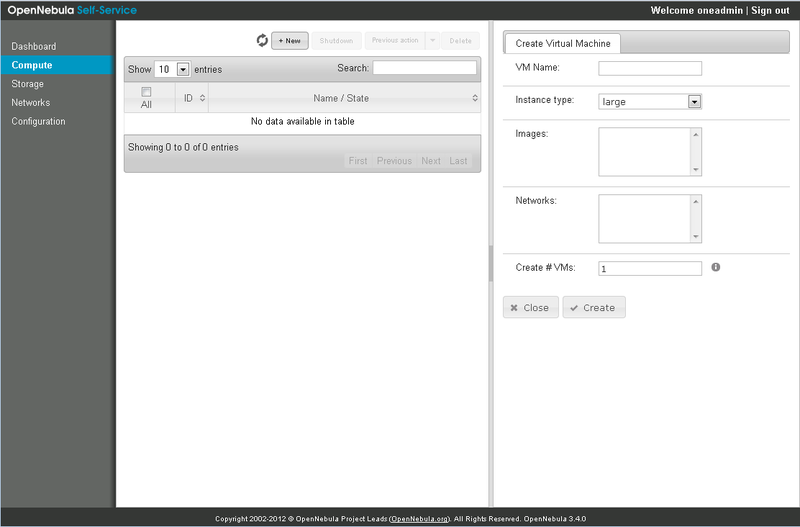
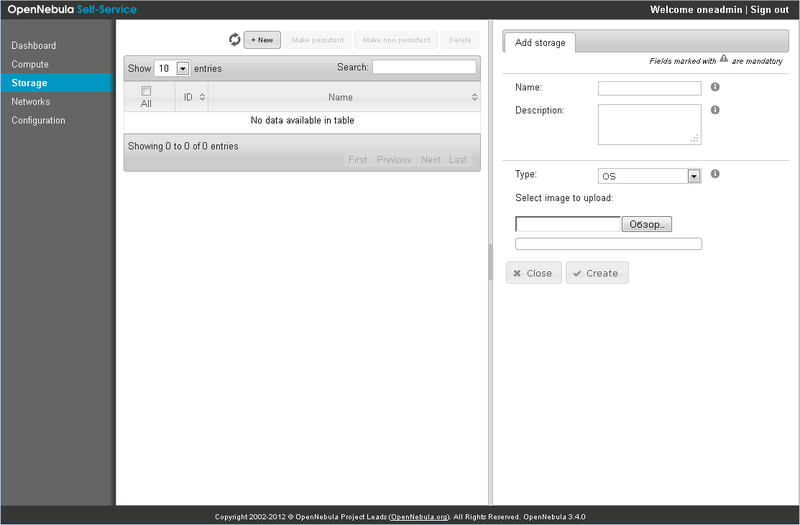
If you have the necessary rights, you can try to add something here, but it will not work, because hypervisors are not added.
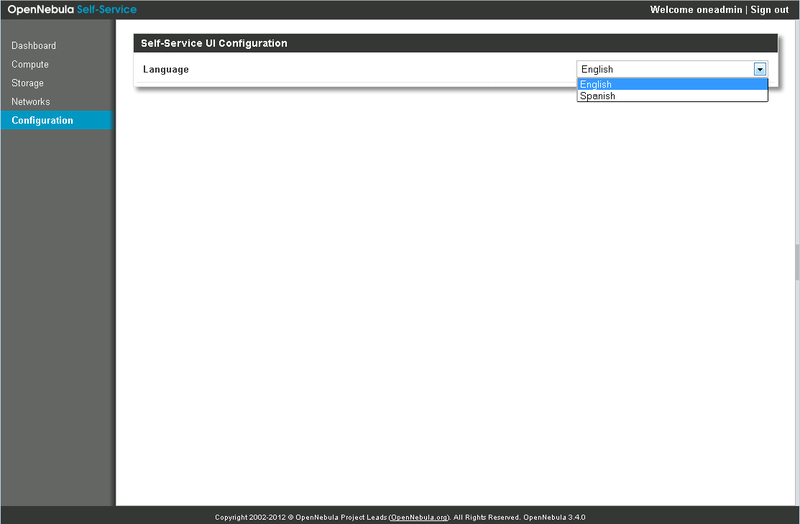
Unfortunately, there is no Russian language here, although it would be the way in the client part, and not in the admin panel.
Conclusion
That's all. The management server has been installed, the self-service portal is there - forward to the clouds! All tools are quite simple and functional. On our test bench, everything works without problems. You can steer everything without a GUI, right from the console. The documentation is quite detailed.
By the way, there is another installation method: whoever is too lazy to go through the steps described above, you can put everything in one command:
apt-get install opennebulaand then mess with configuring configs.
As already mentioned, the topic is devoted to the description of the installation of tools, so there are no examples of connecting hypervisors, creating networks, storages, and everything else. If it is interesting, we will tell about the product in more detail in the next article.
Good luck everyone!
madbug
DEPO Computers
Source: https://habr.com/ru/post/145826/
All Articles