How to create a video player on jQuery, HTML5 and CSS3

In this tutorial we will create a video player, for this we will use CSS3 for modeling and the library “MediaElement.js” for functionality. MediaElement.js is an HTML5 audio and video player that works in older browsers simulating the MediaElement HTML5 API using Flash and Silverlight.
Demonstration option
Source files
Step 1 - Download MediaElement.js
First you need to download “MediaElement.js” and unpack it. From the folder “build” we need three files:
')
- flashmediaelement.swf
- mediaelement-and-player.min.js
- silverlightmediaelement.xap
Copy these three files into one directory, I will name this folder “js”.
Step 2 - HTML Markup
Now we need to set the link to the jQuery library. Then add the “mediaelement-and-player.min.js” script to the link and add the CSS file:
<head> <title>Video Player</title> <script src="https://ajax.googleapis.com/ajax/libs/jquery/1.7.2/jquery.min.js"></script> <script src="js/mediaelement-and-player.min.js"></script> <link rel="stylesheet" href="css/style.css" media="screen"> </head> To create a video player, we need a new HTML5 video tag. Then we will add some attributes for this tag: the width and height of the video and the “cover”. The cover (image) can be shown before the start of the video, until the user clicks on the play button.
<video width="640" height="267" poster="media/cars.png"> <source src="media/cars.mp4" type="video/mp4"> </video> Now we need to add the following code for the control buttons and make some settings:
- alwaysShowControls - always show control buttons, or only when you hover the cursor
- videoVolume - volume slider
- features: ['playpause', 'progress', 'volume', 'fullscreen'] - video control buttons
"MediaElement.js" official documentation
<script type="text/javascript">// <![CDATA[ $(document).ready(function() { $('video').mediaelementplayer({ alwaysShowControls: true, videoVolume: 'horizontal', features: ['playpause','progress','volume','fullscreen'] }); }); // ]]></script> Step 3 - Basic Styles
Let's start by adding some styles.
.mejs-inner, .mejs-inner div, .mejs-inner a, .mejs-inner span, .mejs-inner button, .mejs-inner img { margin: 0; padding: 0; border: none; outline: none; } Then we set the overall style for the block with video. All CSS properties we use to create the layout of the video block. This will not create special styles for the video itself, this is just to place all the elements in the right place.
.mejs-container { position: relative; background: #000000; } .mejs-inner { position: relative; width: inherit; height: inherit; } .me-plugin { position: absolute; } .mejs-container-fullscreen .mejs-mediaelement, .mejs-container-fullscreen video, .mejs-embed, .mejs-embed body, .mejs-mediaelement { width: 100%; height: 100%; } .mejs-embed, .mejs-embed body { margin: 0; padding: 0; overflow: hidden; } .mejs-container-fullscreen { position: fixed; left: 0; top: 0; right: 0; bottom: 0; overflow: hidden; z-index: 1000; } .mejs-background, .mejs-mediaelement, .mejs-poster, .mejs-overlay { position: absolute; top: 0; left: 0; } .mejs-poster img { display: block; } 
Step 4 - Unit with control
Let's add a big play button in the center of the player.
.mejs-overlay-play { cursor: pointer; } .mejs-inner .mejs-overlay-button { position: absolute; top: 50%; left: 50%; width: 50px; height: 50px; margin: -25px 0 0 -25px; background: url(../img/play.png) no-repeat; } We will position the block with the video below, set the height to 34px and add a background color. It is better to use RGBA to make the background transparent, but RGBA is not supported by older browsers, so we will also add RGB. Then we will install some control buttons with a common style and a sprite image.
.mejs-container .mejs-controls { position: absolute; width: 100%; height: 34px; left: 0; bottom: 0; background: rgb(0,0,0); background: rgba(0,0,0, .7); } .mejs-controls .mejs-button button { display: block; cursor: pointer; width: 16px; height: 16px; background: transparent url(../img/controls.png); } 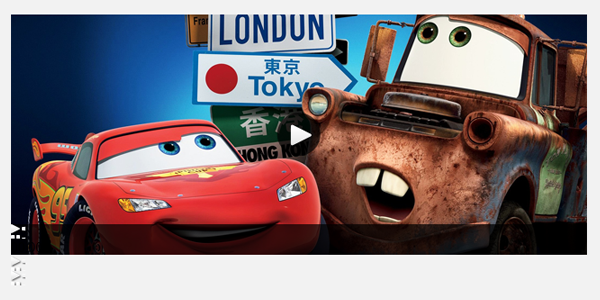
Step 5 - Video Control Buttons
Now it is necessary to change the position of each button on the control unit, set the width and height of all buttons, change the position of the background image.
.mejs-controls div.mejs-playpause-button { position: absolute; top: 12px; left: 15px; } .mejs-controls .mejs-play button, .mejs-controls .mejs-pause button { width: 12px; height: 12px; background-position: 0 0; } .mejs-controls .mejs-pause button { background-position: 0 -12px; } .mejs-controls div.mejs-volume-button { position: absolute; top: 12px; left: 45px; } .mejs-controls .mejs-mute button, .mejs-controls .mejs-unmute button { width: 14px; height: 12px; background-position: -12px 0; } .mejs-controls .mejs-unmute button { background-position: -12px -12px; } .mejs-controls div.mejs-fullscreen-button { position: absolute; top: 7px; right: 7px; } .mejs-controls .mejs-fullscreen-button button, .mejs-controls .mejs-unfullscreen button { width: 27px; height: 22px; background-position: -26px 0; } .mejs-controls .mejs-unfullscreen button { background-position: -26px -22px; } 
Step 6 - Volume Slider
Set the style for the volume slider, change the location, and then add the width and height values, with rounded corners.
.mejs-controls div.mejs-horizontal-volume-slider { position: absolute; cursor: pointer; top: 15px; left: 65px; } .mejs-controls .mejs-horizontal-volume-slider .mejs-horizontal-volume-total { width: 60px; background: #d6d6d6; } .mejs-controls .mejs-horizontal-volume-slider .mejs-horizontal-volume-current { position: absolute; width: 0; top: 0; left: 0; } .mejs-controls .mejs-horizontal-volume-slider .mejs-horizontal-volume-total, .mejs-controls .mejs-horizontal-volume-slider .mejs-horizontal-volume-current { height: 4px; -webkit-border-radius: 2px; -moz-border-radius: 2px; border-radius: 2px; } 
Step 7 - View Indicator
Place the viewing indicator on the top of the control unit, add a background color for each state (full scale and time to load). Set the width to 0, which will be automatically updated when the movie is loaded.
.mejs-controls div.mejs-time-rail { position: absolute; width: 100%; left: 0; top: -10px; } .mejs-controls .mejs-time-rail span { position: absolute; display: block; cursor: pointer; width: 100%; height: 10px; top: 0; left: 0; } .mejs-controls .mejs-time-rail .mejs-time-total { background: rgb(152,152,152); background: rgba(152,152,152, .5); } .mejs-controls .mejs-time-rail .mejs-time-loaded { background: rgb(0,0,0); background: rgba(0,0,0, .3); } .mejs-controls .mejs-time-rail .mejs-time-current { width: 0; } 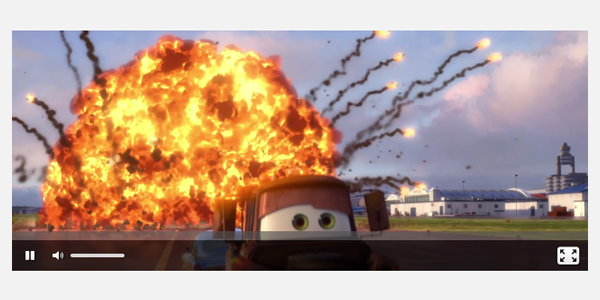
Step 8 - View Marker and Time Indicator
At this stage, we will add a marker for the viewing scale and tooltips that will display the current time when you hover the mouse. Now we need to give them a position, add a background image, set the width and height, and add some typography styles.
.mejs-controls .mejs-time-rail .mejs-time-handle { position: absolute; cursor: pointer; width: 16px; height: 18px; top: -3px; background: url(../img/handle.png); } .mejs-controls .mejs-time-rail .mejs-time-float { position: absolute; display: none; width: 33px; height: 23px; top: -26px; margin-left: -17px; background: url(../img/tooltip.png); } .mejs-controls .mejs-time-rail .mejs-time-float-current { position: absolute; display: block; left: 0; top: 4px; font-family: Helvetica, Arial, sans-serif; font-size: 10px; font-weight: bold; color: #666666; text-align: center; } .mejs-controls .mejs-time-rail .mejs-time-float-corner { display: none; } 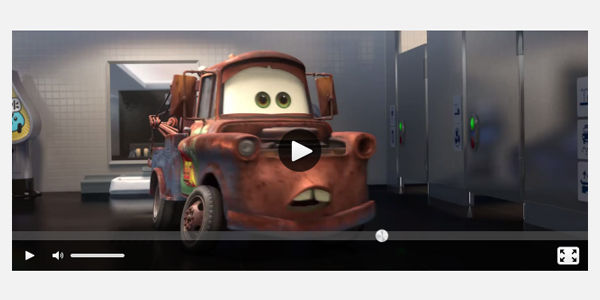
Step 9 - CSS3 Gradient
It remains for us to add a green CSS3 gradient that will be used on the viewing scale and volume control.
.mejs-controls .mejs-time-rail .mejs-time-current, .mejs-controls .mejs-horizontal-volume-slider .mejs-horizontal-volume-current { background: #82d344; background: -webkit-linear-gradient(top, #82d344 0%, #51af34 100%); background: -moz-linear-gradient(top, #82d344 0%, #51af34 100%); background: -o-linear-gradient(top, #82d344 0%, #51af34 100%); background: -ms-linear-gradient(top, #82d344 0%, #51af34 100%); background: linear-gradient(top, #82d344 0%, #51af34 100%); } 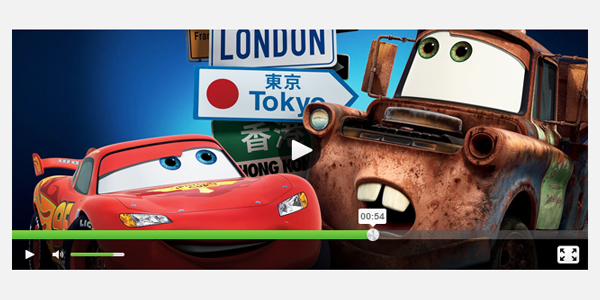
Demonstration option
Source files
Source: https://habr.com/ru/post/144020/
All Articles