Character modeling and graphic design for a mobile game
Recently saw a toy in the style of Tower Defense called Bug Invasion for Windows Phone. In the article, developers share key points of modeling bugs and developing a game design.

Two tools were used to create the game: Adobe Photoshop CS5 and Autodesk 3D`s Max 2011.
')
The first was the discussion stage - which GUI elements should be drawn and how they should approximately look like. Based on these discussions, sketches of the user interface, schematic drawings of the placement of decorations and elements of the game screen, as well as schematic drawings of future characters were created. There is little beauty here, just schemes.
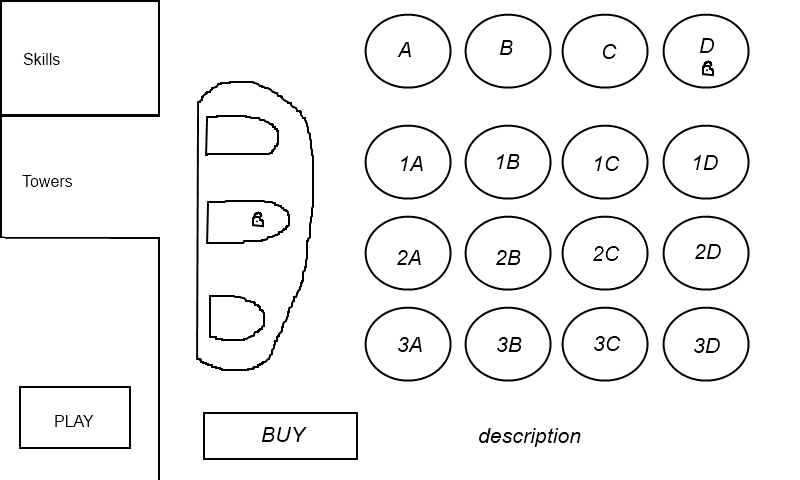
Sketch tower selection menu
The design of the game began by drawing the background of the game in Adobe Photoshop - drawing flowers, grass, stones, fences, places to place towers, hills, etc. In the future, we cut this background into two parts, with transparency. The first part is a hill with slots for installation of towers, lower and upper scenery (so that the beetles can go behind the bushes, well, that was more fun :-), the second, in fact, is a background with green grass and clover.
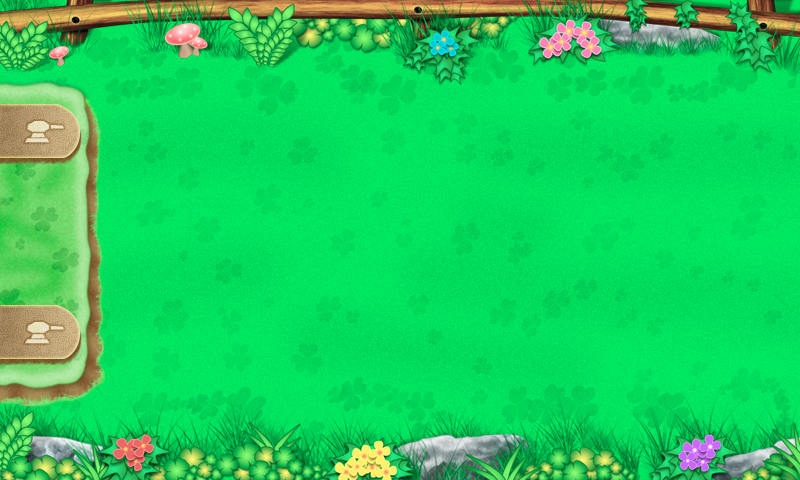
After creating the background, the game screen elements turn. Such as the zone of destruction of mass weapons, as well as buttons, numbers, scope, icons, etc.

It seems that everything is simple, but in fact all this has been redrawn a million times, it has been drawn, and new ideas have come.
Then GUI elements were drawn: buttons, menus, skill icons, tabs and lights:

As for iconography: you should never forget that icons should be clear and intuitive. It is also very important to get into the pixel, making the borders of your icons clear:
An example of not getting shapes into a pixel:
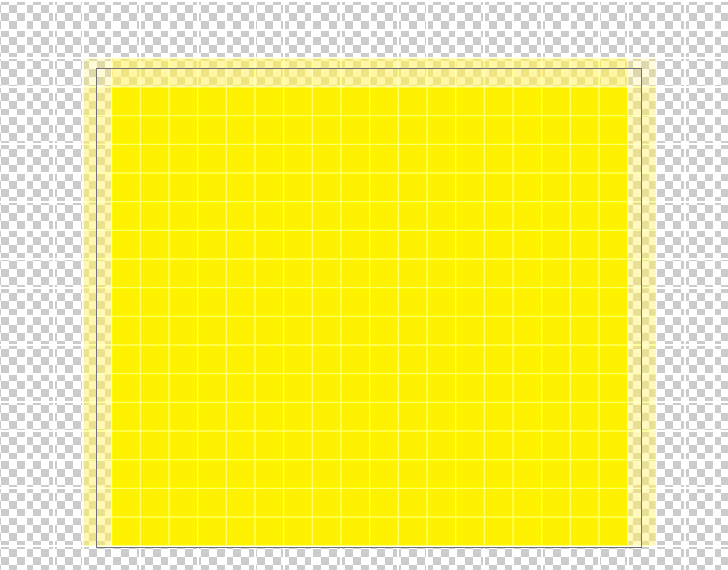
And here we are corrected and hit:

The result was a full-fledged graphical user interface for the game. Nothing complicated, but painfully time-consuming is work - a lot of time and effort is spent. But when you get an acceptable result, then you rejoice and realize that it was worth it.

Next, the characters were made the game in Autodesk 3D`s Max. We always remembered that the characters should harmoniously blend in with the background of the game. The process of creating a character is divided into the following stages: sketching, modeling, texturing and animation, well, it’s still necessary to render.
Imagine or look at a picture of a beetle and draw a sketch on a tablet - this will speed up the modeling process. Create a beetle model with a small number of polygons, then they can be smoothed with the Mesh Smooth modifier. Next, create materials for the beetle and assign them to a heartless gray polygon:

The stages of creating towers are the same. Only during the animation you need to create additional light sources in front of the barrel to simulate a shot and light the fire.

Autodesk 3D`s Max 2011 was used to create characters. This method seemed optimal and faster than drawing each frame for towers and beetles. To ensure that the animation of the beetle was smooth, 48 frames were used. 12 frames for dying bugs, 18 for movement, 18 for devouring crops. All frames were collected through Photoshop in one sprite. For towers, the number of frames is more - 84. 21 frames per turn without a shot, 21 - at the beginning of the shot of the tower, 21 - to display the shot in all its glory, 21 - to fade the fire.


Also for each tower it was necessary to create a particle that was used in the shot. For rendering used mental ray render.
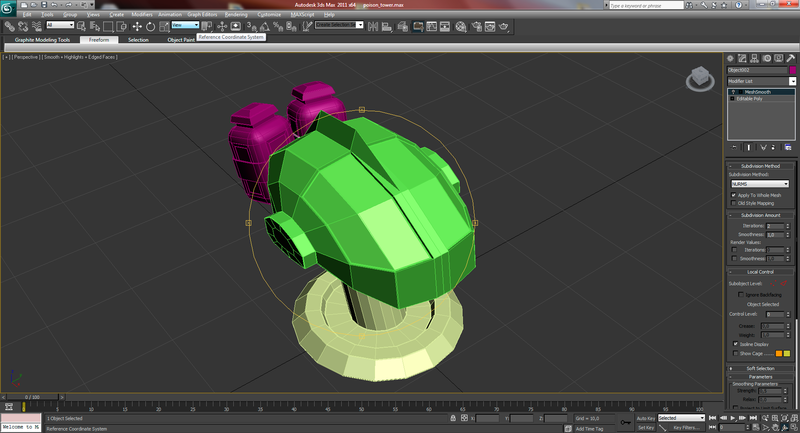
About the animation. If you want the beetle to turn out to be dynamic and not plastic - pay a lot of attention to the details in the animation process. For example, when the goose moves, its body shrinks and in the center it seems to swell a little, the antennae move and the eyes grow, which, in principle, means that it is not easy for her to crawl quickly :-) This is the simplest example of the animation of a bug .

For some instances, in order to speed up the animation process, it was necessary to adjust the bone system (Bones System). The system of bones simplified the order of the beetle's legs.
It is also important to adjust the scene in 3ds Max once with the same lighting (so that the shadows and illumination of our game objects are the same), set the camera in the same position (so that the view of the bug or the tower is always from the same point)
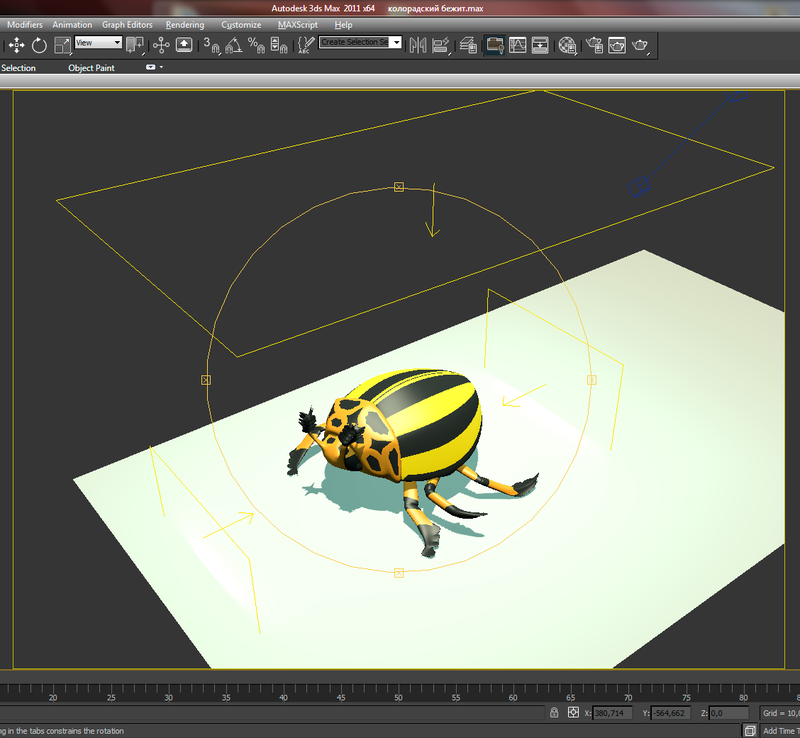
and what's important is to adjust the shadows to a plane that is invisible for rendering using matte / shadow / reflection material.
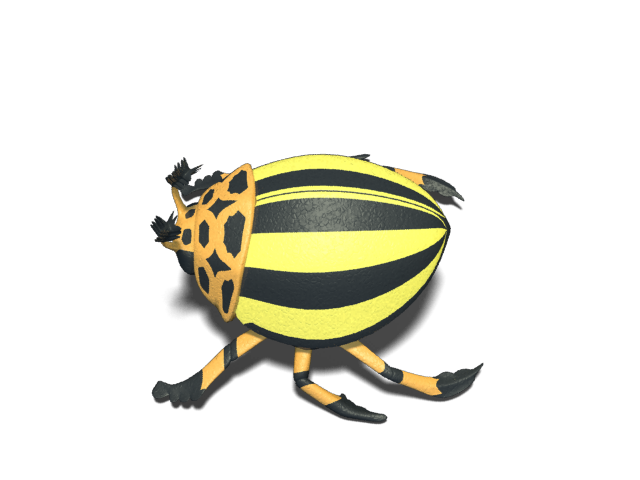
As a result, we get a beautiful detailed shadow on transparency in * .png format and not a tasteless oval spot.
What happened in the end - look in the video:
It turned out good or bad - to judge you !
Thanks for attention!

Two tools were used to create the game: Adobe Photoshop CS5 and Autodesk 3D`s Max 2011.
')
The first was the discussion stage - which GUI elements should be drawn and how they should approximately look like. Based on these discussions, sketches of the user interface, schematic drawings of the placement of decorations and elements of the game screen, as well as schematic drawings of future characters were created. There is little beauty here, just schemes.

Sketch tower selection menu
The design of the game began by drawing the background of the game in Adobe Photoshop - drawing flowers, grass, stones, fences, places to place towers, hills, etc. In the future, we cut this background into two parts, with transparency. The first part is a hill with slots for installation of towers, lower and upper scenery (so that the beetles can go behind the bushes, well, that was more fun :-), the second, in fact, is a background with green grass and clover.

After creating the background, the game screen elements turn. Such as the zone of destruction of mass weapons, as well as buttons, numbers, scope, icons, etc.

It seems that everything is simple, but in fact all this has been redrawn a million times, it has been drawn, and new ideas have come.
Then GUI elements were drawn: buttons, menus, skill icons, tabs and lights:

As for iconography: you should never forget that icons should be clear and intuitive. It is also very important to get into the pixel, making the borders of your icons clear:
An example of not getting shapes into a pixel:

And here we are corrected and hit:

The result was a full-fledged graphical user interface for the game. Nothing complicated, but painfully time-consuming is work - a lot of time and effort is spent. But when you get an acceptable result, then you rejoice and realize that it was worth it.

Next, the characters were made the game in Autodesk 3D`s Max. We always remembered that the characters should harmoniously blend in with the background of the game. The process of creating a character is divided into the following stages: sketching, modeling, texturing and animation, well, it’s still necessary to render.
Imagine or look at a picture of a beetle and draw a sketch on a tablet - this will speed up the modeling process. Create a beetle model with a small number of polygons, then they can be smoothed with the Mesh Smooth modifier. Next, create materials for the beetle and assign them to a heartless gray polygon:

The stages of creating towers are the same. Only during the animation you need to create additional light sources in front of the barrel to simulate a shot and light the fire.

Autodesk 3D`s Max 2011 was used to create characters. This method seemed optimal and faster than drawing each frame for towers and beetles. To ensure that the animation of the beetle was smooth, 48 frames were used. 12 frames for dying bugs, 18 for movement, 18 for devouring crops. All frames were collected through Photoshop in one sprite. For towers, the number of frames is more - 84. 21 frames per turn without a shot, 21 - at the beginning of the shot of the tower, 21 - to display the shot in all its glory, 21 - to fade the fire.


Also for each tower it was necessary to create a particle that was used in the shot. For rendering used mental ray render.

About the animation. If you want the beetle to turn out to be dynamic and not plastic - pay a lot of attention to the details in the animation process. For example, when the goose moves, its body shrinks and in the center it seems to swell a little, the antennae move and the eyes grow, which, in principle, means that it is not easy for her to crawl quickly :-) This is the simplest example of the animation of a bug .

For some instances, in order to speed up the animation process, it was necessary to adjust the bone system (Bones System). The system of bones simplified the order of the beetle's legs.
It is also important to adjust the scene in 3ds Max once with the same lighting (so that the shadows and illumination of our game objects are the same), set the camera in the same position (so that the view of the bug or the tower is always from the same point)

and what's important is to adjust the shadows to a plane that is invisible for rendering using matte / shadow / reflection material.

As a result, we get a beautiful detailed shadow on transparency in * .png format and not a tasteless oval spot.
What happened in the end - look in the video:
It turned out good or bad - to judge you !
Thanks for attention!
Source: https://habr.com/ru/post/143674/
All Articles