Build a cloud, asynchronous and scalable web application with SignalR

Introduction to SignalR
First I want to say thanks to David Fowler and Damian Edwards for developing SignalR and demonstrating the features that can be seen at channel9.msdn.com/Shows/Web+Camps+TV/Damian-Edwards-and-David -Fowler-Demonstrate-SignalR
SignalR is a new technology from Microsoft that simplifies the development of asynchronous, scalable web applications with near-real-time long-lived persistent connections. The SignalR framework is available on GitHub github.com/SignalR/SignalR and NuGet nuget.org/packages/signalr . Many technological innovations of recent years paved the way for the creation of SignalR. If you talk to its creators with David Fowler and Damian Edwards, they will tell you that creating SignalR a few years ago would have been too difficult.
')
To try the SignalR sample application deployed in Windows Azure:
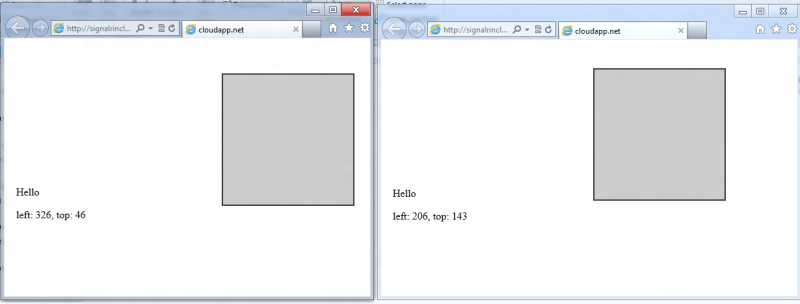
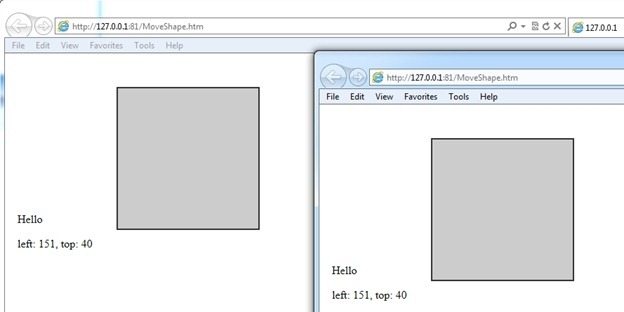
1. Open the signalrincloud.cloudapp.net/Moveshape.htm link in two different browser windows or even different browsers.
2. Using the mouse, move the square in one or the second window. In the second window, the square should also move.
Writing multi-threaded programs was simply too complicated until the Task Parallel Library library appeared in the Microsoft .NET Framework 4. And development with jQuery will allow you to write JavaScript code once and it will work in Firefox, Internet Explorer, Safari, Opera, and Chrome. The convergence of various technologies has opened the doors to the technical feasibility of creating and using SignalR.
Creating an application and deploying it to the cloud
Even with SignalR support at the same time hundreds of thousands of connections on a single server, there may come a time when additional scaling capabilities are required. Windows Azure is a Microsoft cloud platform that simplifies the hosting of SignalR applications for deployment and scaling tasks. The article will demonstrate how to simply build and deploy the SignalR application in the cloud. It is assumed that you have all the necessary SDKs and tools for developing Windows Azure installed. This issue is discussed in the next article blogs.msdn.com/b/brunoterkaly/archive/2012/03/27/microsoft-azure-cloud-devcamps-if-you-can-t-make-it-in-person.aspx .
Let's take a look at how to implement the application shown in the figure below, which allows one browser to broadly drag a square to other browsers. This means that if the user moves the shape in one browser, it will also move in all other browsers. If the shape is moved to Browser # 1, it will move and Browser # 2.
Steps for creating a SignalR application and posting it in the cloud
1. Using Visual Studio 2010 to create a Cloud project.
2. Add the Asp.Net Web Role role to the project. This will be the container of our web application.
3. Using NuGet add the necessary SignalR assemblies and links. You also need to add jQuery JavaScript modules through NuGet.
4. Write the server code: create a class that inherits from SignalR Hub and will be executed on the server. He will listen to Browser # 1 and forward events to Browser # 2.
5. Write client code, which is a web page and a certain amount of JavaScript code.
6. Go to Windows Azure Management Portal and create a hosting service and storage account.
7. Pack a project and deploy it to Windows Azure.
8. Specify how many running server instances are needed. This can be changed after deployment.
9. Done!
This is how the Visual Studio 2011 solution will look like when we complete the development
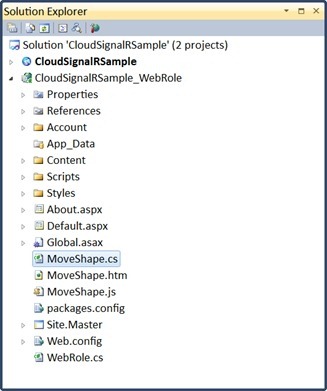
Three main files that we add to the Visual Studio solution:
MoveShape.cs is the SignalR server code that works as a hub or central gateway for jQuery broadcasts. This code listens to one browser and sends user actions to other browsers.
MoveShape.js - JavaSript code in the browser that is called via the SignalR backend server.
MoveShape.htm - the web page where everything happens. It is there that the user pulls the figure, while others see how it moves in other browsers.
Creating a new project Cloud
1. Create a new Cloud project.
a. Start Visual Studio as an administrator and select File , New Project .

b. In the left pane, select Cloud, enter the project name and location in the input fields.
2. Double click on ASP.NET Web Role

3. Rename the web role to CloudSignalRSample_WebRole . This is not necessary, but allows you to make the code more organized.

SignalR installation using NuGet
NuGet is probably the easiest way to work with SignalR. It allows you to simply download the SignalR assembly and add code samples to your project. Also all necessary dependencies will be added.
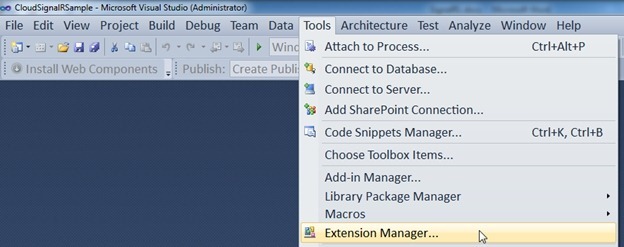
1. If NuGet is not already installed, you need to do this. To do this, on the Tools menu, select Extension Manager.
2. Select NuGetPackage Manager and select Download.

3. After installing NuGet, you can install SignalR
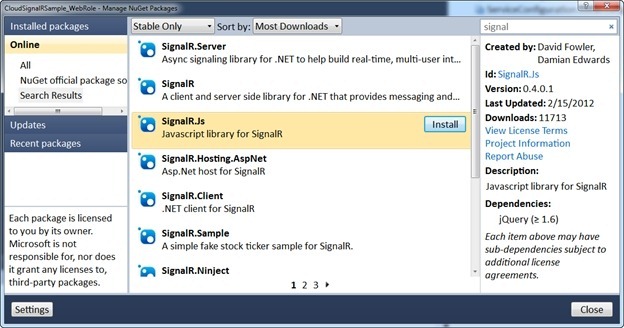
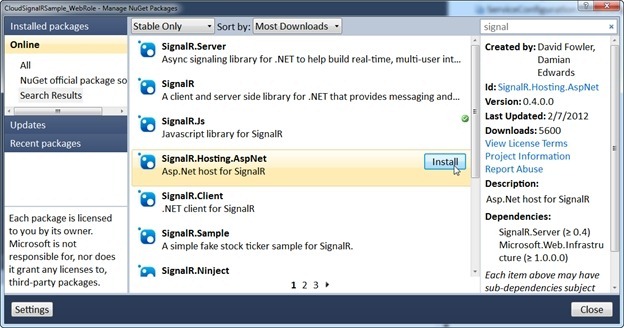
4. Install the two SignalR packages: SignalR.Js and SignalR.Hosting.AspNet (everything else needed will be installed automatically when dependencies are resolved)
5. Please note that various links have been added to the solution, reflecting the installation of the SignalR packages .

Add server and client code
It is time to add the 3 files that we discussed earlier: 1) MoveShape.cs; (2) MoveShape.js; (3) MoveShape.htm.
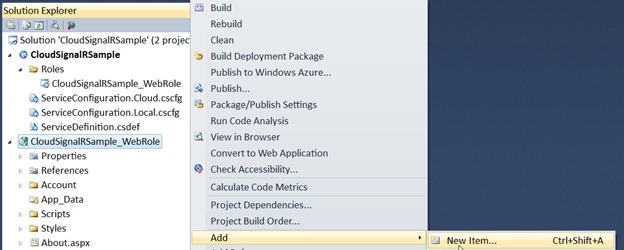
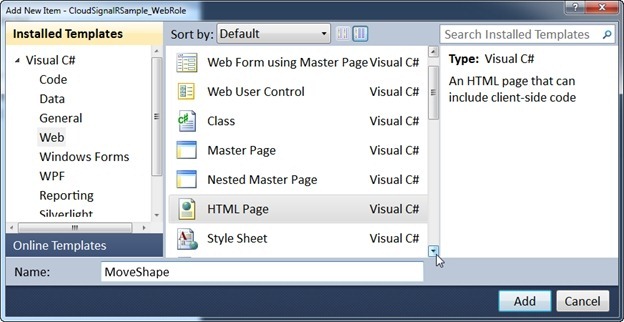
1. Right-click on the web role project and select Add , New Item
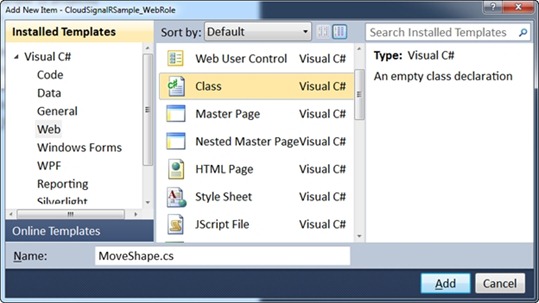
2. Select Class and name the file MoveShapre.cs .
3. Add the following code to the file: MoveShape.cs
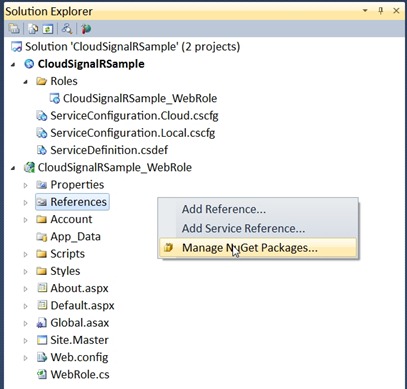
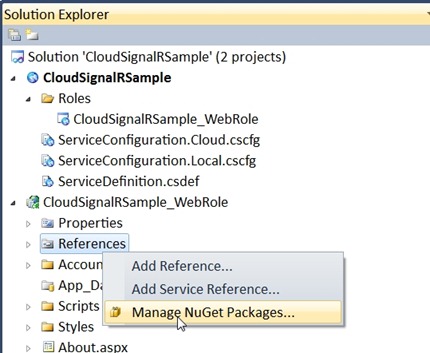
using System; using System.Collections.Generic; using System.Linq; using System.Web; // Add reference using SignalR.Hubs; namespace CloudSignalRSample_WebRole { // Derive from Hub, which is a server-side class // and a client side proxy. [HubName("moveShape")] // moveShape is the name used in the Javascript public class MoveShapeHub : Hub { public void MoveShape(int x, int y) { // Broadcast drag event to other browsers Clients.shapeMoved(Context.ConnectionId, x, y); // Simple diagnostics for debugging System.Diagnostics.Debug.WriteLine("x = " + x + ", y = " + y); } } } 4. Now, using NuGet, add jQuery code to the project. Right-click on References and select Manage NuGet Packages.
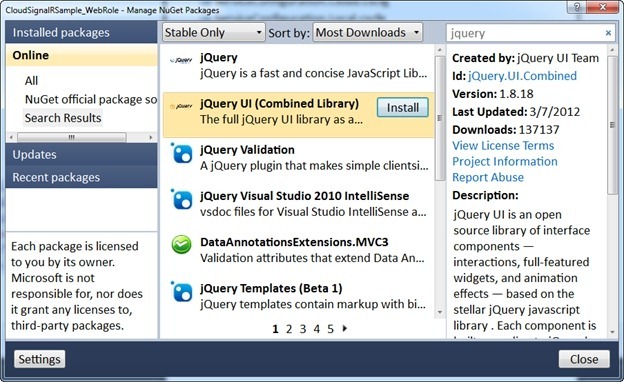
5. Select and install a NuGet package called jQuery UI (Combined Library)
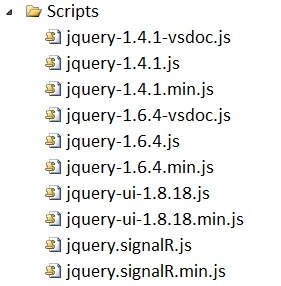
6. Note the added scripts
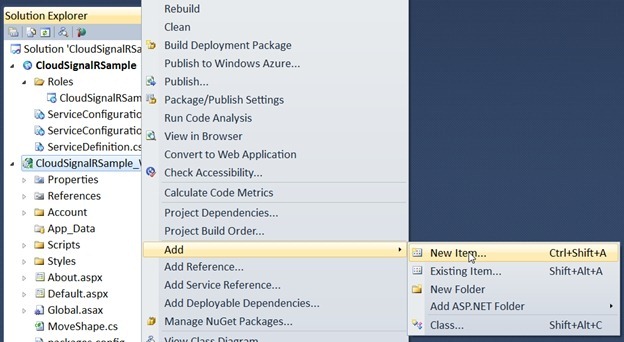
7. Right-click on the web role project and select Add , New Item
8. Select Web and Jscript File , name it MoveShape.js

9. Add the following code to the file:
/// <reference path="Scripts/jquery-1.6.4.js" /> /// <reference path="Scripts/jquery.signalR.js" /> /// <reference path="Scripts/jquery-ui-1.8.18.js" /> $(function () { // Get a refeerence to the server-side moveShape() class. var hub = $.connection.moveShape, // Get a reference to the shape div in the html $shape = $("#shape"); // Use extend to move the shape object (if we are not the sender) $.extend(hub, { // Use css to move the shape object shapeMoved: function (cid, x, y) { if ($.connection.hub.id !== cid) { $shape.css({ left: x, top: y }); $("p:last").text("left: " + x + ", top: " + y); } } }); // Wire up the draggable behavior (when hub is done starting) // "done" is a jquery deferred method $.connection.hub.start().done(function () { $shape.draggable({ // Implement draggable effect for jquery drag: function () { // Tell the server that the shape was just dragged hub.moveShape(this.offsetLeft, this.offsetTop); } }); }) }); 10. Right-click on the web role project and select Add , New Item.
11. Select Web and HTML Page , name it MoveShape.htm
12. Add the following code to the file:
<!DOCTYPE html > <html xmlns="http://www.w3.org/1999/xhtml"> <head> <title></title> <style type="text/css"> #shape { width: 200px; height: 200px; background: #ccc; border: 2px solid #333; } p { margin-left:10px; } </style> </head> <body> <div id="shape"></div> <script src="../Scripts/jquery-1.6.4.js" type="text/javascript"></script> <script src="../Scripts/jquery-ui-1.8.18.js" type="text/javascript"></script> <script src="../Scripts/jquery.signalR.js" type="text/javascript"></script> <script src="/signalr/hubs" type="text/javascript"></script> <script src="MoveShape.js" type="text/javascript"></script> <div> <p>Hello</p></div><p></p> </body> </html> Application Testing
Let's start the project in the Windows Azure emulator. Do not forget to set the Start page before launching MoveShape.hrm .
1. Select Debug , Start Debugging in the menu. The Windows Azure Compute and Windows Azure Storage emulator will start and the MoveShape.hrm start page will open .
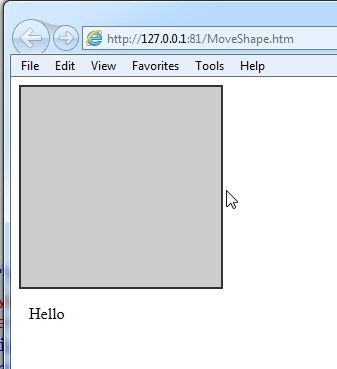
2. Launch IE or any other browser and paste the link 127.0.0.1 : 81 / MoveShape.htm into it
3. Place two windows side by side and check that when you move the shape in any of the browsers, it will move in the other.
4. Everything is ready to deploy the project in Windows Azure.
Deploying a project in Windows Azure
Note of the translator: Since there are a lot of instructions for deploying projects in Windows Azure on habr and in the Russian-language Internet, I did not translate this part of the article in order not to clutter up a long enough text.
Conclusion
SignalR is a significant step forward in reducing the barrier to creating asynchronous and scalable web applications for modern browsers. Together with Windows Azure, SignalR opens the door to an even wider range of applications. Let me say that SignalR also works with non-browser clients, such as traditional desktop applications. Finally, SignalR was created with the ability to use other high-level transports that are not based on “lengthy requests”, such as Web Sockets, Server Sent Events, and Forever Frame in Internet Explorer. It can be expected that its creators David Fowler (David Fowler) and Damian Edwards (Damian Edwards) will continue to develop and improve SignalR through the company on CodePlex and Github.
Source: https://habr.com/ru/post/142774/
All Articles