Gimp 2.8 RC1. Practical look
 April 8 Gimp 2.8 RC1 was released. For several days I “drove” him in working mode and based on these impressions I prepared a report on innovations.
Installation
Many of those who downloaded the distribution in early April were unpleasantly surprised - Gimp wasn’t playing without dancing with a tambourine. I also tried, also failed, and I scored on this matter. But a week ago I began to meet enthusiastic comments on the DA about the new Gimp. The developers have already fixed the installation package, and now it is installed without problems.
I tested Gimp 2.8 RC1 on several machines and OS and I can say with confidence that you can switch, it works stably .
Download links:
Gimp 2.8 RC1 (Linux)
Gimp 2.8 RC1 (Windows)
GMIC 1.5.1.2
GMIC also needs to be reinstalled.
After installation, you can safely add your sets of brushes, gradients, textures and scripts - there will be no problems.
Launch
The first thing that pleases is a faster launch. As I understand it, accelerated the loading of brushes, gradients and textures. Now a large number of these in your set does not affect the launch speed.
Single window mode
After launch, we are also welcomed by the most multi-window mode as in earlier versions. But do not worry, “Windows” -> “Single window mode” and ...
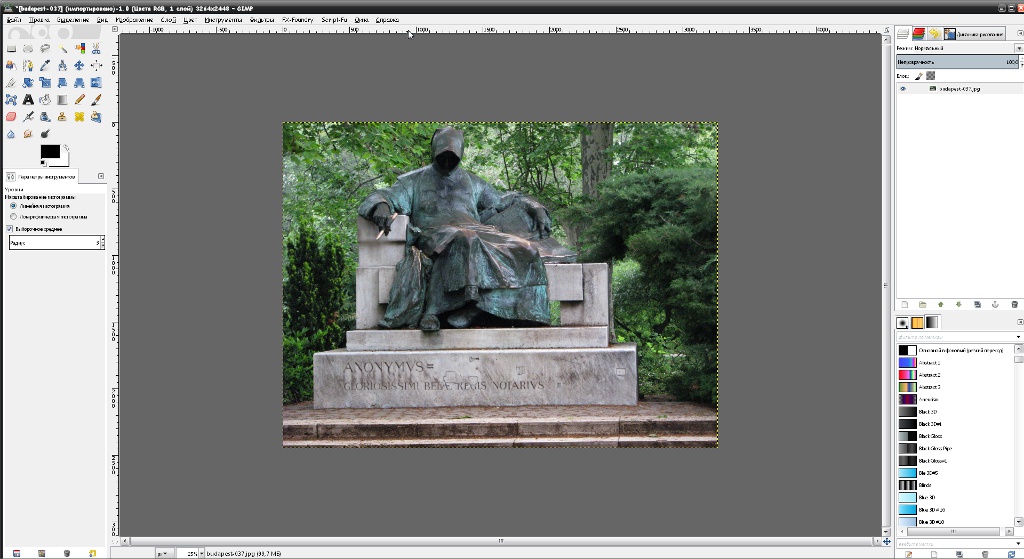
Only one phrase “Finally ...” comes to mind. The one who works with Gimp has been waiting for this moment for a long time. Now you can safely work with large images.
')
Layer grouping
The second improvement that was expected is the grouping of layers. Now there will be no fuss with a lot of layers.

But all the same, before Photoshop, it does not reach out - there is a lack of selection of several layers at once, only through groups. There are no settings for layer styles either, you have to use scripts or GMIC.
Advanced Brush Settings
The next major improvement I didn’t expect was the advanced brush settings. The trackbar has changed, now the desired value can be changed with one click. Trifle, but nice. The opacity, brush size and spacing settings are the same.
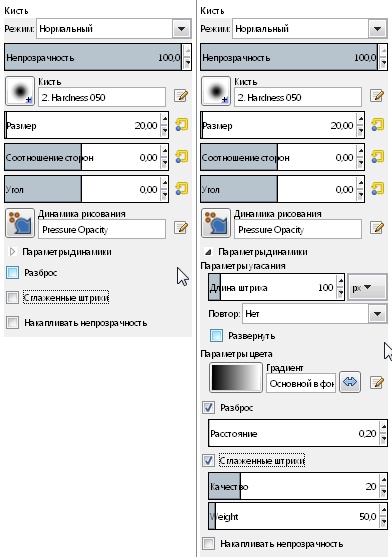
There are new items to customize the brush:
- "Aspect Ratio" changes the proportions of the brush and allows, for example, to get an oval round brush.
- The Angle setting will be useful for texture brushes. It rotates the brush pattern at an arbitrary angle.
- Spread allows you to adjust the random scatter of the brush.
- “Smoothed strokes” have almost no noticeable effect, only you can make less pointed corners of the brush stroke.
- “Accumulate opacity” allows you to make a smooth transition from transparency to opacity when drawing.
- The “Dynamics of drawing” dynamics item should be considered separately.
Drawing dynamics
People using Gimp for drawing have already wondered where the panel for controlling the dynamics of the brush (“12 ticks”) went. Instead, we have a sheet of “Dynamics of drawing” box and color, fade and repeat settings. “Drawing dynamics” contains a lot of basic brush modes, the parameters of which can be viewed in the additional menu if you click the browse button next to the listbox. Here are our favorite ticks. Immediately obvious, the control parameters are much more.
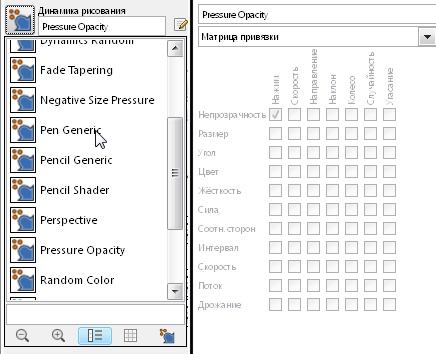
Of course, the preset drawing modes are fine, but you cannot change them. How to create your own mode? Select an additional panel “Dynamics of drawing” (called through the main menu: “Windows” -> “Connected dialogues” -> “Dynamics of drawing”) and select “Create a new dynamics”. Is done. They are our favorite ticks. Only there are no longer 12, but 77. There is plenty of room for creativity, more than enough. In the future, it’s enough to choose to edit our user dynamics to access the brush drawing parameters.
It can be noted that in working with brushes in Gimp 2.8 has reached a whole new level. The level of control of the brushes was reached, as in Photoshop, but at the same time the simplicity of control was kept.
Filter by tags
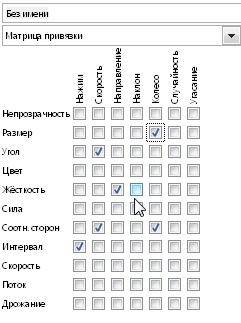
In the new Gimp, it became possible to set labels for brushes, gradients, textures and dynamics. And accordingly, a search for these tags appeared. Everything is very simple: at the bottom we set the tags, look to the top. For me personally, this is more convenient than in Photoshop - I put labels on the main brushes, and now they are always easy to find.

Frame transformation
Gimp 2.8 added a new tool "Transform the frame." This tool is a kind of analogue of the “Free Transform” from Photoshop. The work is very simple:
- set the reference points with the tool where we want
- close the deformation contour,
- move the pivot points, deforming the content,
- presses Enter to save warp.
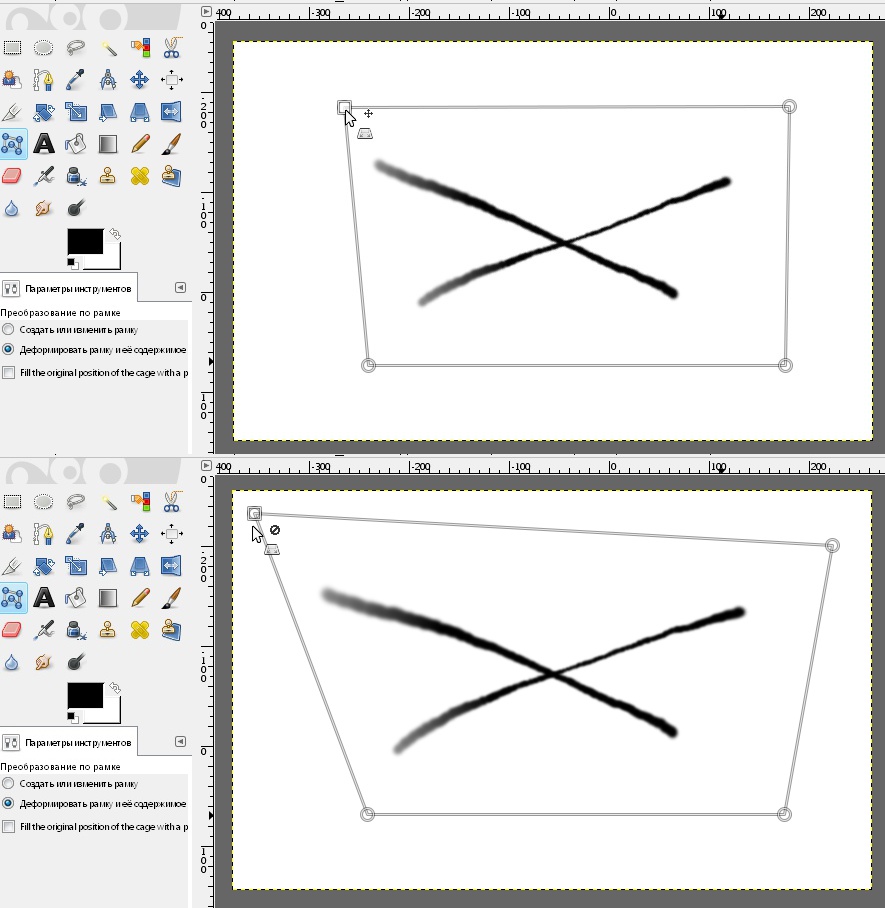
Incredibly easy and convenient. Do not be surprised if in future versions of Photoshop we see this tool.
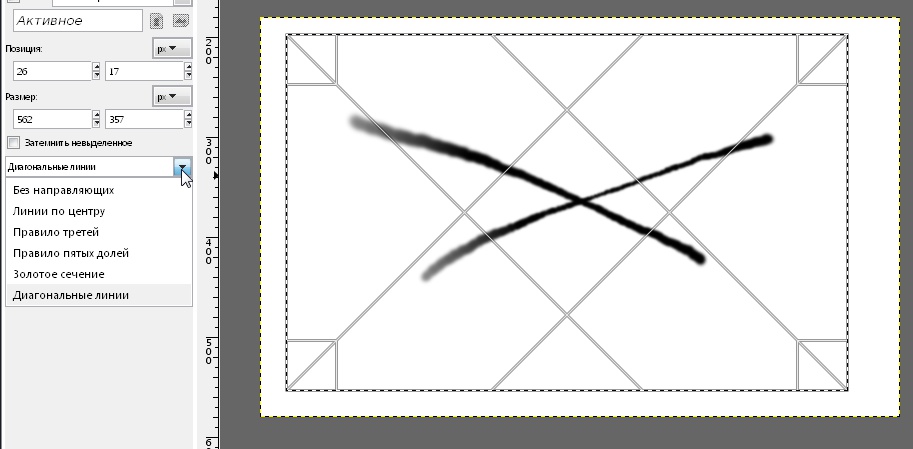
Guides
For the tools “Rectangular Selection”, “Elliptical Selection”, “Crop”, “Rotation”, “Scale”, “Tilt”, “Perspective”, the ability to display guides by different rules has been added. What can I say - plus one to the convenience.
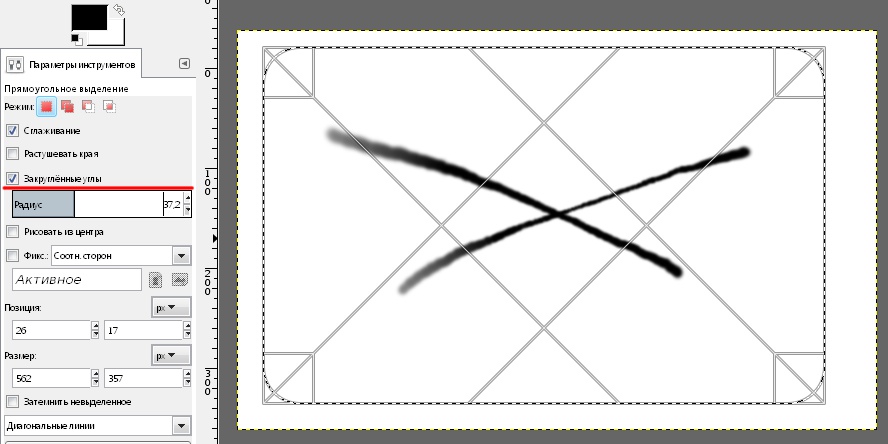
Rounded corners
With a rectangular selection, you can now make rounded corners. It is useful.
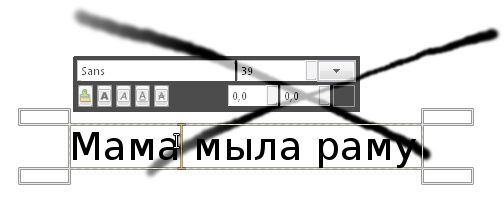
New text control panel
The developers have added a new interactive text control panel. The screenshots speak for themselves. If desired, you can turn on the old and uncomfortable panel.
Tabbed thumbnails
When working with multiple images on tabs, their thumbnails are visible.

Export
I did not understand the essence of this improvement and it seems inconvenient to me personally. The fact is that now there are two save points: “Save As”, which saves only to xcf format, and “Export”, which saves to all other formats. I hope this nonsense will soon be fixed.
Results
Developers have done a lot of work. Gimp made a huge step forward. I personally advise to switch to Gimp 2.8 RC1 - it is worth it.
In the new version, we saw mainly improvements that improve usability, tightening the Gimp to the Photoshop level. It is worth noting that all the ease of use inherent in this editor has been preserved.
To be objective, I want to mention the features that are not yet implemented in the Gimp:
- layer styles like in photoshop
- multiple layer selection
- change color parameters brushes,
- Photoshop-level web export
- normal animation work
- archival brush.
I hope we will see their implementation soon.
Source: https://habr.com/ru/post/142557/
All Articles