WPF Navigation: Using the Page + Frame Bundle

Windows Presentation Foundation has many options for creating a multi-window application. Two types are distinguished among them: the standard customary Window and the “browser” Page. There was nothing particularly interesting for me in Window, so I decided to try the browser version in the desktop application. It sounds somewhat strange and perhaps absurd, but it does not become less interesting. This topic will describe the main stages of creating this navigation.
Creating an application
First of all, we need to create a WPF Application project (File -> New -> Project -> C # -> WPF Application). The choice of the Framework’s version does not play any role. In our new application, there is already one “window” MainWindow.xaml, which will be a kind of layout for our pages. On it we place the menu for navigation, we create buttons, links ... the type of an element does not affect the code.
')
An example using buttons is shown below.
< Button Click = "Button_Click" >
< Image Source = "/Images/find.gif" />
</ Button >
< Button Click = "Button_Click_1" >
< Image Source = "/Images/add.gif" />
</ Button >
< Button Click = "Button_Click_2" >
< Image Source = "/Images/dict.gif" />
</ Button >
Create pages
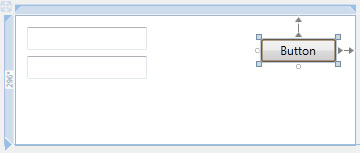
The process is similar to creating windows. We click on our project -> Add -> Page ... After confirmation we get another xaml file. Unlike windows, our page class inherits Page. We do the markup as with ordinary forms, with the only difference that the main Page tag should include only one immediate descendant, but this does not cause any special problems, since we will use a Grid, which can include any number of descendants. It is also worth remembering that this is just a frame, so there is no need to put anything extra.
It should be said separately about the size of the frame / page. The final application will use the frame size, i.e. page size does not directly affect anything, but the position of page elements is determined by their placement on the page relative to, for example, borders, i.e. 24px padding at the top and 20px on the right will remain in the main window (relative to the frame borders).
We work with the main window
By this moment we should have: one main window (layout) with navigation and several pages with content. In the main window, create a Frame element, adjust its location and size, let's call, for example, “mainFrame”. We assign an event to our buttons (links) (for example, click on the button). Now let's start editing the code, or rather, just one function (called by an event). The page change function in the frame is extremely simple and concise.
Private void Button_Click ( object sender, RoutedEventArgs e )
{
frame. NavigationService . Navigate ( new Uri ( "Find.xaml" , UriKind. Relative ) ) ;
}
Accordingly, instead of “Find.xaml” we write the name of our file page. We hang similar events on other buttons, but with different file names.
That's all. Of course, this is only a framework for future navigation, which can be modified and customized to your own taste, thanks to the rich .net library.
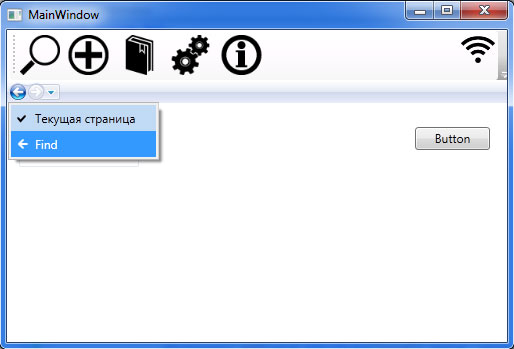
Finally, a screenshot of what should be the result:
Source: https://habr.com/ru/post/140749/
All Articles