17 "TFT: floor to table
Hey. Many geeks accumulate a bunch of non-working iron, which can still be recovered by poking the iron with a swing on it ... I want to talk about how you can revive the monitor without any special training.
Caution! 23 photos under the cut! (compressed to ~ 1.5Mb)
I love the technique. We can say that I have fetishism syndrome in this area. Hola and cherish every level of RAM and any other part of the computer. However, I can not say where I have this feeling.
Sometimes I am asked to help repair a computer for a variety of reasons: “does not turn on”, “buggy”, “does not work”, “knocks out an error” - this is my favorite expression), “broke”, “does not want to play”, etc. I gladly get down to business, even if it does not imply any payment or reward. I just wonder.
So recently, an acquaintance came to me and asked me to fix his computer. I tried and corrected everything. As a reward, he gave me his non-working monitor, which I once bought and selected to him too.
Well, I accepted the gift, put it on the floor near the battery and forgot about it. Much eh, how little time has passed, I do not know. Meanwhile, a friend, a photographer, lived in the next room. I used a netbook with a small screen diagonal. Today I bought myself an excellent Nikon D300s and every five minutes comes to me to look at my monitor a fresh, elegant photo. This was exactly the impetus to look into the middle of a non-working monitor in order to fit it to a netbook.
')
Subject: TFT monitor LG Flatron L1735TR
Symptoms: does not turn on, there is no signal, the light is off.
What happened: turned off and does not turn on.
Preliminary diagnosis: died.
Purpose: to disassemble and intently plunge his gaze into the insides.
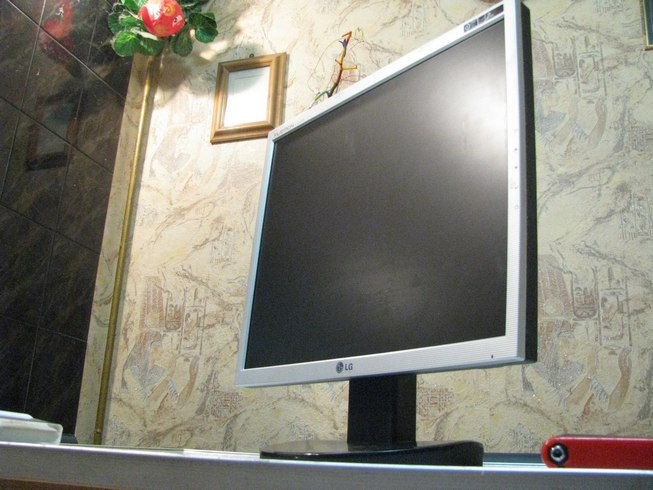
So, "a broken monitor looks just like a new one."
For comfortable work, I recommend to remove the stand
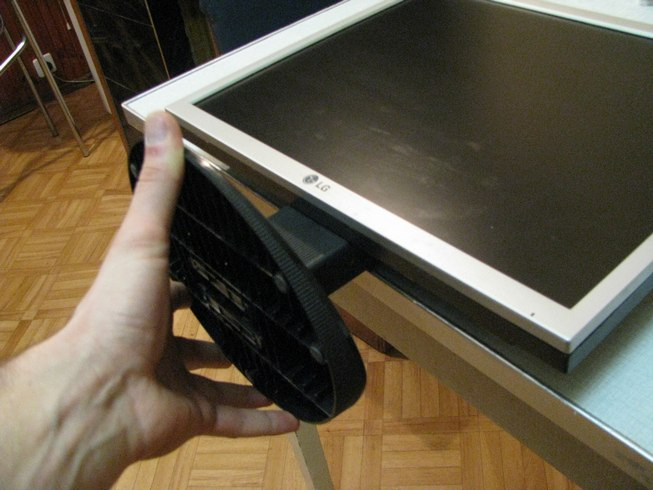
This is how it is shot on this monitor.


Next you need to gently otkovyryat front panel

... and put it away

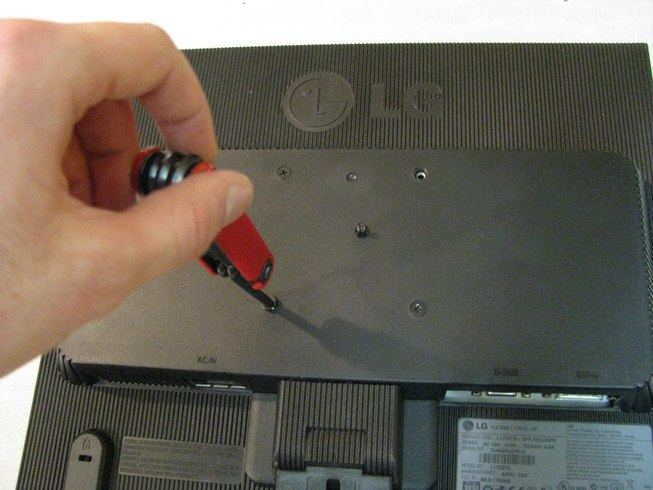
We unscrew some bolts
Carefully lift the lid

We unfasten the cable from the control panel so that the lid does not dangle and does not interfere with us on the table
We got to the filling, removing all the Ketai plastic

Carefully lift the box (on some models, it is securely fastened with bolts, in my case there was a kilometer of tape)

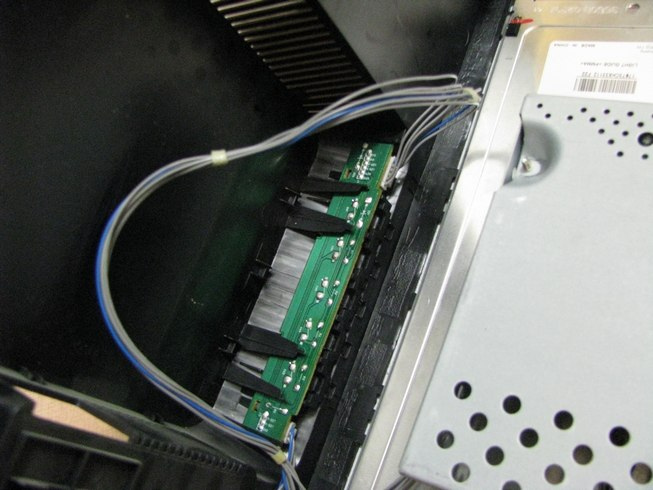
And then the heat went! pull all the wires to the right and left. But remember. First, I recommend pulling out the plume of the matrix.

Then it is better to unfasten the backlight. There the main thing is not to confuse later. All pins are similar. Better take a picture.

Next, unscrew the power supply board of the monitor from the platform.
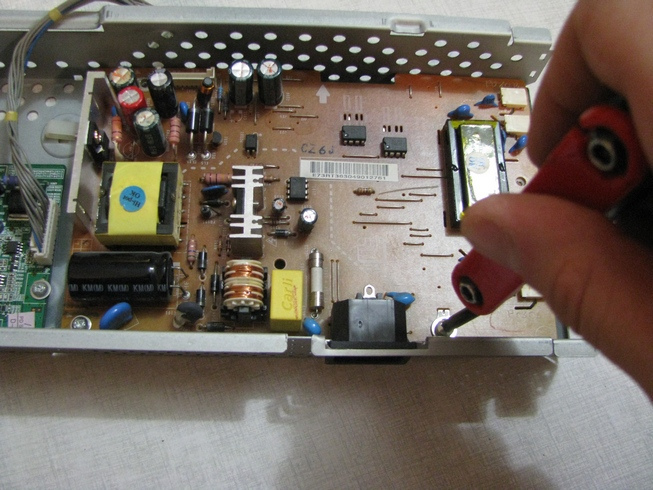
Start looking for something suspicious

And we find !!! 111
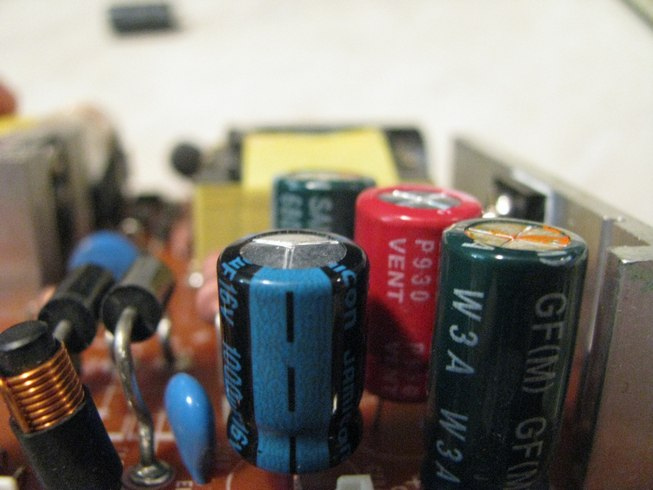
We discover a pregnant capacitor and feed it
It is necessary to find just such a detail with the parameters in my case 16V 1000µF and 105 degrees

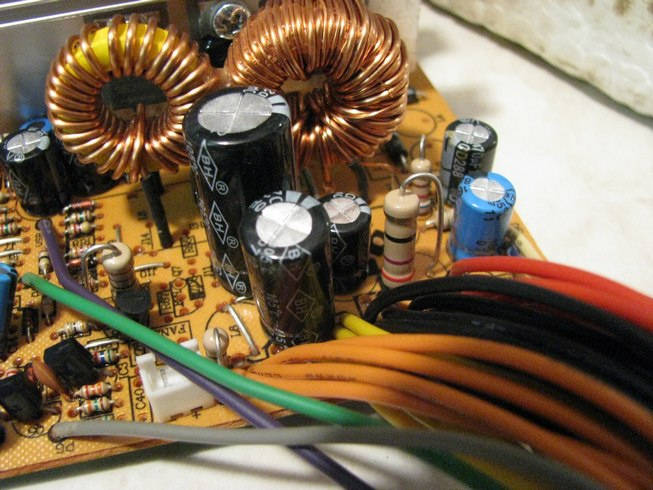
In the absence of a reserve of such rubbish, I found an ancient power supply unit from a computer and dropped out of it a similar capacitor. It is only slightly similar, I recommend not to do so . To increase the likelihood of a successful ending, find the "right" Conder on the radio market.

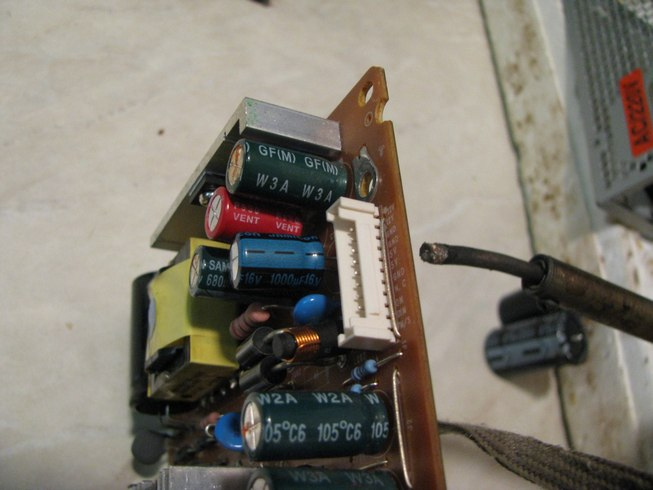
We find a capacitor unit and look for the appropriate
Take the capacitor and soldering iron and solder it in place. CAUTION!!! observe the polarity. If you are careful when discharging, you will see how all the capacitors are soldered, + to +, - to -. I chose Conder 2000 and 10V. Slightly different, but not critical. We get a "new" BP from the monitor

Everything! Now everything is neatly collected in a heap. Just as dismantled, only in reverse order. We shove the BP on the platform and fasten it. Then we dress all the loops: matrix, power cable, backlight. Then we fasten the box on the matrix platform and assemble everything into a plastic shell without delay.
I was sincerely glad when I saw that the light bulb caught fire when power was applied from the network
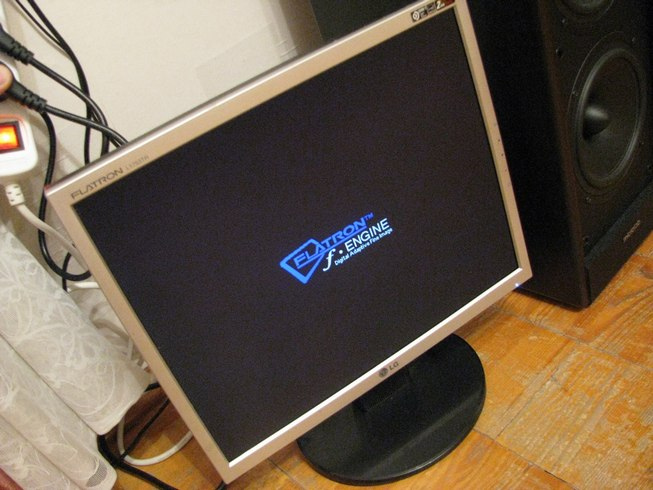
And here he is in absolutely working form in the working position.

Too detailed photo report turned out. But I am sure there will be people who have never looked into the monitor and will watch it all with interest. I also want to note that not any monitor can be repaired by soldering capacitors. Damage is a huge pile. These are only 50 percent of monitor problems. So don't be upset if your fails to resurrect.
Thank.
UPD1: during the existence of the article (30 hours) at least 9 monitors have returned to the system!
Caution! 23 photos under the cut! (compressed to ~ 1.5Mb)
Prehistory
I love the technique. We can say that I have fetishism syndrome in this area. Hola and cherish every level of RAM and any other part of the computer. However, I can not say where I have this feeling.
Sometimes I am asked to help repair a computer for a variety of reasons: “does not turn on”, “buggy”, “does not work”, “knocks out an error” - this is my favorite expression), “broke”, “does not want to play”, etc. I gladly get down to business, even if it does not imply any payment or reward. I just wonder.
So recently, an acquaintance came to me and asked me to fix his computer. I tried and corrected everything. As a reward, he gave me his non-working monitor, which I once bought and selected to him too.
Well, I accepted the gift, put it on the floor near the battery and forgot about it. Much eh, how little time has passed, I do not know. Meanwhile, a friend, a photographer, lived in the next room. I used a netbook with a small screen diagonal. Today I bought myself an excellent Nikon D300s and every five minutes comes to me to look at my monitor a fresh, elegant photo. This was exactly the impetus to look into the middle of a non-working monitor in order to fit it to a netbook.
')
Monitor as a monitor, but not working
Subject: TFT monitor LG Flatron L1735TR
Symptoms: does not turn on, there is no signal, the light is off.
What happened: turned off and does not turn on.
Preliminary diagnosis: died.
Purpose: to disassemble and intently plunge his gaze into the insides.
So, "a broken monitor looks just like a new one."
For comfortable work, I recommend to remove the stand
This is how it is shot on this monitor.
Next you need to gently otkovyryat front panel
... and put it away
We unscrew some bolts
Carefully lift the lid
We unfasten the cable from the control panel so that the lid does not dangle and does not interfere with us on the table
We got to the filling, removing all the Ketai plastic
Carefully lift the box (on some models, it is securely fastened with bolts, in my case there was a kilometer of tape)
And then the heat went! pull all the wires to the right and left. But remember. First, I recommend pulling out the plume of the matrix.
Then it is better to unfasten the backlight. There the main thing is not to confuse later. All pins are similar. Better take a picture.
Next, unscrew the power supply board of the monitor from the platform.
Start looking for something suspicious
And we find !!! 111
We discover a pregnant capacitor and feed it
It is necessary to find just such a detail with the parameters in my case 16V 1000µF and 105 degrees
In the absence of a reserve of such rubbish, I found an ancient power supply unit from a computer and dropped out of it a similar capacitor. It is only slightly similar, I recommend not to do so . To increase the likelihood of a successful ending, find the "right" Conder on the radio market.
We find a capacitor unit and look for the appropriate
Take the capacitor and soldering iron and solder it in place. CAUTION!!! observe the polarity. If you are careful when discharging, you will see how all the capacitors are soldered, + to +, - to -. I chose Conder 2000 and 10V. Slightly different, but not critical. We get a "new" BP from the monitor
Everything! Now everything is neatly collected in a heap. Just as dismantled, only in reverse order. We shove the BP on the platform and fasten it. Then we dress all the loops: matrix, power cable, backlight. Then we fasten the box on the matrix platform and assemble everything into a plastic shell without delay.
I was sincerely glad when I saw that the light bulb caught fire when power was applied from the network
And here he is in absolutely working form in the working position.
Total
Too detailed photo report turned out. But I am sure there will be people who have never looked into the monitor and will watch it all with interest. I also want to note that not any monitor can be repaired by soldering capacitors. Damage is a huge pile. These are only 50 percent of monitor problems. So don't be upset if your fails to resurrect.
Thank.
UPD1: during the existence of the article (30 hours) at least 9 monitors have returned to the system!
Source: https://habr.com/ru/post/140607/
All Articles