Postindustrial or Production 2.0
I'm probably too smart with the title, but oh well.
Having read articles here and on other resources and having seen enough videos about 3D printers I wanted to myself such a thing. While still having only vague ideas why I need it, but I realized that I wanted.
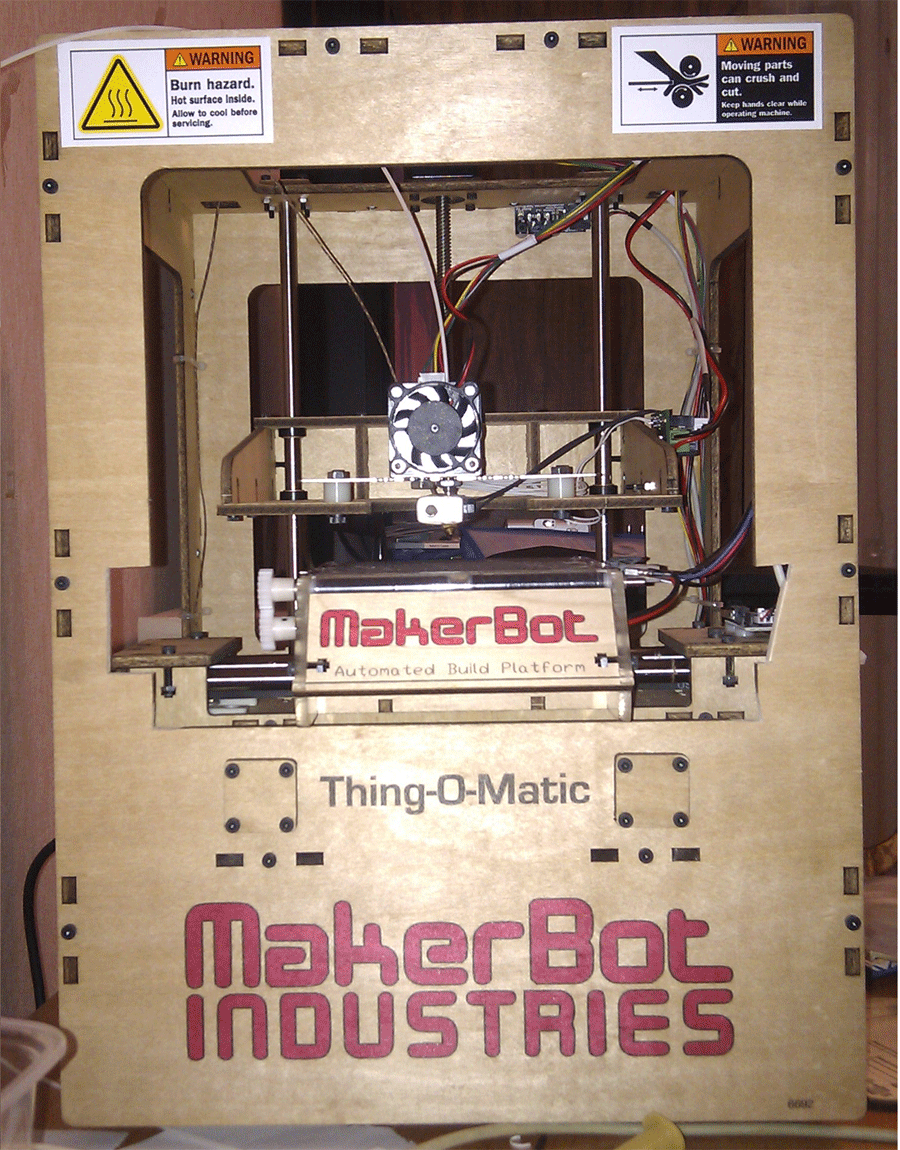
So, having spent the last, I bought myself a 3D Printer MakerBot.
At first I was very embarrassed that he had a plywood case, although it was made quite neatly.
')
So, I brought home, unpacked and put on the table:
I connected, installed the driver for the Arduino 2500, installed the software - ReplicatorG, calibrated (done once when connected to the new installation of the Replicator), inserted a plastic thread and tried to print - the first time did not work :-).
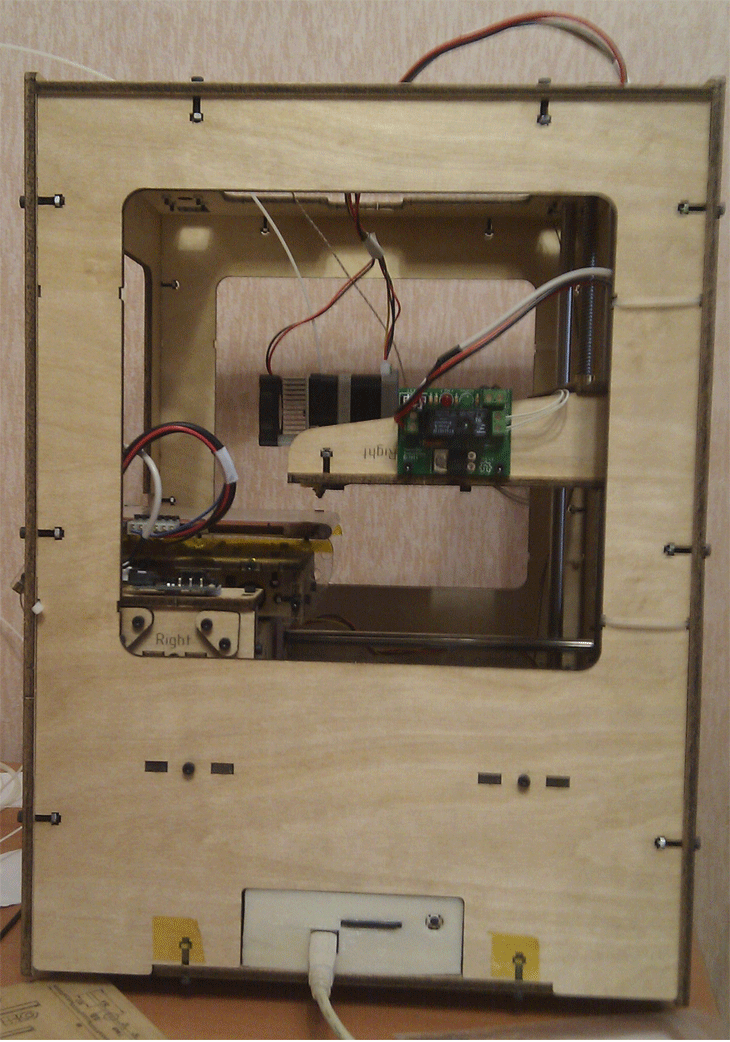
In the settings was set insufficient melting temperature of the plastic. Actually, the print head itself and the platform itself:

The diameter of the printing nozzle 0.4 mm.
Printing dimensions - 100x100x100 mm.
The head moves along the Z axis, the platform moves along X and Y, respectively.
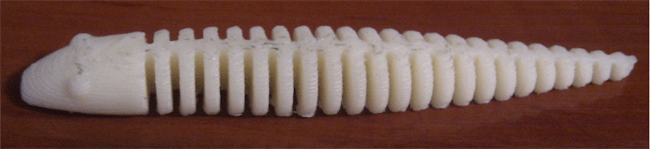
Having dealt with the settings, the first part that was printed was this:
Larger so that the layers are visible:
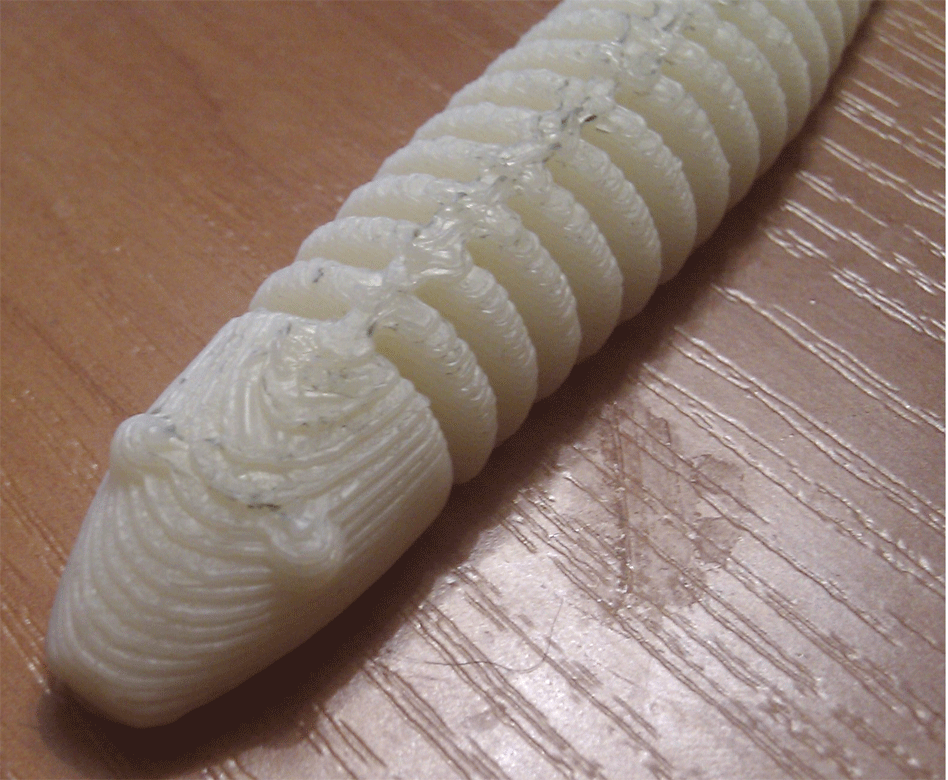
In fact, with the thickness of the layer I screwed up, a layer 2 times thicker than the recommended one is exposed, so the details are more accurate.
For a nozzle of 0.4 mm, the recommended layer thickness at the same time 0.29 mm, for comparison, in the previous picture the layer thickness was set at 0.5.
The first impressions are positive, I would even say enthusiastic. Now I can print whatever I want. Speaking of creating parts, I printed a part created in KOMPAS 3D (he can save in the .stl format, which understands the software used for the printer).
There are some inconveniences, for example, when applying the first layer, plastic does not always stick to the platform (especially some small parts), which is why the part may not work, although it is “cured” by printing the substrate. Although the substrate has its own difficulties - it is not always simply separated from the part itself.
For protruding parts, you can put the option of printing support, that is, components that are “superfluous” from the point of view of detail that will allow printing “on weight”.
Here are the consumables:
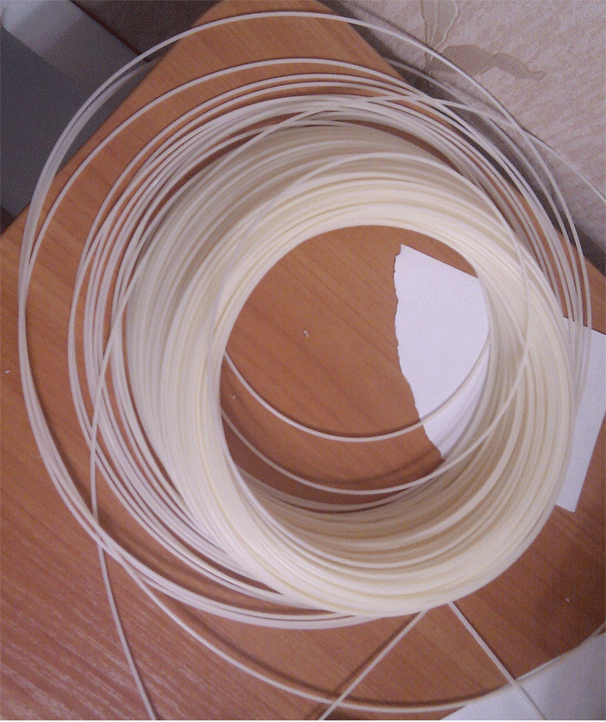
A kilogram of such a thread costs from $ 50 to $ 100. On the "snake", the pictures of which resulted above took about 50 grams.
The plastic is dissolved in acetone and such a mixture can be used to process printed parts to smooth out irregularities on the surface.
Also, with acetone, periodically it is necessary to wipe the print head.
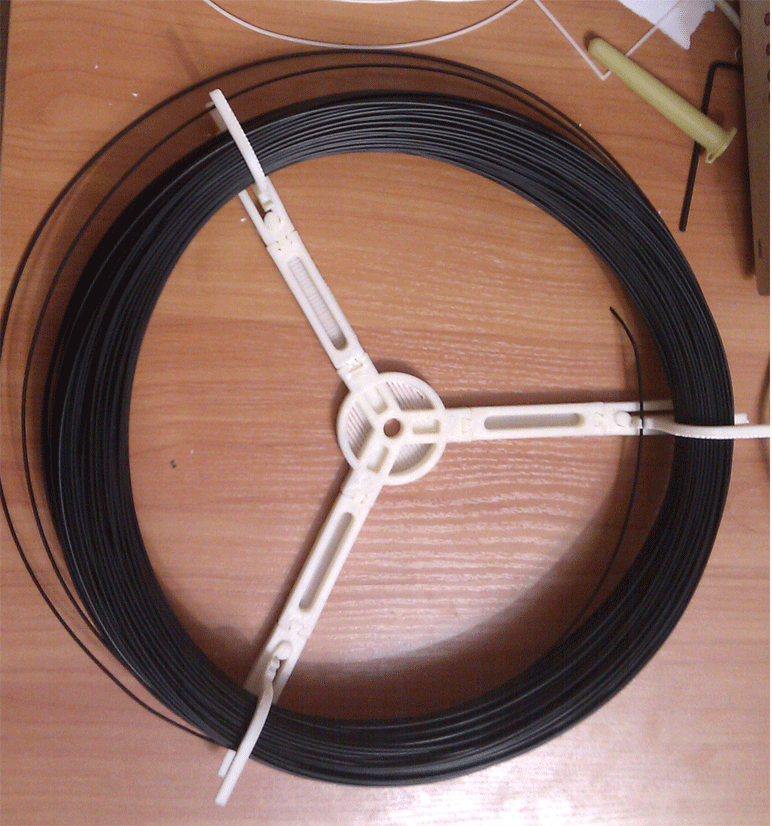
I was very pleased to be able to print on this printer parts and additional components for the printer itself, for example, a holder for a plastic thread:
A lot of examples for printing can be found here: http://thingiverse.com/
In my opinion, for printing, you must have some skill, which is acquired along with experience.
It is also necessary to periodically check the fasteners - tighten the screws, as during printing they unwind a little.
In conclusion, I want to say that the acquisition is very pleased, and very fascinating when you look at the "growing" part.
PS The article turned out somewhat confused, but I did not want to describe how the printer works, this is already described in many places. I tried to describe my thoughts and feelings, I hope it worked out.
Having read articles here and on other resources and having seen enough videos about 3D printers I wanted to myself such a thing. While still having only vague ideas why I need it, but I realized that I wanted.
So, having spent the last, I bought myself a 3D Printer MakerBot.
At first I was very embarrassed that he had a plywood case, although it was made quite neatly.
')
So, I brought home, unpacked and put on the table:
I connected, installed the driver for the Arduino 2500, installed the software - ReplicatorG, calibrated (done once when connected to the new installation of the Replicator), inserted a plastic thread and tried to print - the first time did not work :-).
In the settings was set insufficient melting temperature of the plastic. Actually, the print head itself and the platform itself:
The diameter of the printing nozzle 0.4 mm.
Printing dimensions - 100x100x100 mm.
The head moves along the Z axis, the platform moves along X and Y, respectively.
Having dealt with the settings, the first part that was printed was this:
Larger so that the layers are visible:
In fact, with the thickness of the layer I screwed up, a layer 2 times thicker than the recommended one is exposed, so the details are more accurate.
For a nozzle of 0.4 mm, the recommended layer thickness at the same time 0.29 mm, for comparison, in the previous picture the layer thickness was set at 0.5.
The first impressions are positive, I would even say enthusiastic. Now I can print whatever I want. Speaking of creating parts, I printed a part created in KOMPAS 3D (he can save in the .stl format, which understands the software used for the printer).
There are some inconveniences, for example, when applying the first layer, plastic does not always stick to the platform (especially some small parts), which is why the part may not work, although it is “cured” by printing the substrate. Although the substrate has its own difficulties - it is not always simply separated from the part itself.
For protruding parts, you can put the option of printing support, that is, components that are “superfluous” from the point of view of detail that will allow printing “on weight”.
Here are the consumables:
A kilogram of such a thread costs from $ 50 to $ 100. On the "snake", the pictures of which resulted above took about 50 grams.
The plastic is dissolved in acetone and such a mixture can be used to process printed parts to smooth out irregularities on the surface.
Also, with acetone, periodically it is necessary to wipe the print head.
I was very pleased to be able to print on this printer parts and additional components for the printer itself, for example, a holder for a plastic thread:
A lot of examples for printing can be found here: http://thingiverse.com/
In my opinion, for printing, you must have some skill, which is acquired along with experience.
It is also necessary to periodically check the fasteners - tighten the screws, as during printing they unwind a little.
In conclusion, I want to say that the acquisition is very pleased, and very fascinating when you look at the "growing" part.
PS The article turned out somewhat confused, but I did not want to describe how the printer works, this is already described in many places. I tried to describe my thoughts and feelings, I hope it worked out.
Source: https://habr.com/ru/post/137077/
All Articles