The play "Developing a multiplayer online game." Part 4: Moving into 3D
Part 1: Architecture
Part 2: Protocol
Part 3: Client-server communication
Recently I have been working with 11 flash using the example of the AWAY3D 4 engine. There is very little information in Russian about this engine. On Habré about him almost nothing. So I decided to write a couple of articles about this very interesting product. Writing about simple circles and cubes is not exactly interesting. I do not like to discuss spherical horses in a vacuum.
In general, I decided to make the description of the engine on a less real example. Let's translate our game to the topdown 3D shooter. And we will continue to develop, but with the use of 3D technology.
Of course, I know that there is an Alternativa3D engine. But I don't like their product for many reasons. We will not discuss them in the article, if you have any questions, welcome to kamenty.
')
In general, we will make an alternative to the alternative ...
So what do we want to get?
Translate our 2D multiplayer game in 3D.
Let's get started
We will use the following technologies:
Flash 11, as a platform
AWAY3D 4, as a 3D engine
FlashDevelop 4 as a development environment
Blender 2.61 as an editor of game objects and the world as a whole.
Why AWAY3D? Quite simply, the source is available on Gihub . The library is actively developing (commits are very frequent) and you can always correct or supplement something. Well, then send it to them for inclusion in the source. The community will thank you. Plus, quite large possibilities of the library itself. Plus there are books on it.
What is AWAY3D 4? This is a 3D library for 11 flash, which means the display of objects through the graphics card GPU. This gives us the opportunity to show on the stage complex objects with lighting, various effects ... and all this with decent speed.
It should be noted that AWAY3D has a version for Flash10, in which the mapping is done using software rendering. Since in this case all the calculations fall on the shoulders of the CPU, the speed drops many times over. Well, the possibilities in the conclusion of various effects are repeatedly reduced. But this version may be useful for simple projects. For the 11th Flash just came out and not everyone has installed it yet. And not all video cards support it.
But the situation is improving every day, so we, being on the cutting edge of progress, will use the latest version for the 11th flash.
For those interested, the details can be read here features
With the architecture of the project we will not particularly bother. The purpose of the article is not a manual on programming, but an introduction to technology. In the future, if the articles find feedback from readers, it is possible to continue in the form of refactoring with improved architecture ... well, in general, the development of the project.
To avoid problems, you need to make sure that you have the latest versions of flash and flashdevelop. This ensures the correct compilation and launch of source.
AWAY3D base
Create an AS3 project in FlashDevelop and link the AWAY3D library to it. Connecting the engine is extremely simple. Download the AWAY3D sources from the GitHub project and copy them to the src folder of our project. Everything.
In order to further simplify the understanding of what is happening on the stage in AWAY3D, I’ll give a picture that will help you to navigate the scene space.
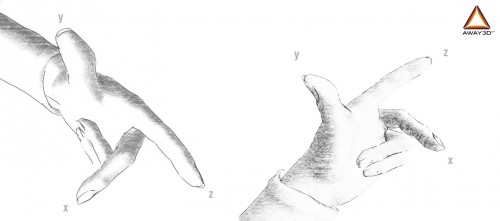
It shows the coordinate axes, as they are presented in the AWAY3D engine. Those. by default, moving forward is in Z +, and up is Y +.
The basic principle of working with the engine is very simple. It is necessary to initialize the scene View3D. Adjust the camera, while we indicate the position of the camera on the scene. The camera is the object responsible for displaying our view of the scene. Those. what we will see on the screen, our eyes so to speak.
Next you need to position the light source. They are different, point, scattered, etc. We will use a point source (the light spreads evenly from one point in all directions), it will represent the sun. In principle, you can do without it, but then there will be no shadows on the stage.
To calculate and display the scene on the screen, use the view.render () command. It must be called every frame. You can then create objects on the stage and manipulate them.
To begin with, we will write the elementary project which will show us a cube. This is necessary to understand how it generally runs and works. Well, to check that everything is connected and working correctly.
Water is the class code that will display the cube. All explanations are in the code. It is very simple.
public class Main extends Sprite { // private var view : View3D; // public var light: PointLight; // public var player: ObjectContainer3D; public function Main():void { if (stage) init(); else addEventListener(Event.ADDED_TO_STAGE, init); } private function init(e:Event = null):void { removeEventListener(Event.ADDED_TO_STAGE, init); // entry point // view = new View3D(); view.camera.y = 140; view.camera.z = -120; view.camera.rotationX = 50; addChild(view); // addChild(new AwayStats(view)); // addPlayer(); stage.addEventListener( Event.ENTER_FRAME, onEnterFrame ); } public function addPlayer():void { // player = new ObjectContainer3D(); // var bitmapData: BitmapData = new BitmapData(512, 512, false, 0x000000); bitmapData.perlinNoise(64, 64, 5, 0, false, true, BitmapDataChannel.RED); // var material: BitmapMaterial = new BitmapMaterial(bitmapData); // var mesh:Mesh = new Cube(material, 50, 50, 50); player.addChild(mesh); view.scene.addChild(player); } public function onEnterFrame( e:Event ):void { player.rotationX += .11; player.rotationY += .15; player.rotationZ += .19; view.render(); } } As a result, at startup you should see the following image.
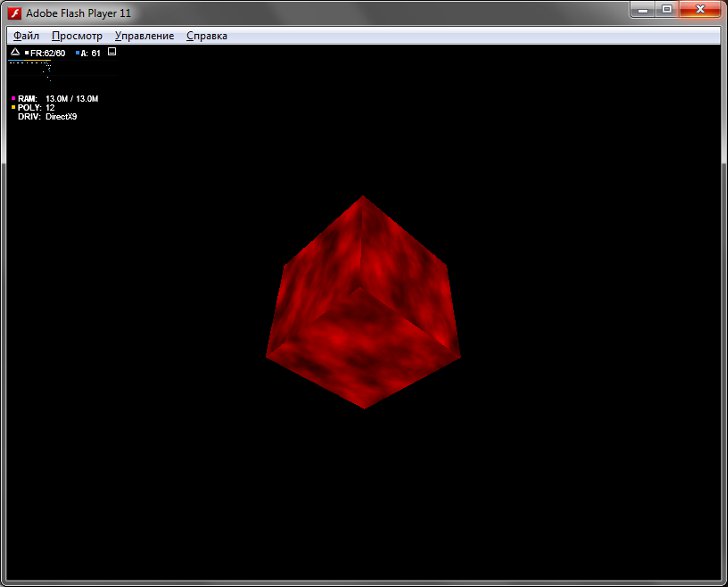
If this is not the case, check if you did everything right. Check the versions installed by Flash and FlashDevelop.
Now that we have verified that the project is starting up and running, we will make the second basic thing in our toy. Namely, let's load the model created in blender into the game. This will build the entire project.
The Internet is full of lessons on working with blender, so we will not focus on it. Just open the blender and make it a model consisting of a cube. 20 by 20 by 20. There is no point in making a full-fledged model now. In further lessons we will take the finished model, which on the Internet is a car and a small truck. And now we need to make sure that our whole environment works correctly and the models are loaded.
In our project we will use the format of 3DS models. After you have created a model, export it to 3DS format. The resulting file while put in the folder bin project. So it will be easier to get to it.
Now we proceed to import.
Loading objects into AWAY3D is very simple. All you need is a Loader3D class. It is universal and loads all formats. It can be specified in which format the object will be loaded, but this is not necessary. Parsers can be a team Parsers.enableAllBundled (), specify accept all formats. Loader3D itself will understand what we ship.
In principle, loading a model takes only 4 lines of code.
Parsers.enableAllBundled(); loader = new Loader3D(); loader.addEventListener(LoaderEvent.RESOURCE_COMPLETE, onResourceComplete); loader.load(new URLRequest("model.3ds")); Here we indicated that we accept all formats, created a Loader3D object and indicated to it exactly what to load. The LoaderEvent.RESOURCE_COMPLETE event will tell us that the boot process is complete and you can work with the model.
In the basic version, everything is simple. But when loading errors may occur or when loading a model, she will need some sort of processing. In general, in real projects everything is more complicated. And for this, the engine has it all. You can connect the event LoaderEvent.LOAD_ERROR, it will allow you to catch loading errors. Or the event LoaderEvent.ASSERT_COMPLETE, which is triggered by processing every detail of the model. We will discuss these nuances in the following lessons when we touch upon the details of working with models.
Here is the working code that loads the model onto the scene.
public class PlayerLoad { // 3D private var view:View3D; private var main: Main; // loader private var loader:Loader3D; public function PlayerLoad( view_:View3D, main_: Main ) { main = main_; // view = view_; // , Parsers.enableAllBundled(); loader = new Loader3D(); loader.addEventListener(LoaderEvent.RESOURCE_COMPLETE, onResourceComplete); // loader.load(new URLRequest("model.3ds")); } private function onResourceComplete(e:Event):void { // main.player = ObjectContainer3D(e.target); // view.scene.addChild( main.player ); } } Also in the class main you need to replace the addPlayer () method with the following
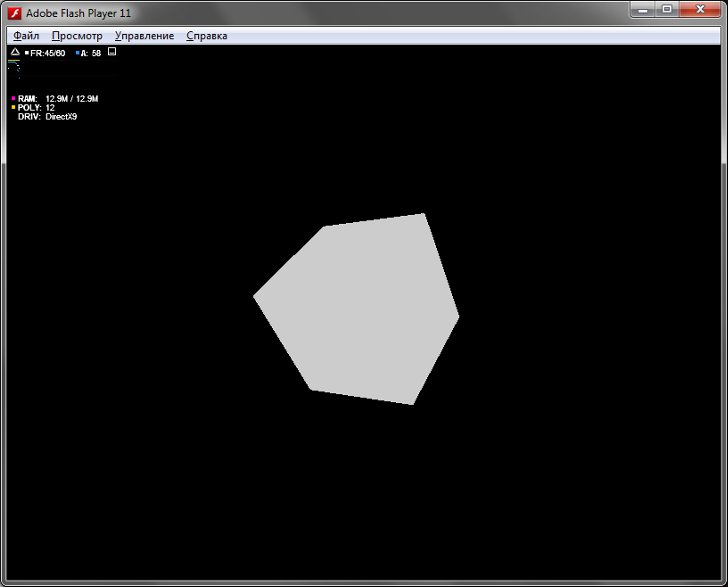
public function addPlayer():void { // var load: PlayerLoad = new PlayerLoad( view, this ); } If you did everything correctly, then at startup you will see a white rotating cube.
This was the introductory part. In which we created the project, we connected the necessary libraries, checked the working environment and made sure that everything works.
If the topic is interesting, in the next part I will describe in more detail, working with the camera, manipulating objects and working with materials.
All sources are available on Gihub
PS Also in kamenta it will be useful to indicate the points of interest that you should focus on.
Source: https://habr.com/ru/post/136467/
All Articles