Modification of games on the example of Arcanoid
Good day!
For some time I watched the Assembler blog on Habré due to the fact that more than excellent articles on the analysis of various keygens and "reverse engineering" began to appear there. I have long wanted to do something similar and modify some game on J2ME. I have been wandering around the Internet for a long time in search of a good, but at the same time easy to understand (in terms of analysis) game. Once, I was digging on the site of my friend programmer (by the way, he also writes programs for J2ME. Who used ProPaintMobile - he knows who I am talking about. And I found it - it was a simple Arkanoid. Apparently, it was someone's homework , or it was written simply “just for fun”, but nevertheless this game turned out to be exactly what it needs.
In order to make a modification, we need the following components:
Perhaps everything. In fact, the choice of software is an individual matter, and, I would say intimate. Therefore, you can easily use, for example, Jasmin instead of Java Decompiler .
')
First we need to open theenemy machine this very game and see what can be modified there. Since we do not have the original jar file, but there are converted classes and MANIFEST.MF, then let's pack our game. No sooner said than done.
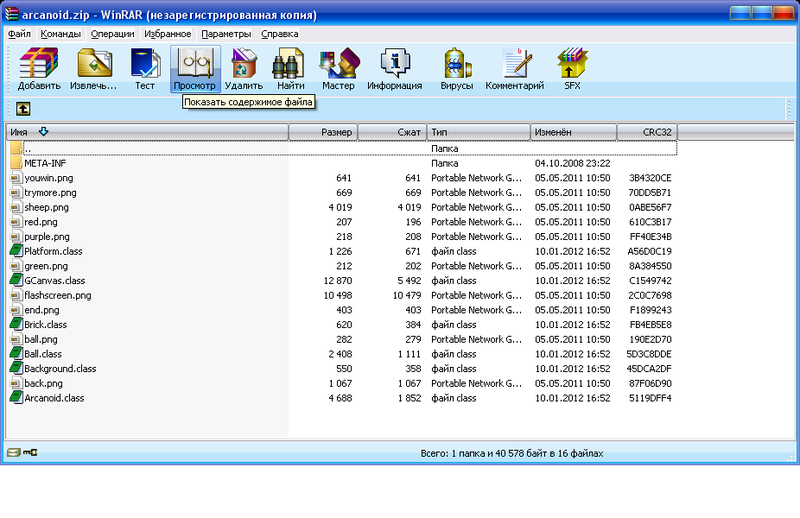
The structure of our archive should look exactly as indicated above. It remains only to redo the extension - from zip to jar and ...
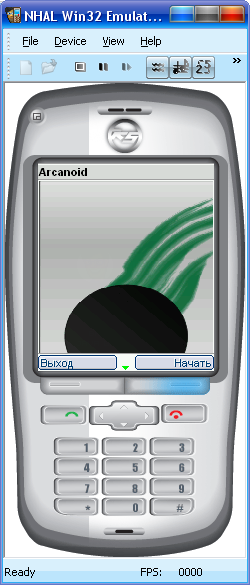
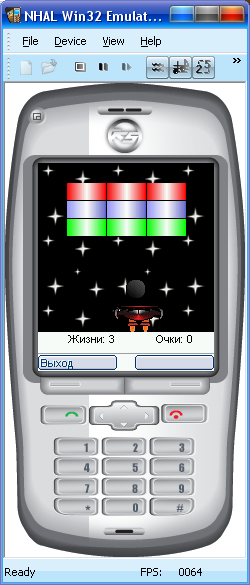
And run our game. Let's play a little bit.
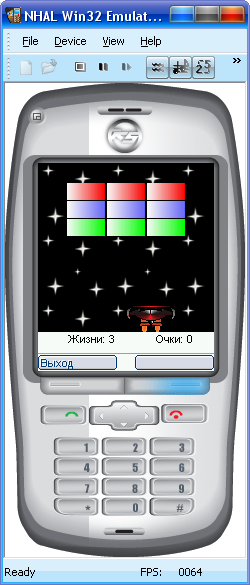
We continue to play ...

Oops. Okay, two more lives left. We play on.
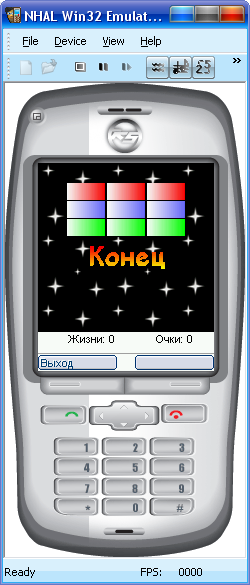
Everything, finished badly. We must do something about it.
We do something with it, namely we decompile. No problems. We rummage in source codes and we understand that the most interesting is stored in the GCanvas.java file. Let's take a closer look at what's what:

Here we see the constructor, variables and methods.
It is worth recalling that we are looking for with you where our lives are diminished. Let's look for live or lives . Here we are lucky. Since the game is not obfuscated, we see with you variables and methods with more or less real names. And here our vzgyad immediately rushes to such a line at the very beginning of the source file:
Comments are superfluous. This is the counter of our lives. It remains only to find where this variable decreases. And here, as the decompiler points out, this is line 170:
Let's examine this section of code:
Here, we can say, we are given a complete instruction: if the variable m_m_goGameZZ , which is Boolean, is true , then the game is on. When a collision is also a Boolean variable named m_m_playGameZZ, it becomes false , then the platform explosion is animated ( _AnimateBoomGraphics ), then the platform becomes invisible ( platform.setVisible (false) ) and then life is taken away from us, which you can see in the code which is above. Of course, the first thing that comes to mind is instead of subtracting one from the m_m_LivesII variable, you need to modify the code to add it. But it is not for Feng Shui somehow. Then we simply equate the variable to one. And recompile? It needs to be recompiled, converted classes, and then re-assemble everything into the archive. No, I'm lazy. But there is a way to just fix the byte code of the class and then we will not need to perform the first two steps. Moving on ...
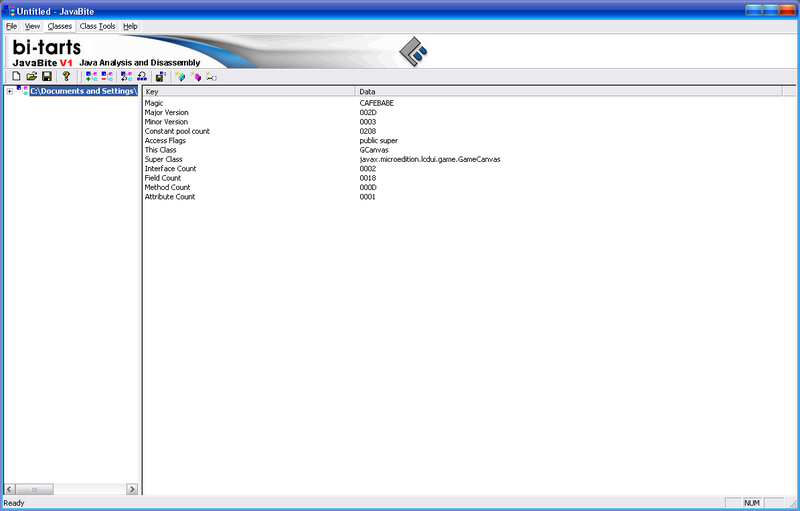
In order to edit the byte code we have JavaBite . What we use it.
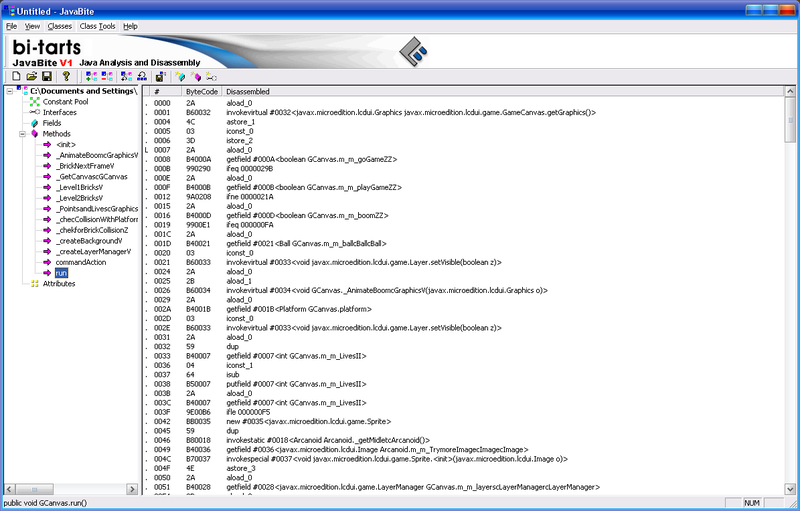
Open our class ( Classes -> Add Java Class and see the following picture:
I hope you remember where the piece of code that interests you is located? Exactly, this is the run method. Let's look at it:
Let's run through the instructions from the start. Stop! Nothing like?
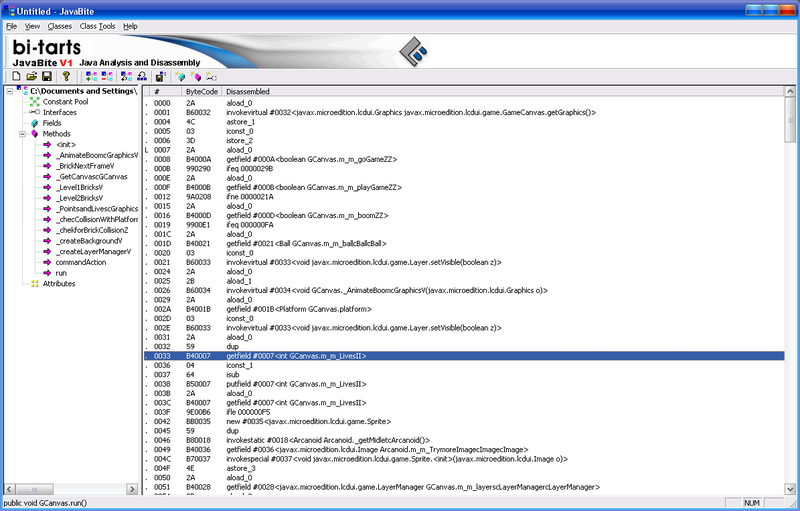
Yes, this is exactly what we need. Through the instruction down you will notice the isub instruction - this is it!
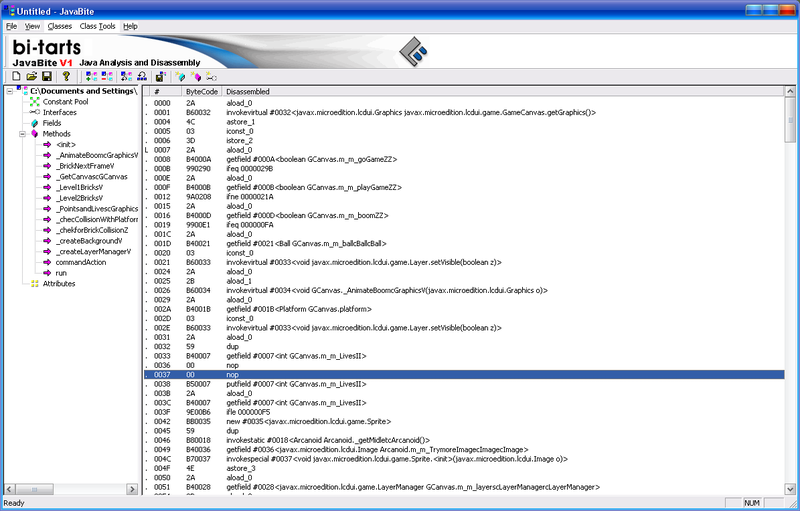
Generally speaking, in Russian, this instruction means that we are subtracting something from the m_m_LivesII variable. We need this variable to always be equal to one. This is very easy to achieve. Let's change the isub instruction to nop . Click the right mouse button and select Edit Instructions . Here even screenshots are not necessary. As a result, the instructions will look like this:

Let's leave our already non-original class with the replacement of the old one and try to open our game, but instead of playing it, we will get the following error message:

From this message, we can understand with you that the class contains an error. Yes, cap!
But which one? The thing is that nop in this case will cause an imbalance in thestomach of the stack and, in order for us to solve the problem, we also need to nop for instruction and iconst_1 . Why? This I will leave you as a homework. This instruction is at arm's length immediately after our nop . By the way, here it is:

Actually, we are doing what we should have done with ityesterday . Voila!
Now we will rebuild our game. Finally, let's play it.
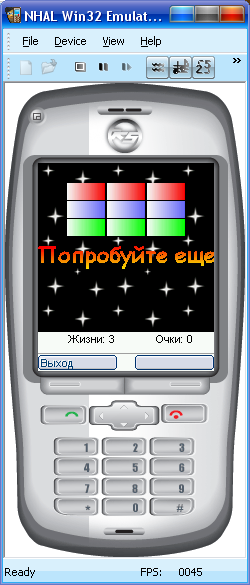
Now, when we miss our ball beyond the platform, we will always see:
We are not afraid of the gray wolf. Now you can safely play the game before losing the pulse (although it will bore you after a minute, because there are only two levels) and not be afraid of death!
In fact, I was doing this experience a long time ago when I was a newbie and was just getting used to all these instructions. Once for me they, and the assembler itself, was a terrible dream. However, time passes — views change, we change. I hope that this lesson was useful for you.
See you soon!
PS When conducting this experience, no Arkanoid was hurt!
Introduction
For some time I watched the Assembler blog on Habré due to the fact that more than excellent articles on the analysis of various keygens and "reverse engineering" began to appear there. I have long wanted to do something similar and modify some game on J2ME. I have been wandering around the Internet for a long time in search of a good, but at the same time easy to understand (in terms of analysis) game. Once, I was digging on the site of my friend programmer (by the way, he also writes programs for J2ME. Who used ProPaintMobile - he knows who I am talking about. And I found it - it was a simple Arkanoid. Apparently, it was someone's homework , or it was written simply “just for fun”, but nevertheless this game turned out to be exactly what it needs.
What we need
In order to make a modification, we need the following components:
- A decompiler that would give us the source code to make it easier to navigate in the process of changing the bytecode. Personally, I use Java Decompiler for this purpose, which you can download here ;
- The disassembler of the virtual machine bytecode, which will be issued to us by this same byte code - JavaByte , which can be downloaded here ;
- Experiment itself - Arcanoid ;
- Well, it would also be nice to get acquainted with the specification, which sets out the instructions of the virtual machine, which you can read here .
Perhaps everything. In fact, the choice of software is an individual matter, and, I would say intimate. Therefore, you can easily use, for example, Jasmin instead of Java Decompiler .
')
What do we do now
Step one
First we need to open the
The structure of our archive should look exactly as indicated above. It remains only to redo the extension - from zip to jar and ...
Step Two
And run our game. Let's play a little bit.
We continue to play ...
Oops. Okay, two more lives left. We play on.
Everything, finished badly. We must do something about it.
Step Three
We do something with it, namely we decompile. No problems. We rummage in source codes and we understand that the most interesting is stored in the GCanvas.java file. Let's take a closer look at what's what:
Here we see the constructor, variables and methods.
It is worth recalling that we are looking for with you where our lives are diminished. Let's look for live or lives . Here we are lucky. Since the game is not obfuscated, we see with you variables and methods with more or less real names. And here our vzgyad immediately rushes to such a line at the very beginning of the source file:
int m_m_LivesII; Comments are superfluous. This is the counter of our lives. It remains only to find where this variable decreases. And here, as the decompiler points out, this is line 170:
this.m_m_LivesII -= 1; Let's examine this section of code:
while (this.m_m_goGameZZ) { if (!this.m_m_playGameZZ) { if (this.m_m_boomZZ) { this.m_m_ballcBallcBall.setVisible(false); _AnimateBoomcGraphicsV(g); this.platform.setVisible(false); this.m_m_LivesII -= 1; Here, we can say, we are given a complete instruction: if the variable m_m_goGameZZ , which is Boolean, is true , then the game is on. When a collision is also a Boolean variable named m_m_playGameZZ, it becomes false , then the platform explosion is animated ( _AnimateBoomGraphics ), then the platform becomes invisible ( platform.setVisible (false) ) and then life is taken away from us, which you can see in the code which is above. Of course, the first thing that comes to mind is instead of subtracting one from the m_m_LivesII variable, you need to modify the code to add it. But it is not for Feng Shui somehow. Then we simply equate the variable to one. And recompile? It needs to be recompiled, converted classes, and then re-assemble everything into the archive. No, I'm lazy. But there is a way to just fix the byte code of the class and then we will not need to perform the first two steps. Moving on ...
What is our step? Oh yes fourth
In order to edit the byte code we have JavaBite . What we use it.
Open our class ( Classes -> Add Java Class and see the following picture:
I hope you remember where the piece of code that interests you is located? Exactly, this is the run method. Let's look at it:
Let's run through the instructions from the start. Stop! Nothing like?
Yes, this is exactly what we need. Through the instruction down you will notice the isub instruction - this is it!
Generally speaking, in Russian, this instruction means that we are subtracting something from the m_m_LivesII variable. We need this variable to always be equal to one. This is very easy to achieve. Let's change the isub instruction to nop . Click the right mouse button and select Edit Instructions . Here even screenshots are not necessary. As a result, the instructions will look like this:
Let's leave our already non-original class with the replacement of the old one and try to open our game, but instead of playing it, we will get the following error message:
Debriefing
From this message, we can understand with you that the class contains an error. Yes, cap!
But which one? The thing is that nop in this case will cause an imbalance in the
Actually, we are doing what we should have done with it
Now we will rebuild our game. Finally, let's play it.
Now, when we miss our ball beyond the platform, we will always see:
Conclusion
In fact, I was doing this experience a long time ago when I was a newbie and was just getting used to all these instructions. Once for me they, and the assembler itself, was a terrible dream. However, time passes — views change, we change. I hope that this lesson was useful for you.
See you soon!
PS When conducting this experience, no Arkanoid was hurt!
Source: https://habr.com/ru/post/135967/
All Articles