Installing Google Apps in the Android Emulator
This article describes how to install additional programs (in particular, Google Apps) in the Android emulator. This may be necessary if you want on the emulator:
1. Set up sync with your google account.
2. Set the calendar and calendar provider.
3. Install Android Market.
4. And so on ...
Despite the fact that you can create an Android emulator with the Google API, it lacks such important things as contact synchronization adapters, calendars, etc. ...
')
Training
So, besides the Android SDK, we will need:
1. Google Apps (at the end, I took from CyanogenMod 7).
2. Utility to create a new image of the system mkfs.yaffs2.arm .
3. If you need to have a full-fledged work with the calendar, then get Calendar.apk and CalendarProvider.apk. They can be found both on the Internet and compiled from Android sources.
For convenience, add paths to android-sdk \ tools and android-sdk \ platform-tools to the system PATH variable.
Emulator Creation
Create an emulator with the following parameters:

Pay special attention!
Create an SD card of at least 200Mb!
All subsequent commands assume that only one emulator is currently active. If you have several emulators / devices running, then you need to add the -s parameter to the commands with the adb utility.
Preparing to install packages
Run an emulator with an increased system partition
emulator -avd emulator_2.3.3 -partition-size 150 Remount the system partition for writing (thanks for the easy way to remount ArtRoman ):
adb remount Remove the package from the SDK, which, when the emulator is loaded, returns all settings to default:
Enter shell:
adb shell rm /system/app/SdkSetup.apk Log out of shell
exit Installing Required Packages
Extract applications from the archive with Google Apps (system \ app folder).
Install packages:
adb push CarHomeGoogle.apk /system/app adb push FOTAKill.apk /system/app adb push GenieWidget.apk /system/app adb push GoogleBackupTransport.apk /system/app adb push GoogleCalendarSyncAdapter.apk /system/app adb push GoogleContactsSyncAdapter.apk /system/app adb push GoogleFeedback.apk /system/app adb push GooglePartnerSetup.apk /system/app adb push GoogleQuickSearchBox.apk /system/app adb push GoogleServicesFramework.apk /system/app adb push LatinImeTutorial.apk /system/app adb push MarketUpdater.apk /system/app adb push MediaUploader.apk /system/app adb push NetworkLocation.apk /system/app adb push OneTimeInitializer.apk /system/app adb push SetupWizard.apk /system/app adb push Talk.apk /system/app adb push Vending.apk /system/app Install additional applications in the same way (for example, Calendar.apk and CalendarProvider.apk).
Creating a new system image
Download the image creation utility to the emulator:
adb push mkfs.yaffs2.arm /system/app Give rights to run this utility.
adb shell chmod 777 /system/app/mkfs.yaffs2.arm Check that all packages hit the / system / app:
ls /system/app 
Make a system image on an SD card
/system/app/mkfs.yaffs2.arm /system /sdcard/system.img 
Log out of shell
exit Now you have to be patient and merge the resulting image “adb pull /sdcard/system.img d: \ temp”. The speed is about 59Kb / s, about 25 minutes for a 100MB image.

Close the emulator.
From c: \ Users \\. Android \ avd \ emulator_2.3.3.avd \ delete cache.img and userdata-qemu.img (if any). Pour the system.img image into this folder.
The emulator is ready!
First start
Run emulator
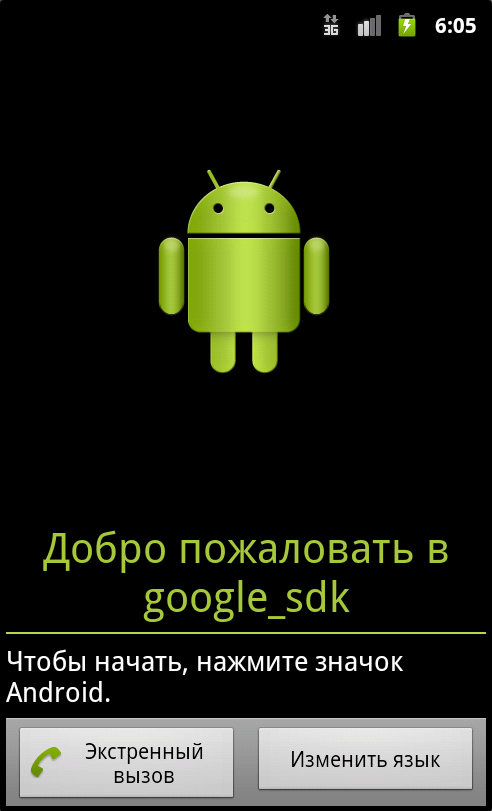
emulator -avd emulator_2.3.3 We are greeted by a robot

Change language to Russian
I didn’t manage to log in with Google account from this wizard. Could not push the keyboard :).

As a result, I had to set up synchronization later


Conclusion
That's all! All success in the development!
Source: https://habr.com/ru/post/134509/
All Articles