Moj plugin to participate in TopCoder SRM
Introduction
People who are into sports programming are well aware of the TopCoder competition. Among them, perhaps the most popular type is Single Round Match, or SRM. The scheme of SRMs is quite specific, and in some ways unique. Briefly, participants first solve 3 problems of different difficulty levels, then for a while they look for mistakes from their opponents, getting extra points for it.
To organize such competitions, TopCoder created a Java applet (TopCoder Arena). There were also craftsmen who wrote plugins for this very arena to make it easier for themselves and others. But installing the latter often causes difficulties for beginners in SRMs. This problem has become the motive for writing this article.
Where to begin?
You should always start from the very beginning, in this case from the installation of the arena. As mentioned earlier, the arena is a Java applet. Therefore, the first thing we need is the Java Runtime Environment (JRE) + Java Web Start (JWS), which come in one package.
')
Java installation
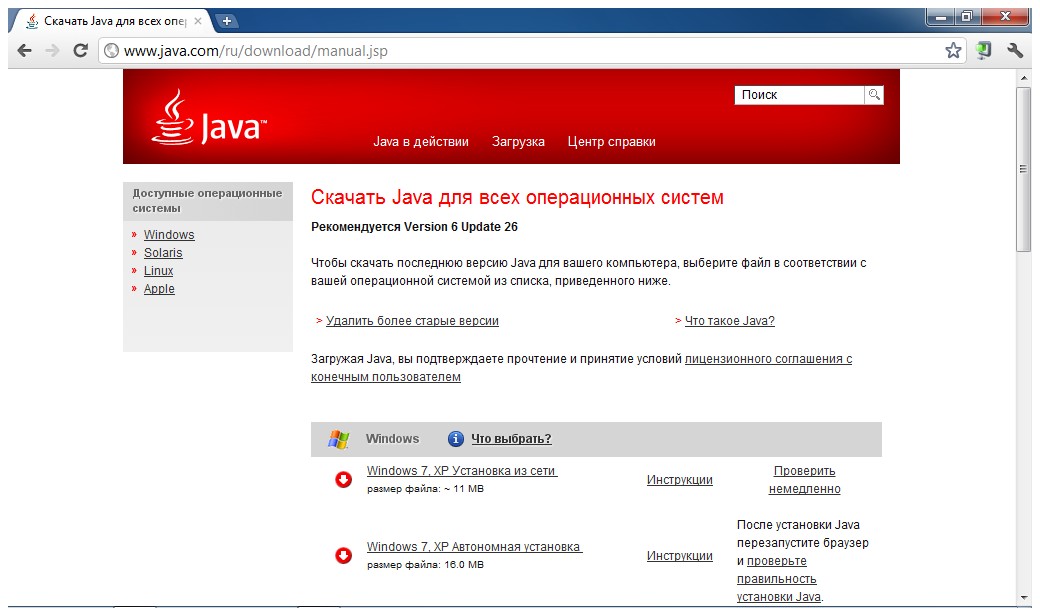
Step 1. To download Java, go to www.java.com/ru/download/manual.jsp . Select the desired installation file from the list:
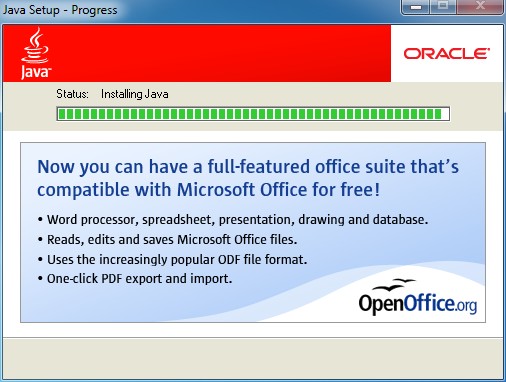
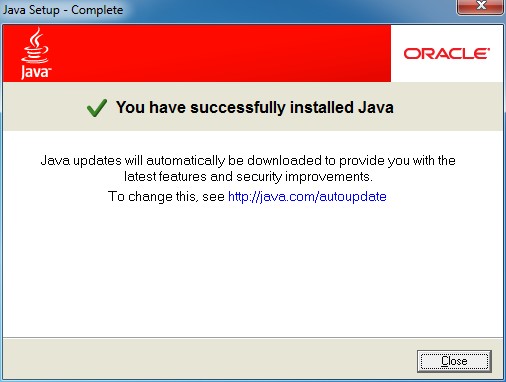
Step 2. Install Java. The necessary components will be automatically installed on your computer, namely JRE + JWS:
Install TopCoder Arena
Step 3. Visit www.topcoder.com/tc .
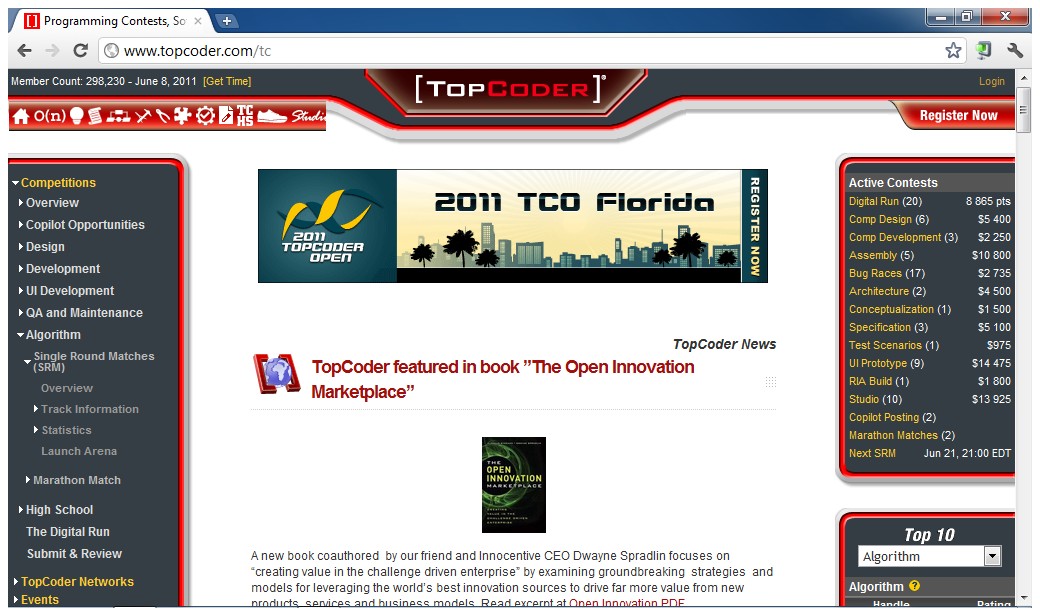
In the future, on the same site you will be able to look into the calendar of events (“Events calendar”), check the rating, take part in forum discussions and much more. At the moment we need an arena. In the menu on the left, select "Competitions" - "Algorithm" - "Single Round Matches (SRM)" - "Launch Arena", after which you will see something like this window:

Note 1. Yes, it says there that I have JWS installed, but in fact it is not. Simply, it is not installed as a separate component, but comes in a Java package with everything else.
Note 2. The user Nicolette noticed that after clicking on "Launch Arena" the window with the red button may not open. Instead, she says, the download of “ContestAppletProd.jnlp” will begin immediately. Well, in the end, it is the download of this file that is the main goal in this step. Do not be alarmed if that.
Click on the big red button, and you will be offered to download the file "ContestAppletProd.jnlp". This is the same Java applet. Download and run, in the end you will see the welcome window:
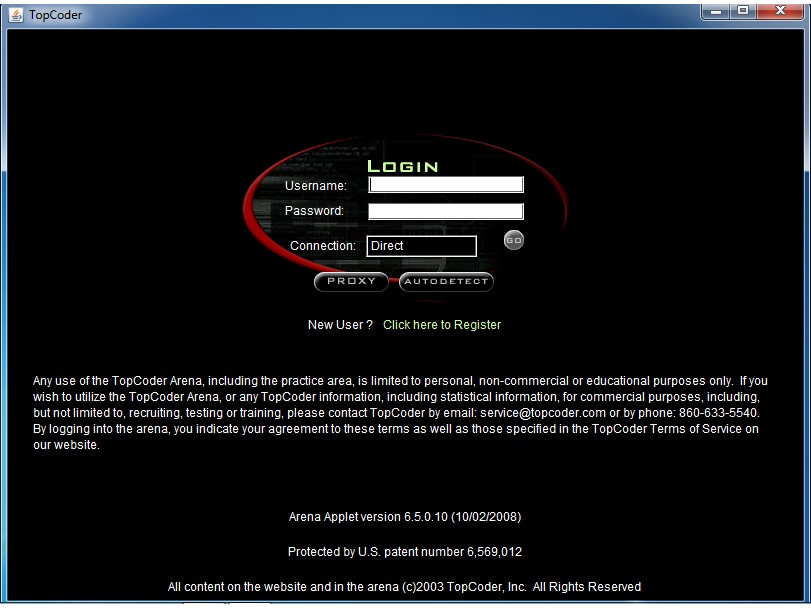
Here you are invited to register if you are a new user.
Congratulations, the arena is set. Our next task is to install and configure the Moj plugin.
Install and configure the Moj plugin
Step 4. Download Moj. You can find them, for example, on the TopCoder forum:
apps.topcoder.com/forums/;jsessionid=84612D3FBAD554FF37DD381DD857BC20?module=Thread&threadID=597911&start=0&mc=60
or download directly from here:
github.com/downloads/lovrop/topcoder-moj/moj_4.16.zip
Unpack the downloaded archive into any convenient folder.
Connect moj
Step 5. In the arena, open the editor settings window (“Options” - “Editor”):
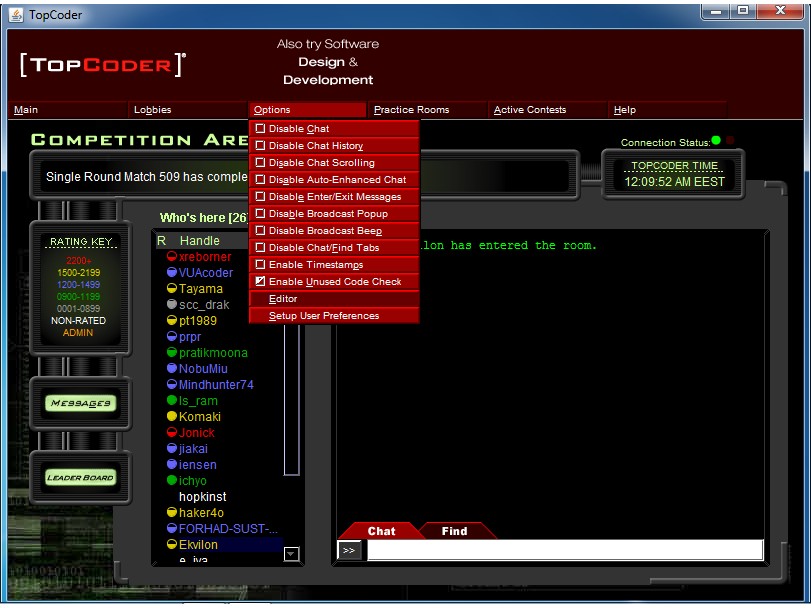
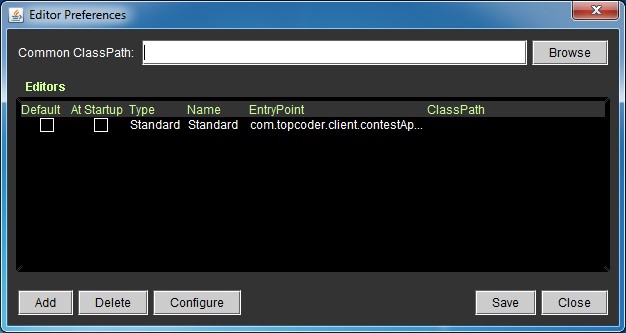
As a result, you will see a window:
Step 6. Opposite the Common ClassPath field, click the Browse button. In the window that appears, go to the folder with the unpacked plugin:
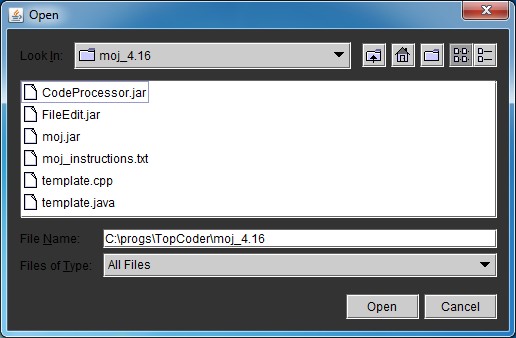
and select three * .jar files:
- Codeprocessor.jar
- FileEdit.jar
- moj.jar
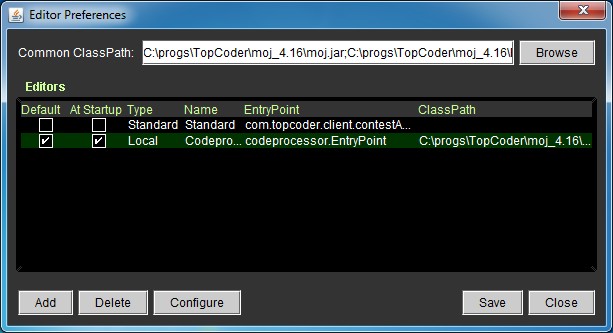
Step 7. In the settings window, click the “Add” button. Fill in the opened window with the following values:
- Name: Codeprocessor2.0
- EntryPoint: codeprocessor.EntryPoint
- ClassPath: and in step 6, select the 3 specified * .jar files.

A new line has appeared in the settings window that corresponds to the installed plugin. To make it a default plugin, check the corresponding checkboxes “Default” and “At Startup”:
Moj Setup
Step 8. In the settings window, select the line corresponding to Codeprocessor2.0, and click the “Configure” button. In the window that appears, click "Add". As a result, an empty (white) line will appear, in which you need to enter “moj.moj”. In the "Editor EntryPoint" field, enter "fileedit.EntryPoint."

Step 9 . Opposite the “Editor EntryPoint” field, click “Configure”. In the appeared window in the field “Enter directory to read / write problems to” enter the path to the folder in which the code templates will appear when opening a new task.

In the “Code Template” tab, you are prompted to enter a code template that will be written into the source code file. As an example, I can offer my own (if you copy-paste - do not forget to select the C ++ language in advance): pastebin.com/kwt4Whp3

Step 10. Click "Save":
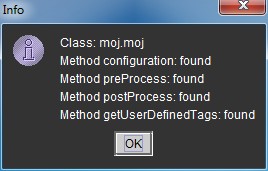
In the Codeprocessor configuration window, click the “Verify” button. If everything went well and is connected correctly, you should receive a message that all components are found:
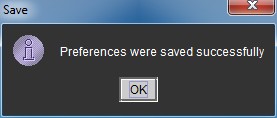
Again, click "Save", receiving simultaneously the following warning:


This completes the setup.
Plugin check
To test Moj’s capacity, in the arena we select any room for training (“Practice rooms”):
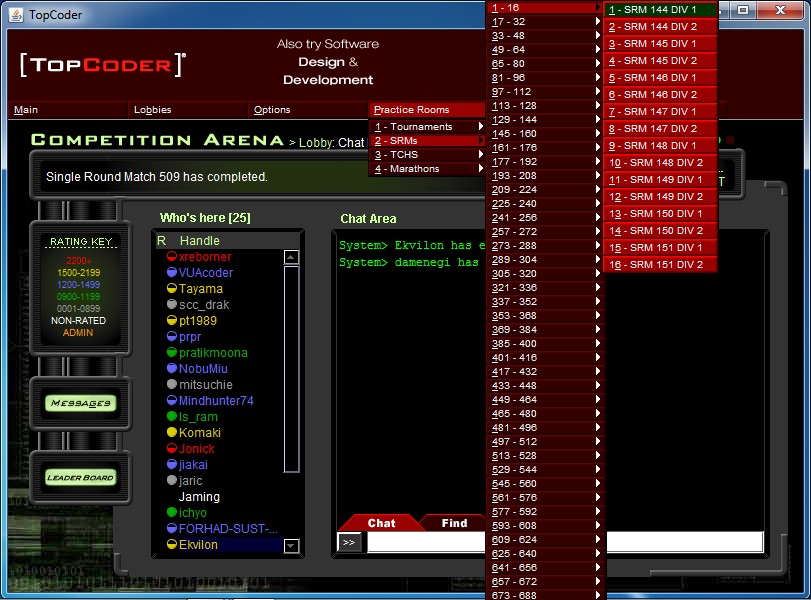
In the interface of the room in the field “Choose problem” select any of the 3 tasks. By the way, there you will immediately see the number of points by which tasks are evaluated.
After opening the task, you will see the following window:
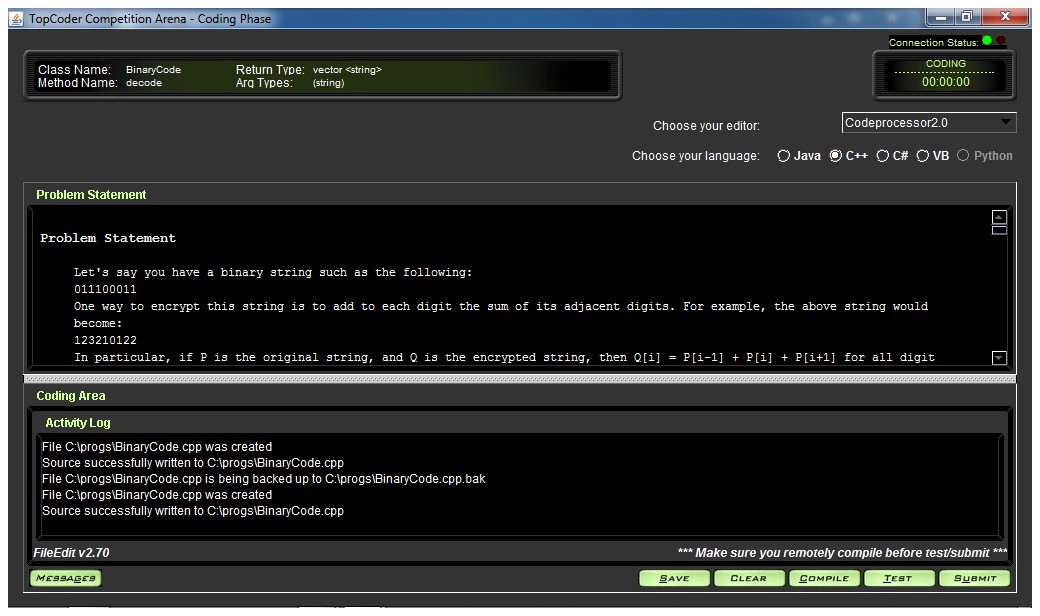
This is where you can read the condition, check the Activity Log and make sure that Moj worked. For fidelity (and for training), open the code and write the solution. By the way, one of TopCoder's features: you need to write not a whole program, but just a class. The data is submitted as the arguments of the class method, the result is returned through the value of the method. Moj - appends everything (by pattern) that is outside the class. Thanks to this, you can run the program and test your code on tests from the conditions that are automatically written by Moj directly into the source file.
When the class is ready - press successively “Save”, “Compile”, “Test” (optional), “Submit”. The code writing is usually completed on this, and the solution is considered received (but not necessarily correct - the correctness is checked during the system test, at the end of the competition).
Conclusion
TopCoder competitions are significantly different from others, including the ASM standard. Studying all the features that were not even mentioned here can take quite a lot of time. However, the main thing is to start, and experience will come with time.
Source: https://habr.com/ru/post/120942/
All Articles