We write a game for Android using AndEngine. Part 1
Hello.
Today I will tell you how to write a small game using AndEngine . The story turned out to be quite large and, so as not to bore the reader, while we stop at the first part. All that is needed from the reader is knowledge of java, OOP and the ability to handle Eclipse and the Android SDK. Looking ahead, we get something similar to Mirrors Maze or Laser Logic .
The second part of the article.
The third part of the article.
How to install Eclipse, Android SDK, create projects and connect libraries, I will not, so let's get down to business right away.
Step 1: To the fan. You can download the source code of AndEngine and connect to the project as an Android library. Or take from the examples already ready .jar. In both cases, you will need Mercurial , we will not dwell on it either.
Step 2: The project is created, all libraries are connected. Now we need images. Moving in the project folder:
assets / gfx
')
Well, or who you like and throw 2 images there. One background and our laser.
No more images are required. Until.
Step 3: Well, since we started with the images, we will write a small class that we will initialize them.
What happens in this code at all? First we create mTexture, this will be our atlas . It is very important that its dimensions are multiple to powers of two, since OpenGL does not understand other texture sizes. Next we add images to our atlas. And closely monitor that they do not overlap. A transparent background is very important for our laser, so for it, in any case, we use PNG. And for the background, it doesn't matter in what format to store it. Well, after all the manipulations, we call the loadTexture () method, after which we can use our atlas.
Step 4: We loaded the textures, now let's see what we did.
This is our main Activity, I hope there is no need to explain that this, which we should immediately inherit from BaseGameActivity, otherwise we will fail. After that, the IDE will offer us to override 4 methods. Which are called in order onLoadEngine-> onLoadResources-> onLoadScene-> onLoadComplete. Let's start from the beginning of the chain here, we initialize the camera and the engine itself. I want to pay special attention to the getScreenResolutionRatio () method. Thanks to him, the resulting picture will stretch to full screen. In this case, the proportions will not be respected. Or we can leave the proportions of the camera and then our game will not occupy the entire screen on some devices. Of course, there is a third option - to write initialization for all screen sizes, but of course we will not do this now.
Next, we load our textures, which we then use in onLoadScene. FPSLogger - will display the frame rate in the logs. And the strange construction scene.getFirstChild () will give us a link to the top layer of our scene. Of course, we can do without the top layer by adding objects directly to the scene, but knowing which layer you add an object to is still more convenient.
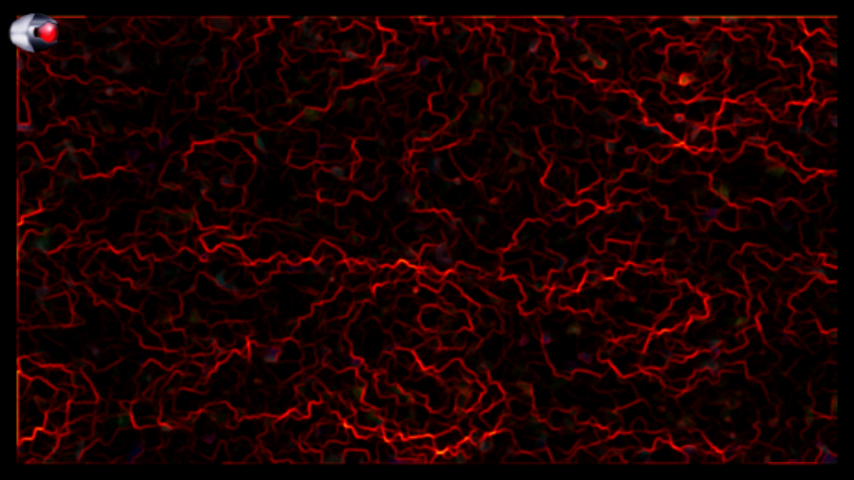
Now we can see what we did.
For the first part is enough. The project code can be found at SourceForge .
Thanks for attention.
Today I will tell you how to write a small game using AndEngine . The story turned out to be quite large and, so as not to bore the reader, while we stop at the first part. All that is needed from the reader is knowledge of java, OOP and the ability to handle Eclipse and the Android SDK. Looking ahead, we get something similar to Mirrors Maze or Laser Logic .
The second part of the article.
The third part of the article.
How to install Eclipse, Android SDK, create projects and connect libraries, I will not, so let's get down to business right away.
Step 1: To the fan. You can download the source code of AndEngine and connect to the project as an Android library. Or take from the examples already ready .jar. In both cases, you will need Mercurial , we will not dwell on it either.
Step 2: The project is created, all libraries are connected. Now we need images. Moving in the project folder:
assets / gfx
')
Well, or who you like and throw 2 images there. One background and our laser.
No more images are required. Until.
Step 3: Well, since we started with the images, we will write a small class that we will initialize them.
public class Textures {

private Texture mTexture;
private TextureRegion mLaserGunTextureRegion, mBackgroundTextureRegion;

public Textures(final BaseGameActivity activity, final Engine engine) {
Log.i( "Laser Logic" , "onLoadResources" );
this .mTexture = new Texture(1024, 512,
TextureOptions.BILINEAR_PREMULTIPLYALPHA);
this .mLaserGunTextureRegion = TextureRegionFactory.createFromAsset(
this .mTexture, activity, "gfx/laser_gun.png" , 800, 0);
this .mBackgroundTextureRegion = TextureRegionFactory.createFromAsset(
this .mTexture, activity, "gfx/laser_logic_background.png" , 0, 0);
engine.getTextureManager().loadTexture( this .mTexture);
}

public TextureRegion getBackground(){
return mBackgroundTextureRegion;
}

public TextureRegion getLaserGun(){
return mLaserGunTextureRegion;
}

}

* This source code was highlighted with Source Code Highlighter .
What happens in this code at all? First we create mTexture, this will be our atlas . It is very important that its dimensions are multiple to powers of two, since OpenGL does not understand other texture sizes. Next we add images to our atlas. And closely monitor that they do not overlap. A transparent background is very important for our laser, so for it, in any case, we use PNG. And for the background, it doesn't matter in what format to store it. Well, after all the manipulations, we call the loadTexture () method, after which we can use our atlas.
Step 4: We loaded the textures, now let's see what we did.
public class StageActivity extends BaseGameActivity {

private static final int CAMERA_WIDTH = 800;
private static final int CAMERA_HEIGHT = 480;
private static final int NUMBER_OF_LAYERS = 2;

private Camera mCamera;
private Textures mTextures;

@Override
public void onLoadComplete() {}

@Override
public Engine onLoadEngine() {
this .mCamera = new Camera(0, 0, CAMERA_WIDTH, CAMERA_HEIGHT);
final EngineOptions options = new EngineOptions( true ,
ScreenOrientation.LANDSCAPE, new RatioResolutionPolicy(
getScreenResolutionRatio()), this .mCamera);
return new Engine(options);
}

@Override
public void onLoadResources() {
mTextures = new Textures( this , getEngine());
}

@Override
public Scene onLoadScene() {
Ln.i( "OnLoadScene" );
this .mEngine.registerUpdateHandler( new FPSLogger());

final Scene scene = new Scene(NUMBER_OF_LAYERS);
scene.setBackground( new SpriteBackground( new Sprite(0, 0, mTextures
.getBackground())));
scene.getFirstChild().attachChild( new Sprite(0, 0, mTextures.getLaserGun()));
return scene;
}

private float getScreenResolutionRatio() {
DisplayMetrics dm = new DisplayMetrics();
getWindowManager().getDefaultDisplay().getMetrics(dm);
return (( float ) dm.widthPixels) / (( float ) dm.heightPixels);
}

}

* This source code was highlighted with Source Code Highlighter .
This is our main Activity, I hope there is no need to explain that this, which we should immediately inherit from BaseGameActivity, otherwise we will fail. After that, the IDE will offer us to override 4 methods. Which are called in order onLoadEngine-> onLoadResources-> onLoadScene-> onLoadComplete. Let's start from the beginning of the chain here, we initialize the camera and the engine itself. I want to pay special attention to the getScreenResolutionRatio () method. Thanks to him, the resulting picture will stretch to full screen. In this case, the proportions will not be respected. Or we can leave the proportions of the camera and then our game will not occupy the entire screen on some devices. Of course, there is a third option - to write initialization for all screen sizes, but of course we will not do this now.
Next, we load our textures, which we then use in onLoadScene. FPSLogger - will display the frame rate in the logs. And the strange construction scene.getFirstChild () will give us a link to the top layer of our scene. Of course, we can do without the top layer by adding objects directly to the scene, but knowing which layer you add an object to is still more convenient.
Now we can see what we did.
For the first part is enough. The project code can be found at SourceForge .
Thanks for attention.
Source: https://habr.com/ru/post/120716/
All Articles