From rags to princes or the experience of painting a laptop

Good afternoon, ladies and gentlemen, habouiers and anonymus, old and young, and everything, everything, everything. Today I will tell you a terrible story about how you can at home (or almost), paint your old, but favorite laptop at minimum financial cost.
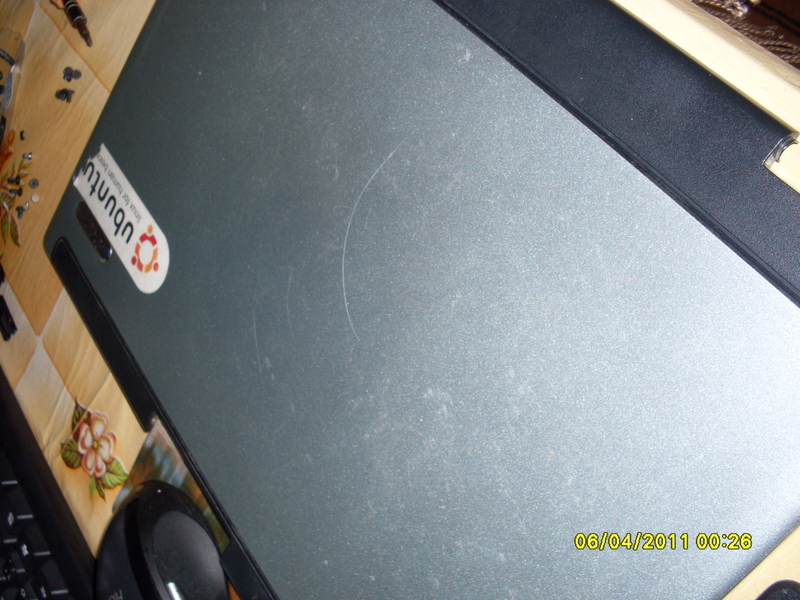
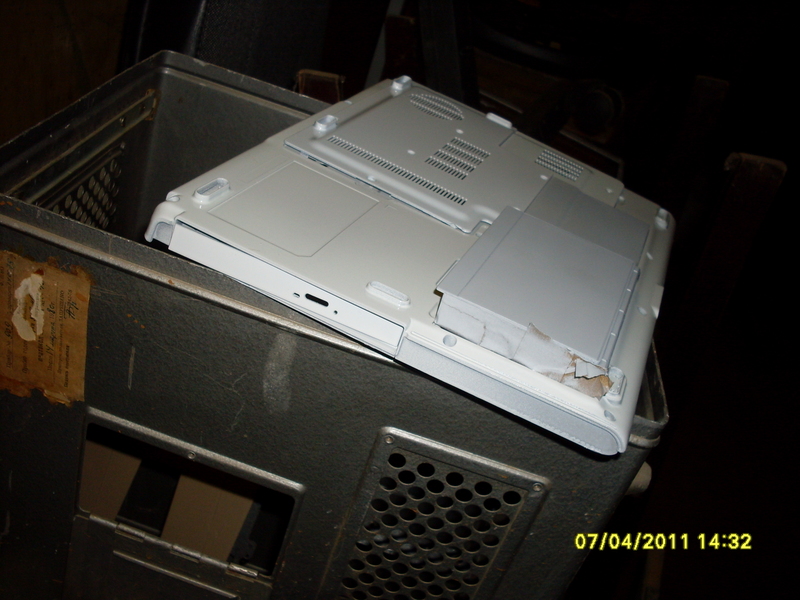
It all started with the fact that one day I lost the sound on a laptop, by the way, that my old man Acer 2492 WLMi had already sunk in for 4 years, and during the use of it, nothing terrible happened, the maximum that changed the thermal paste. What can I say, tenacious infection. Unlike my new cars.
And so the stars were formed, the sound connector broke, and in our pockets we didn’t say that the extra ones, but the same 600 of our always wooden rubles. I set a goal for myself to do beautifully, and not like everyone else, there are many variations of painting on the Internet, but usually it ended with painting the covers in nuclear colors. Personally, I do not like this.
')
Unfortunately, there was no camera on hand to show the tragedy of the situation. He saw a lot.
The first day.
On the first day, the goal was set to gut the entire laptop, which was not difficult.


The motherboard was removed and a new audio plug was adorned in its place within an hour and a half. I will not dwell on this.
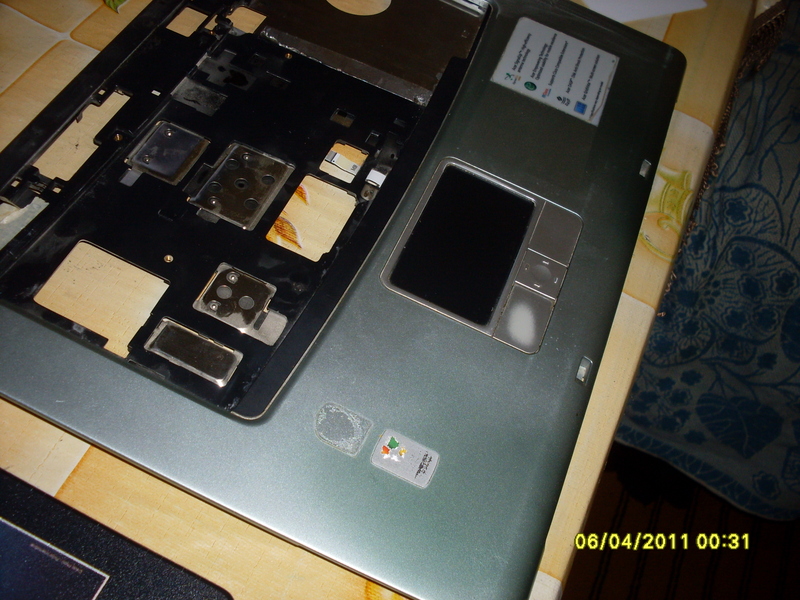
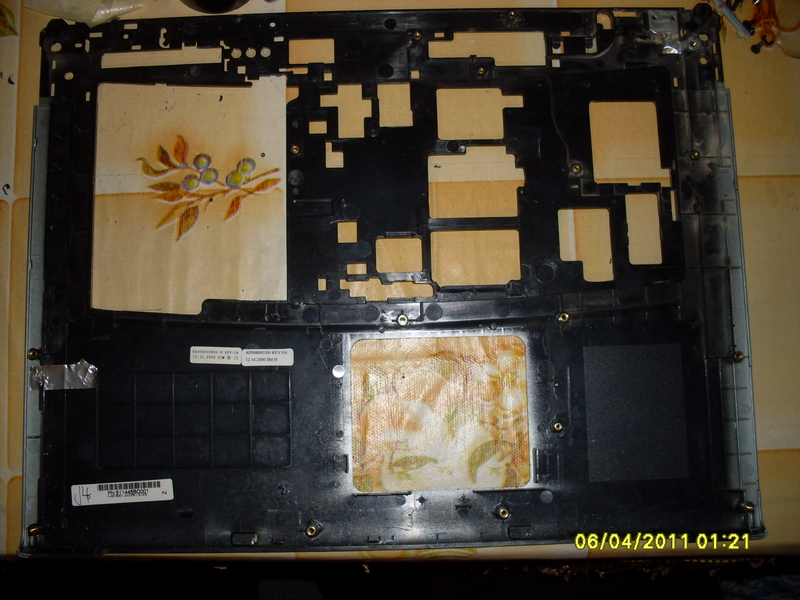
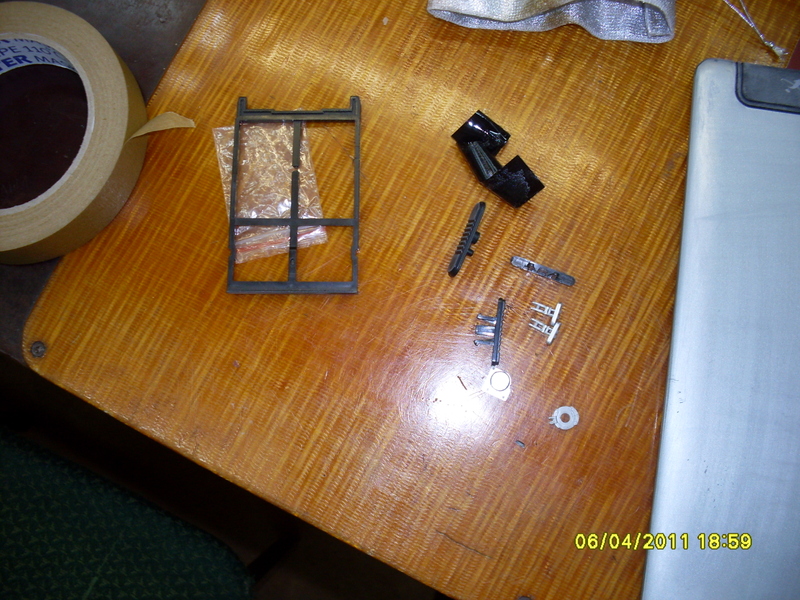
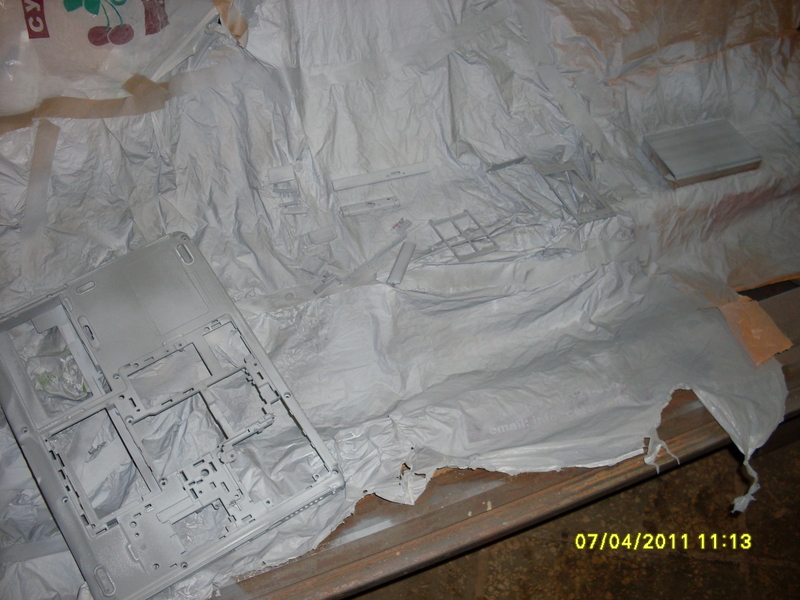
Then my task was to gut all the details of the case. Black plastic stuff, like a thick scotch, metal substrates, stickers, buttons, and everything that was picked off or torn off.
In order to extract the components of the case I used:
1) Homemade knife made from a blade for a hacksaw
2) Soldering iron
3) Great and mighty Russian language
The third point is optional, but without it it was hard to work.
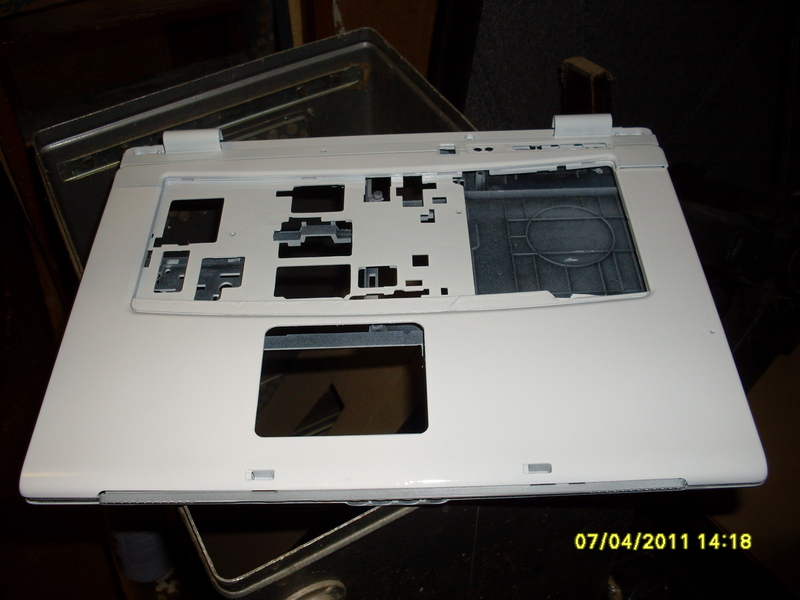
1) Front panel with touchpad. We take a knife or any other sharp device, and gently, gently cut off the plastic heels. Look around the sides of the case, sometimes they hide in the most unexpected, hard-to-reach places (in these cases a soldering iron was used). When everything is cut off, raise the substrate, and repeat the same steps with the touchpad, buttons and what you find.
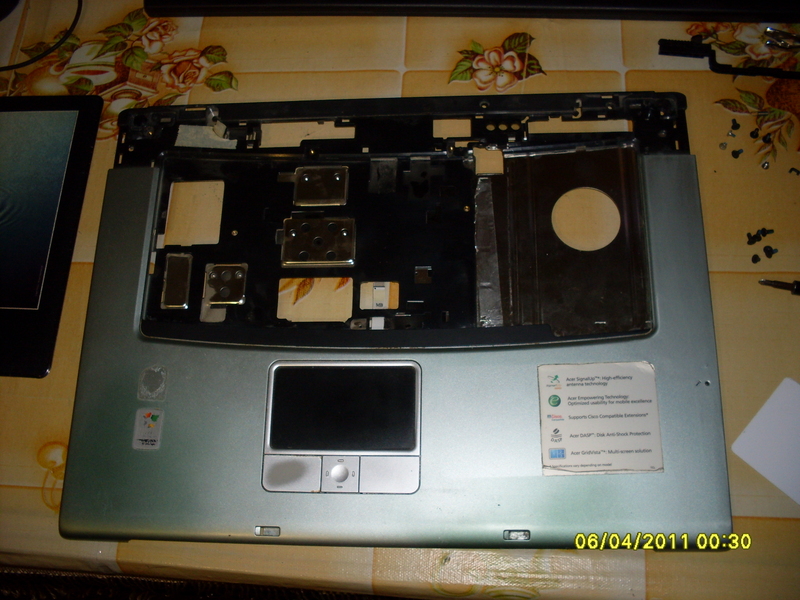

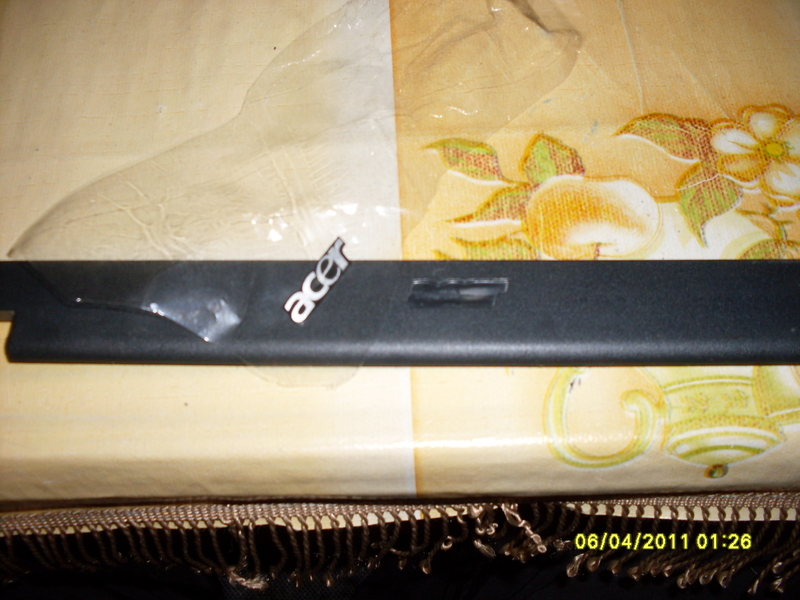
2) Display frame. Well, there’s nothing to bother about. We peg the logo, and gently peel it off. Do not forget to remove also rubber feet.

It's all here.
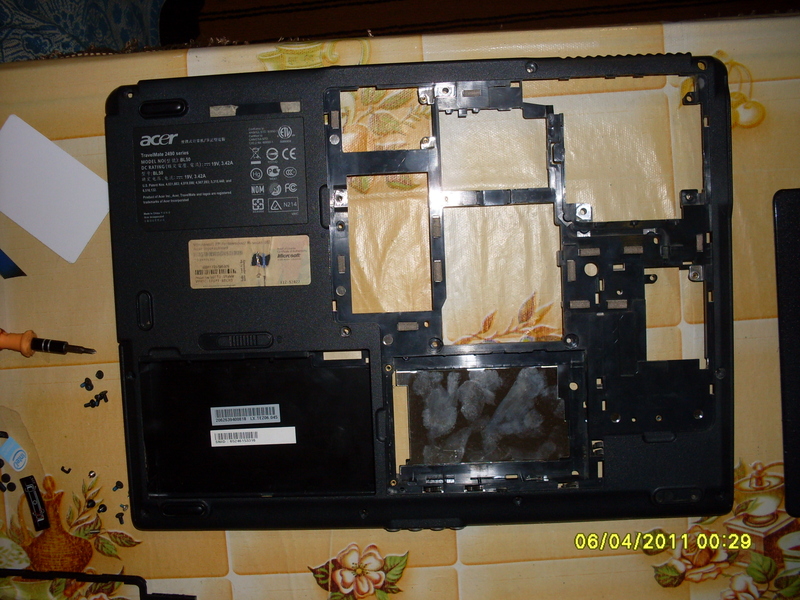
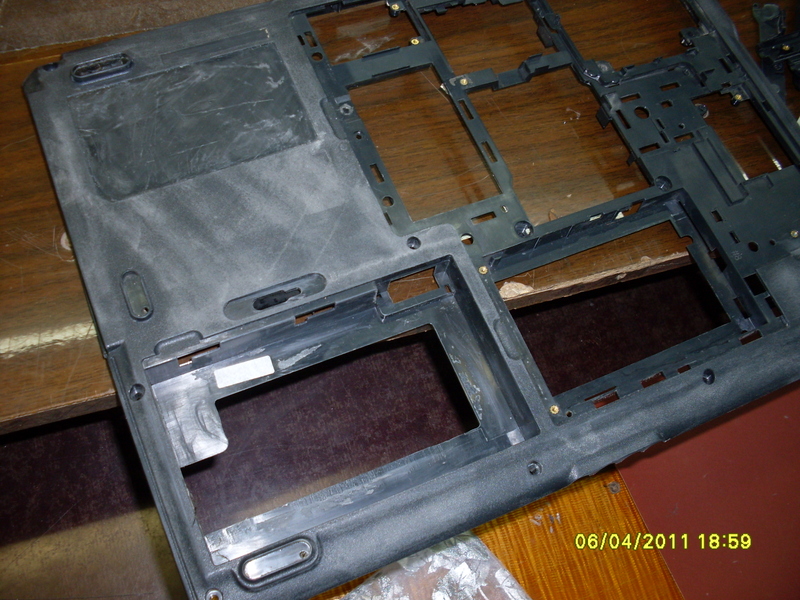
3) Bottom. Here you will need unfriendly patience. There are many elements, there are even those for which there is no crawling at all. This quest in a nutshell.
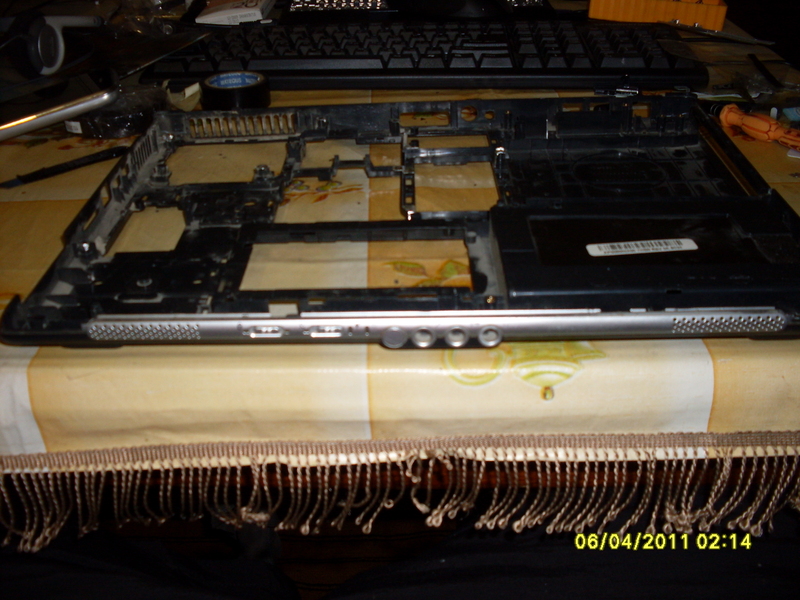
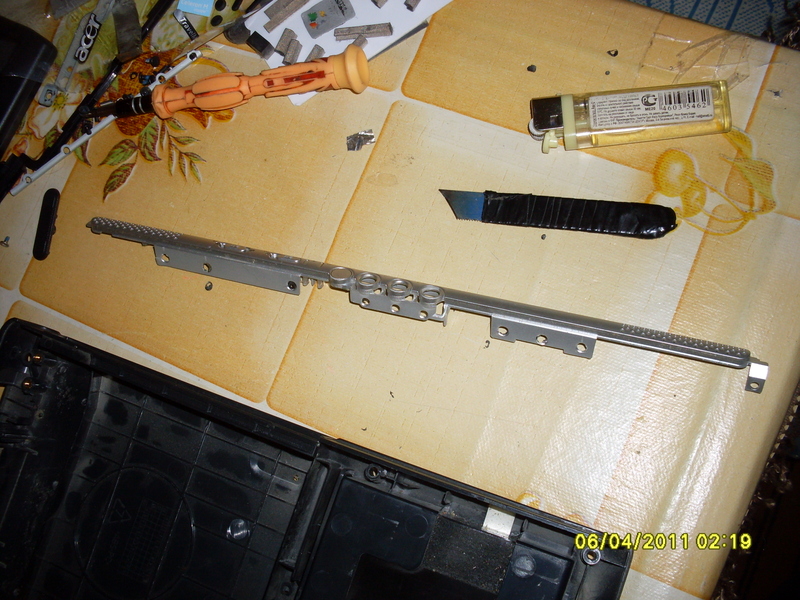
The metal substrate is removed, as you see in the photo. The next step is to remove the connector panel on the front side. The heels are thick on it, so you can easily and not try to cut them, the easiest way is with a soldering iron.
4) The panel above the keyboard. Here, too, everything is quite simple, peel off the stickers, cut off the buttons. Profit.

This ended the first day. It took about 6-7 hours. Cut fingers, and good mood you provided.
Prehistory Preparatory work
Not a lot of distraction. On the same day, and I began to think how I want to see him. There were thoughts: Golden, red, black, orange. And then it hit me. I always wanted a white laptop, why not. In the morning, before typing in the search engine auto enamels and your city got acquainted with the prices of the first five stores and went to the nearest one, where it was cheaper.
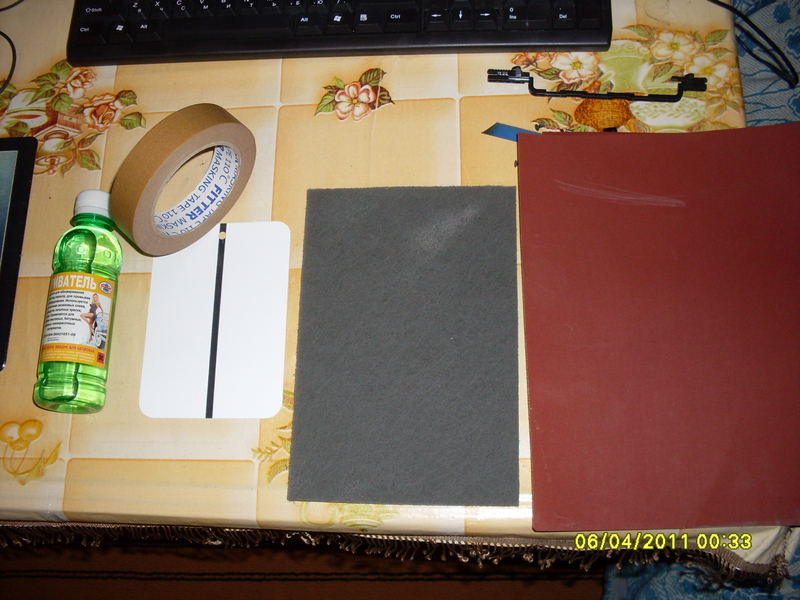
Arriving, I needed.
1) Aerosol primer for plastic SUNKE 231 gray (SPRAY 400ml) –140 rubles on a master card card
2) Aerosol-based primer BOSNY 068 gray (SPRAY 400ml) –100 rubles on a master card card
3) BOSNY 039 paint white gloss (SPRAY 400ml) - 100 rubles on the master card card
4) Wait boom. 3M P1500 micro thin abrasive paper series 401Q - 25 rubles on the master card card.
5) Sponge abrasive. ROBERLO P150 MEDIUM polyurethane - 35 rubles using a master card card
6) POLIHIM degreaser (0.25 l) - 35 rubles according to the master card card
7) Test card - 15 rubles
8) Thin Scotch - 15 rubles
9) Patience is priceless, for the rest ... well, you understand, dear reader
All about all 490 rubles
With a joyful face, he took the acquired and went home.


On this, the first day was over for me, because I also need to sleep.
Day 2 preparation and painting with primers
Since I didn’t manage to work on the last day, I began to make up for lost time, the pens are scratched.

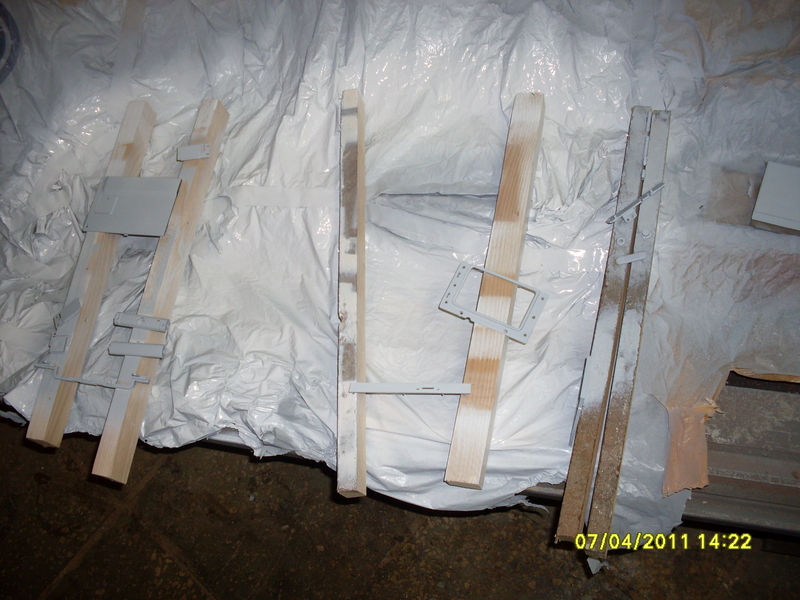
The first thing that needs to be done with the details is to take sandpaper and patiently clean up everything that is possible (for this I have patience included in the bill ), this I did about half a hour and a half hours.
I want to say in advance that before the start of the stripping, glue up all the places where you
where you are not going to paint. The photo shows that I have closed a small part under the keyboard. And it came to me after I scratched the part.

Yes Yes. Small parts also need to be sanded.
After I went through the sandpaper, I took an abrasive sponge, and walked once more to leave the grooves deeper.

With this all. I want to say that to clean the laptop I needed one and a half sheet of sandpaper.
The next thing you need to build "paint shop." I did not bother, making the box of wood and film, I took the usual plastic bags, cut, glued together with scotch and laid in a convenient place.

After the painting site has been made, and the parts have been cleaned, the whole thing should be degreased. We take a rag and a degreaser, and wipe the cleaned body.
Tadadadam ... And now the moment has come. The place was not enough, I had to paint not all at once.
We take plastic primer, it is an aerosol primer on plastic, and we begin to cover the whole thing.
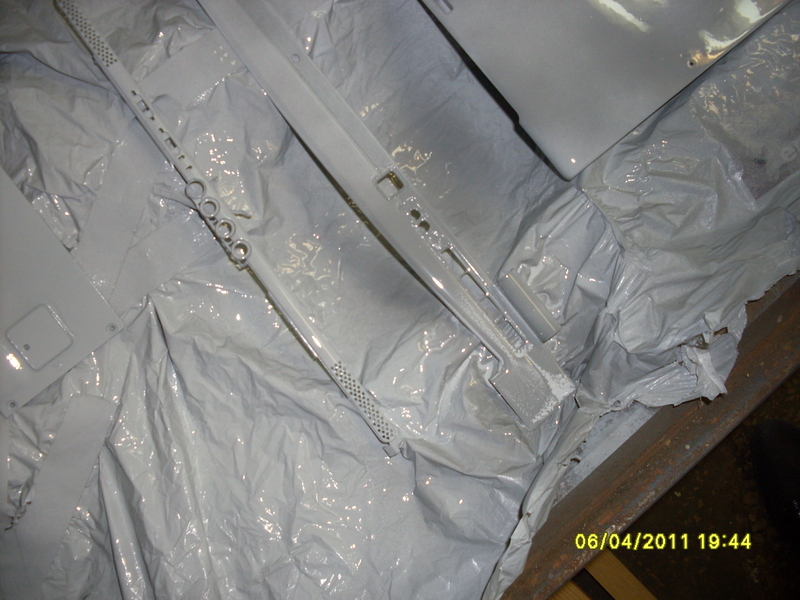
After coating with the first balloon, apply a second layer of soil from the second (also soil, but another) to the raw one in order to keep it stronger.

The photos show white streaks. I overdid it. It was very annoying, but what to do. In this way, I covered all the details and left to dry overnight, as I got a little tired and breathed in vapors. On this day and ended.
I want to warn you, I painted in a huge room with a hood, and almost choked, and I strongly advise you not to paint in the kitchen.
3rd day
When I arrived at the workplace, the first thing I looked at was how there were smudges. To my surprise, everything was smooth and even. Not a single
After painting most of the hull, I began to feel the lightness of the container. It was not enough for 5-7 small items. It's a shame, annoying, but what to do. After waiting 3 hours, when everything was a little dry, I was about to put everything in and take it away, but I want to do it beautifully, not anyhow, and decided to postpone everything until Monday, go buy another can of white paint, and a small 5 gram black bar for some items.


After n-days
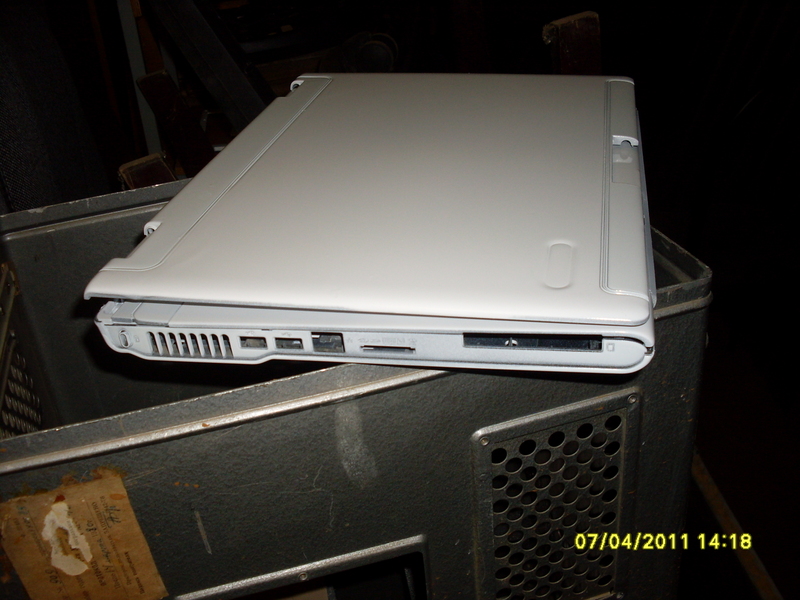
After everything is dry. And this is at least 2 days. I collected a laptop. It turned out certainly worse than he wanted. But better than expected. But I am more than satisfied with the result.


If you are interested in anything - ask, I will answer with pleasure. Thanks for attention.
PS I also painted the battery. But unfortunately I just did not find it at the time of photographing.
Source: https://habr.com/ru/post/120490/
All Articles