Making a beautiful fade for a crowded block without js
Today I want to talk about an interesting way to get this effect using css:
First, create a markup. We will need three blocks:
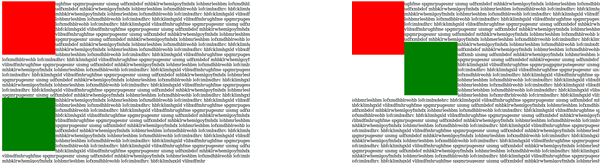
The basic idea is that if two blocks flow away to the left (float: left), they will be placed one under the other, if the height of the intermediate text in which they float is greater than the height of the first block, or next to each other if less. Illustration:
In our case, .text and .fade will flow away, and .helper will play the role of a streamlined text.
')
The height of the auxiliary element corresponds to the height of the container. Then if .text (the first leaking element) is higher .helper, .fade will move to the right.

And now “invert” the behavior of the .fade by shifting it to the left by 100% of the width and upward so that it appears within the container:
Position is needed so that the fade is on top of the text.
By the way, about the container.
We wrap all the elements to give them a flow around:
And we will make the container the way we originally wanted:
Everything!
Demo
Task:
Show fade only when the text height exceeds the container height. It is considered that the dimensions of the container are given.Decision:
Step one
First, create a markup. We will need three blocks:
- for the text itself;
- for auxiliary strut;
- for fade.
<div class="text"></div> <div class="helper"></div> <div class="fade"></div> Step Two
The basic idea is that if two blocks flow away to the left (float: left), they will be placed one under the other, if the height of the intermediate text in which they float is greater than the height of the first block, or next to each other if less. Illustration:
In our case, .text and .fade will flow away, and .helper will play the role of a streamlined text.
')
.text { float: left; width: 400px; } .helper { height: 400px; } .fade { float: left; width: 400px; height: 60px; background: url(fade.png) repeat-x; } The height of the auxiliary element corresponds to the height of the container. Then if .text (the first leaking element) is higher .helper, .fade will move to the right.
Step Three
And now “invert” the behavior of the .fade by shifting it to the left by 100% of the width and upward so that it appears within the container:
.fade { ... margin: -60px 0px 0px -400px; position: relative; } * html .fade { position: static; } Position is needed so that the fade is on top of the text.
Step Four
By the way, about the container.
<div class="container"> <div class="wrapper"> <div class="text"></div> <div class="helper"></div> <div class="fade"></div> </div> </div> We wrap all the elements to give them a flow around:
.wrapper { width: 5000px; height: 100%; } .helper { height: 100%; } And we will make the container the way we originally wanted:
.container { width: 400px; height: 400px; overflow: hidden; border: 1px solid #aaa; } Everything!
Demo
Source: https://habr.com/ru/post/116646/
All Articles