How to please your favorite February 14
Apparently a little late, this topic was here, but still better late than never. Tomorrow is a wonderful holiday - Valentine's Day. To surprise your beloved, all the work described in this topic was done (almost twice already).
(Be careful, lots of pictures!)
')
I warn you that in photos you may notice some inconsistencies in the inscriptions on the board. I explain - my friend turned this whole undertaking, I only helped him to program and arrange the article, and some explanatory photos were not taken during the production of the first board, so it was decided to make the second one.
In order to create such a trinket, we need a little bit:
1) ATmega88 microcontroller
2) 22 red SMD LEDs (better to take with a margin)
3) 22 SMD resistors 620 Ohms (similarly)
4) 1 10 kΩ SMD Resistor
5) 1 SMD capacitor 0.1 microfarad
6) 2 SMD jumpers
7) Glass fiber
8) STK500V2 Programmer
9) PV-SCHV photoresist
10) Soda Ash
11) Caustic soda
12) Ferric Chloride
13) Beer (optional)
14) Half a liter (without them you just can not figure it out)
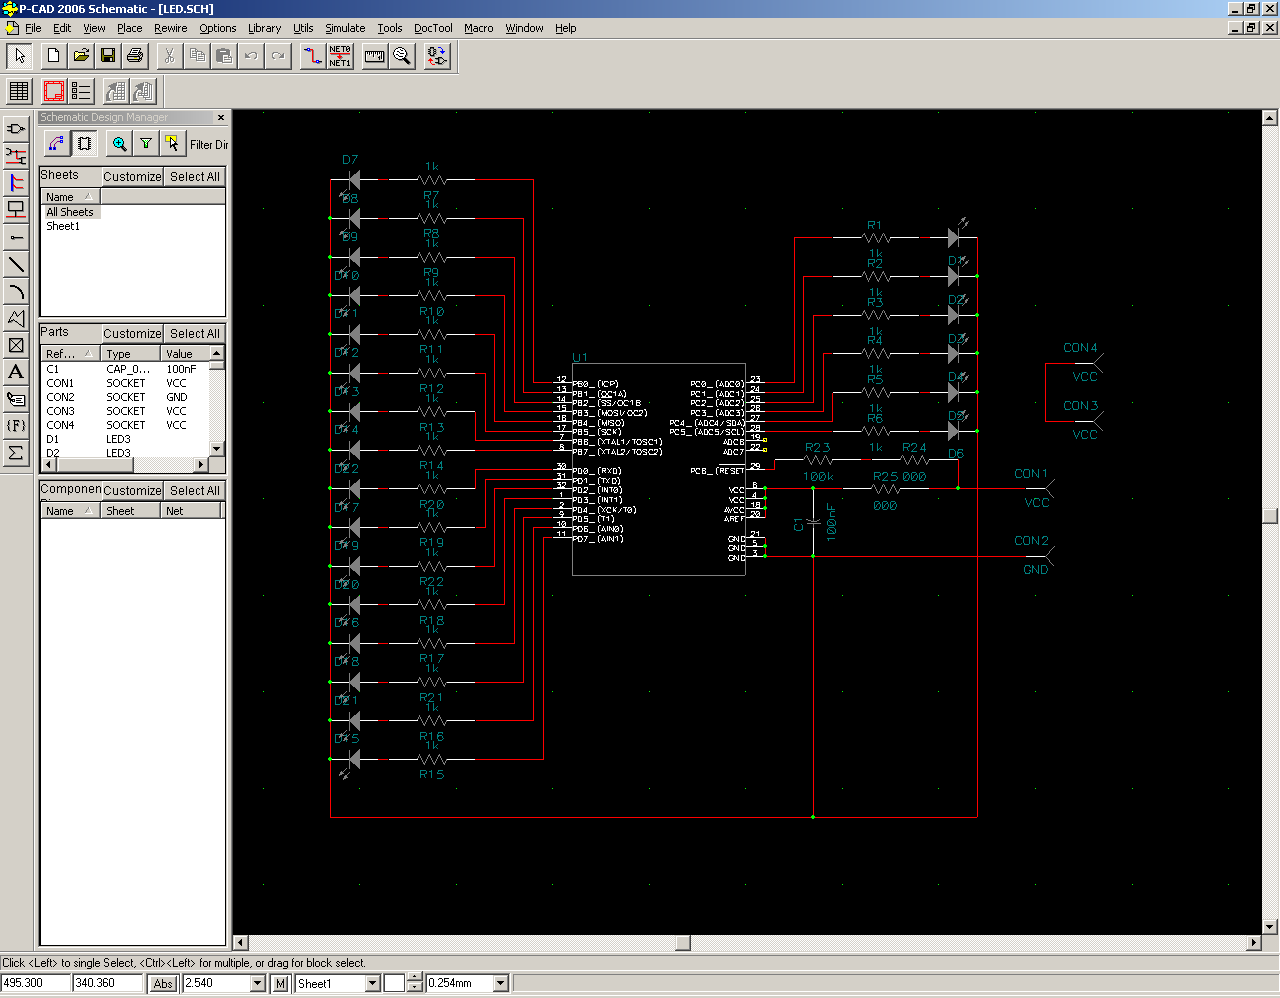
We draw the scheme. According to this scheme, we will then breed the board. From the schematic editor, we then unload the NET-list (list of chains) and the archive library of the components used.
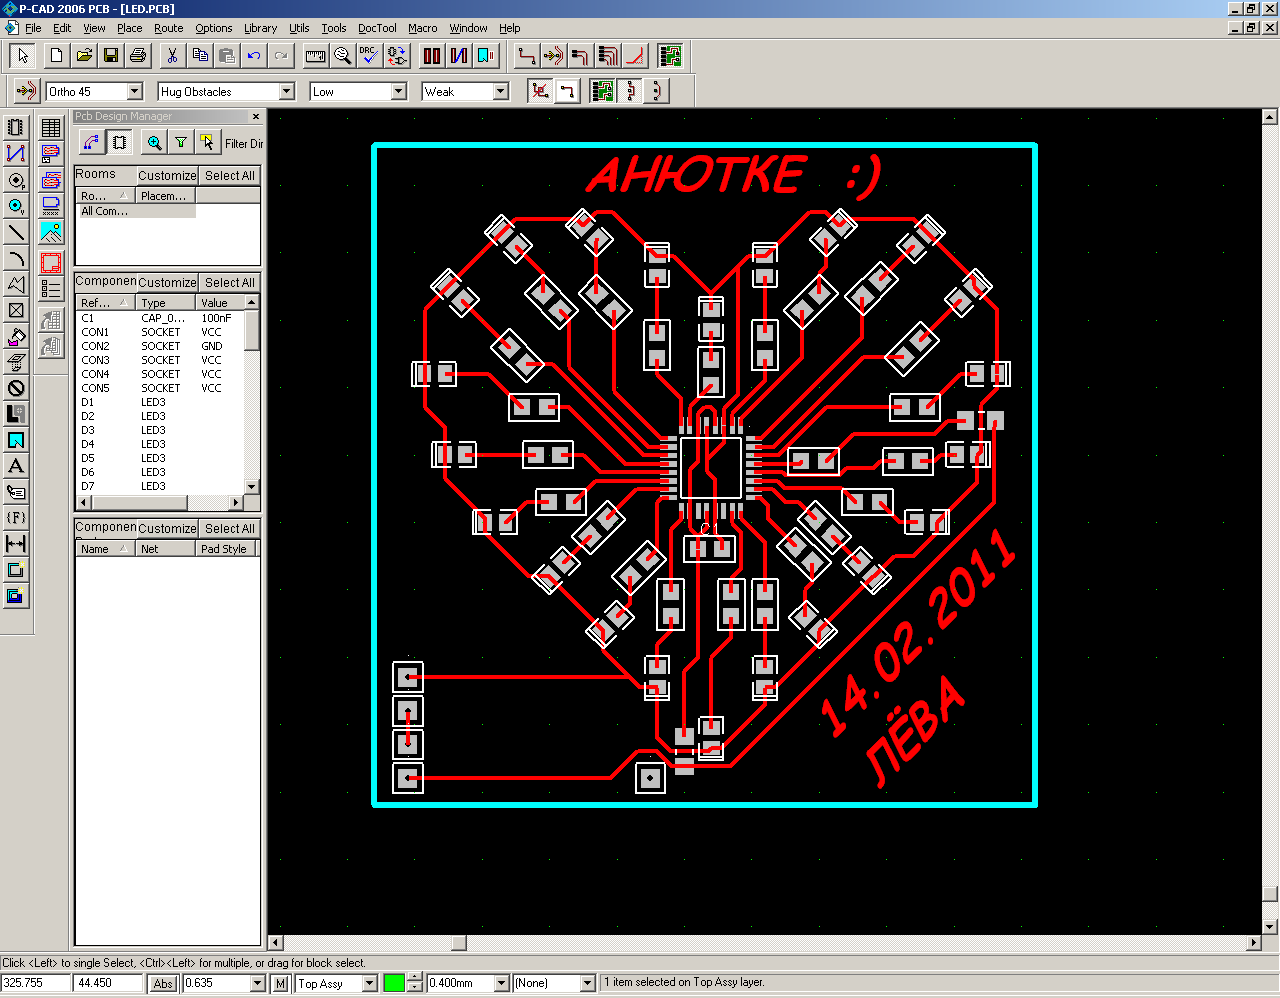
We breed fee. All components for surface mounting.
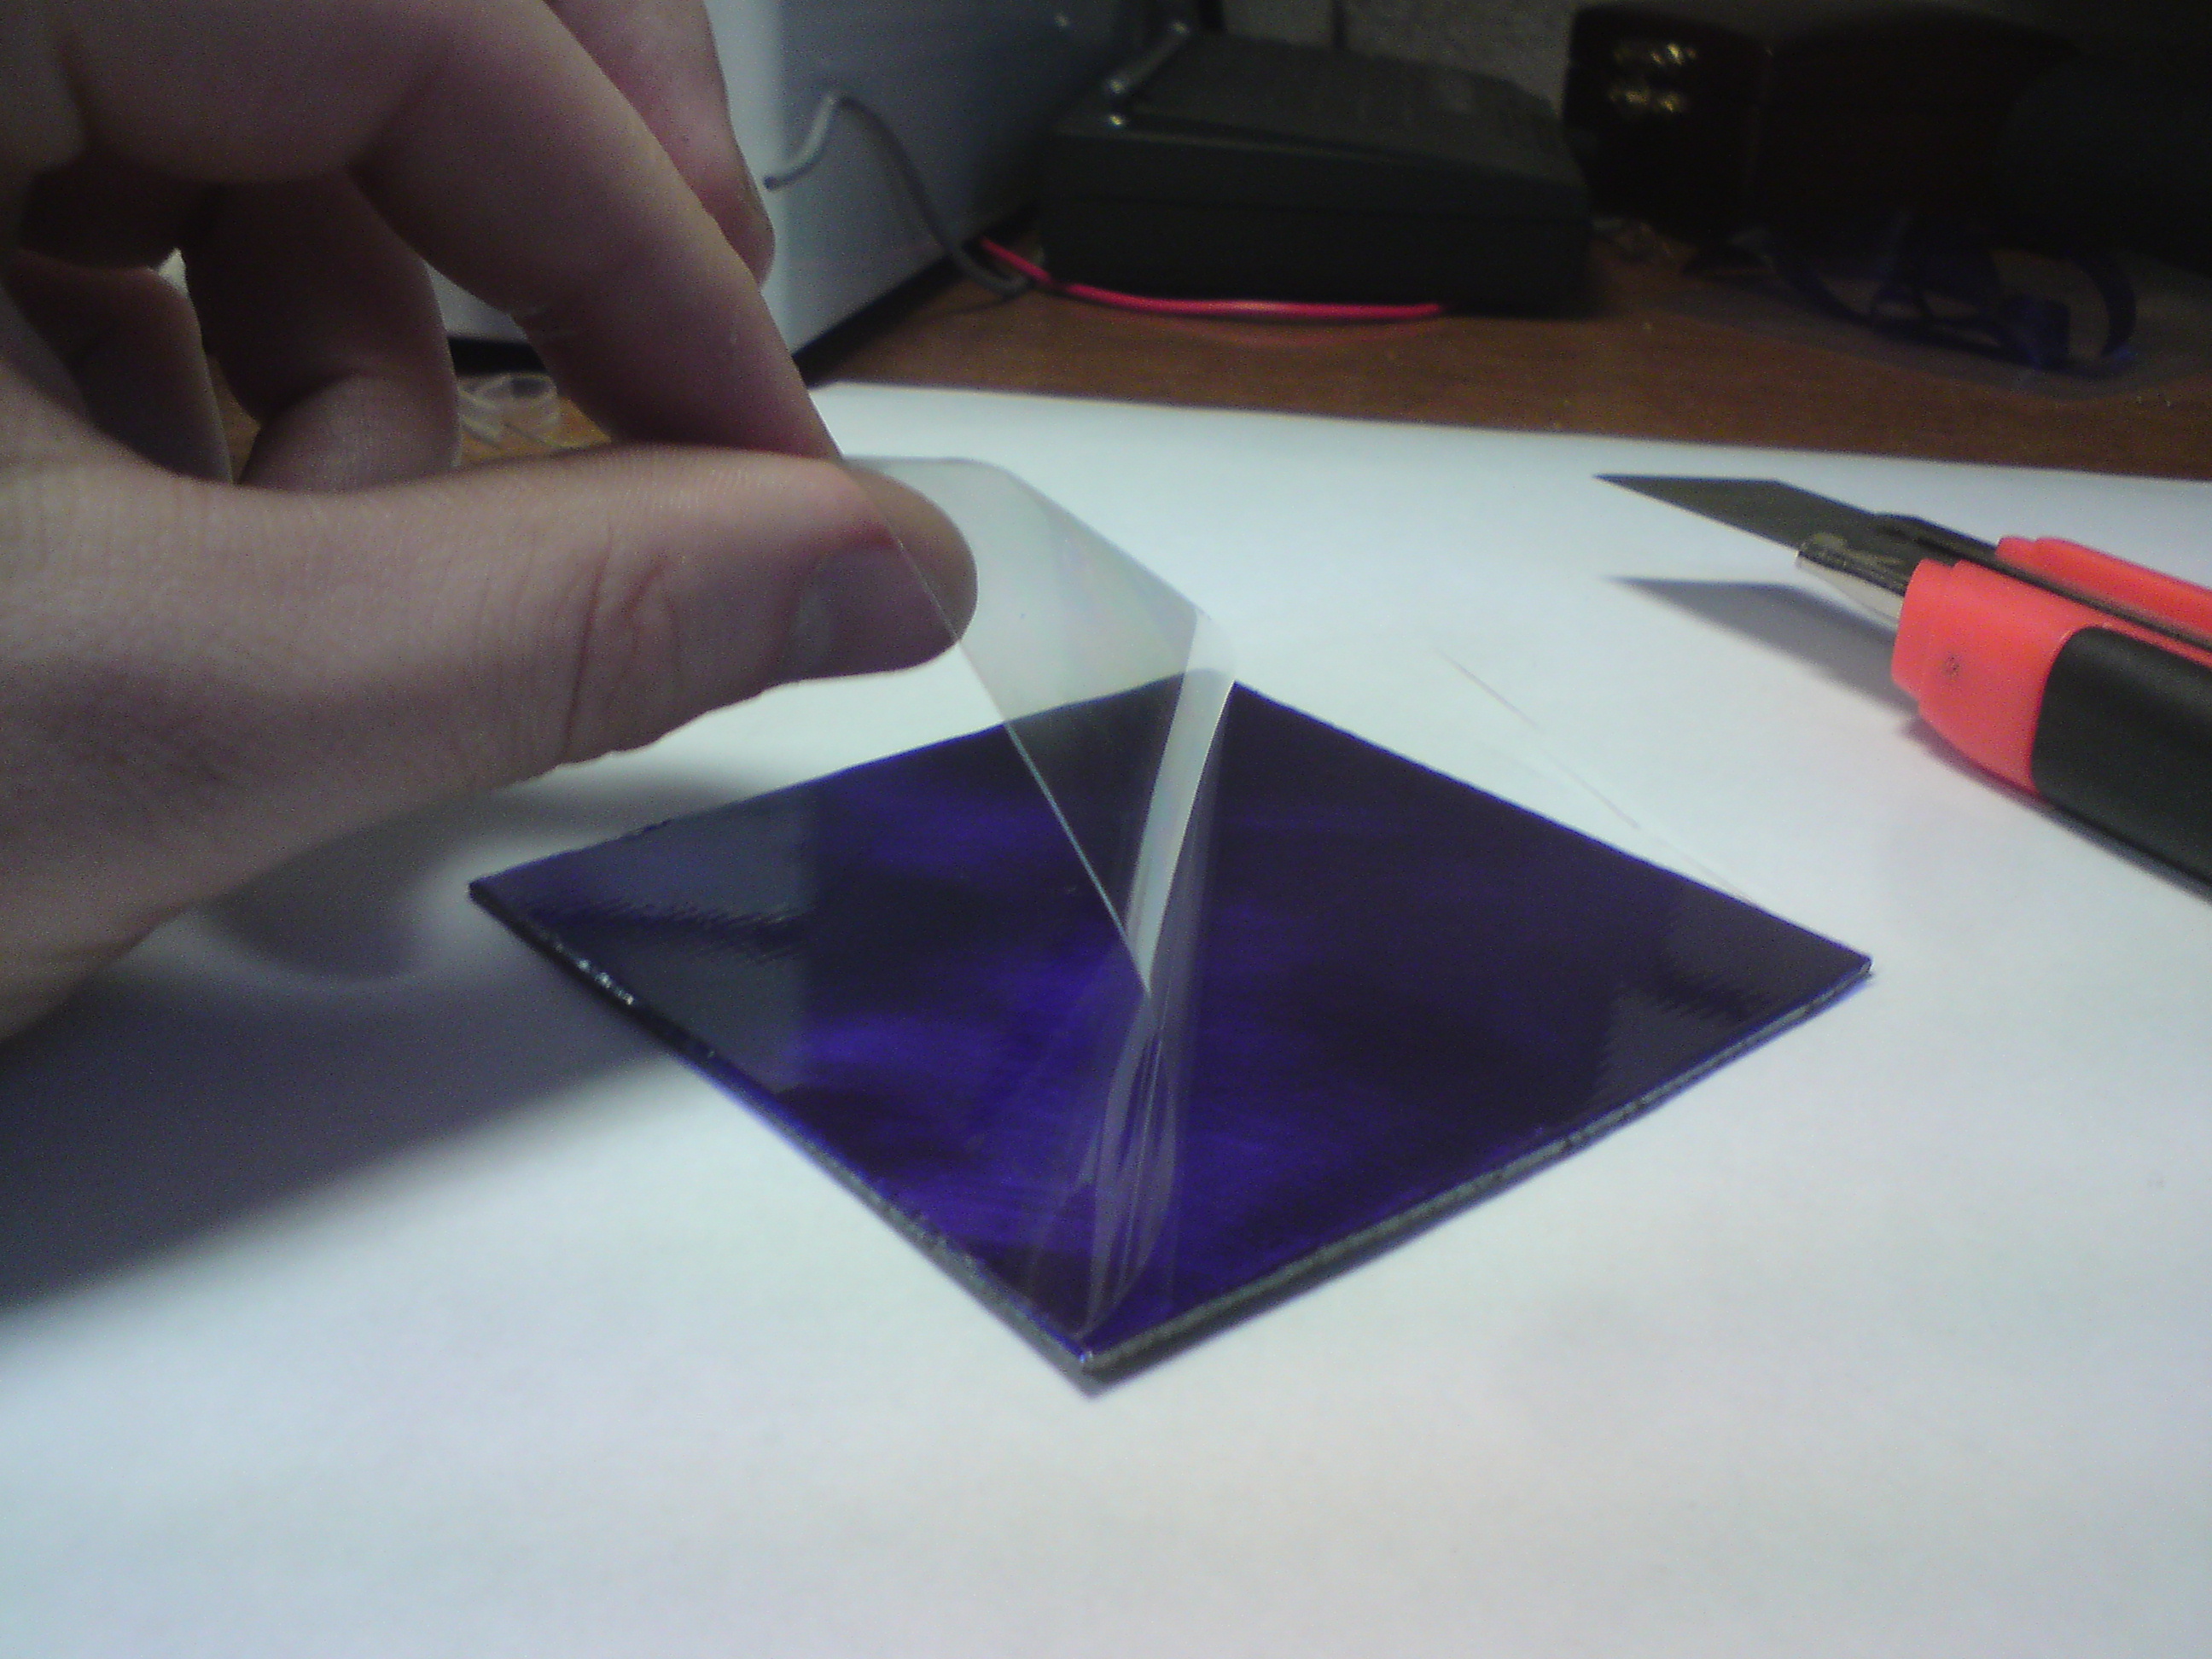
Sticking film photoresist on the board.

Almost the same as when tinting car windows, the main thing is to prevent the formation of air bubbles.

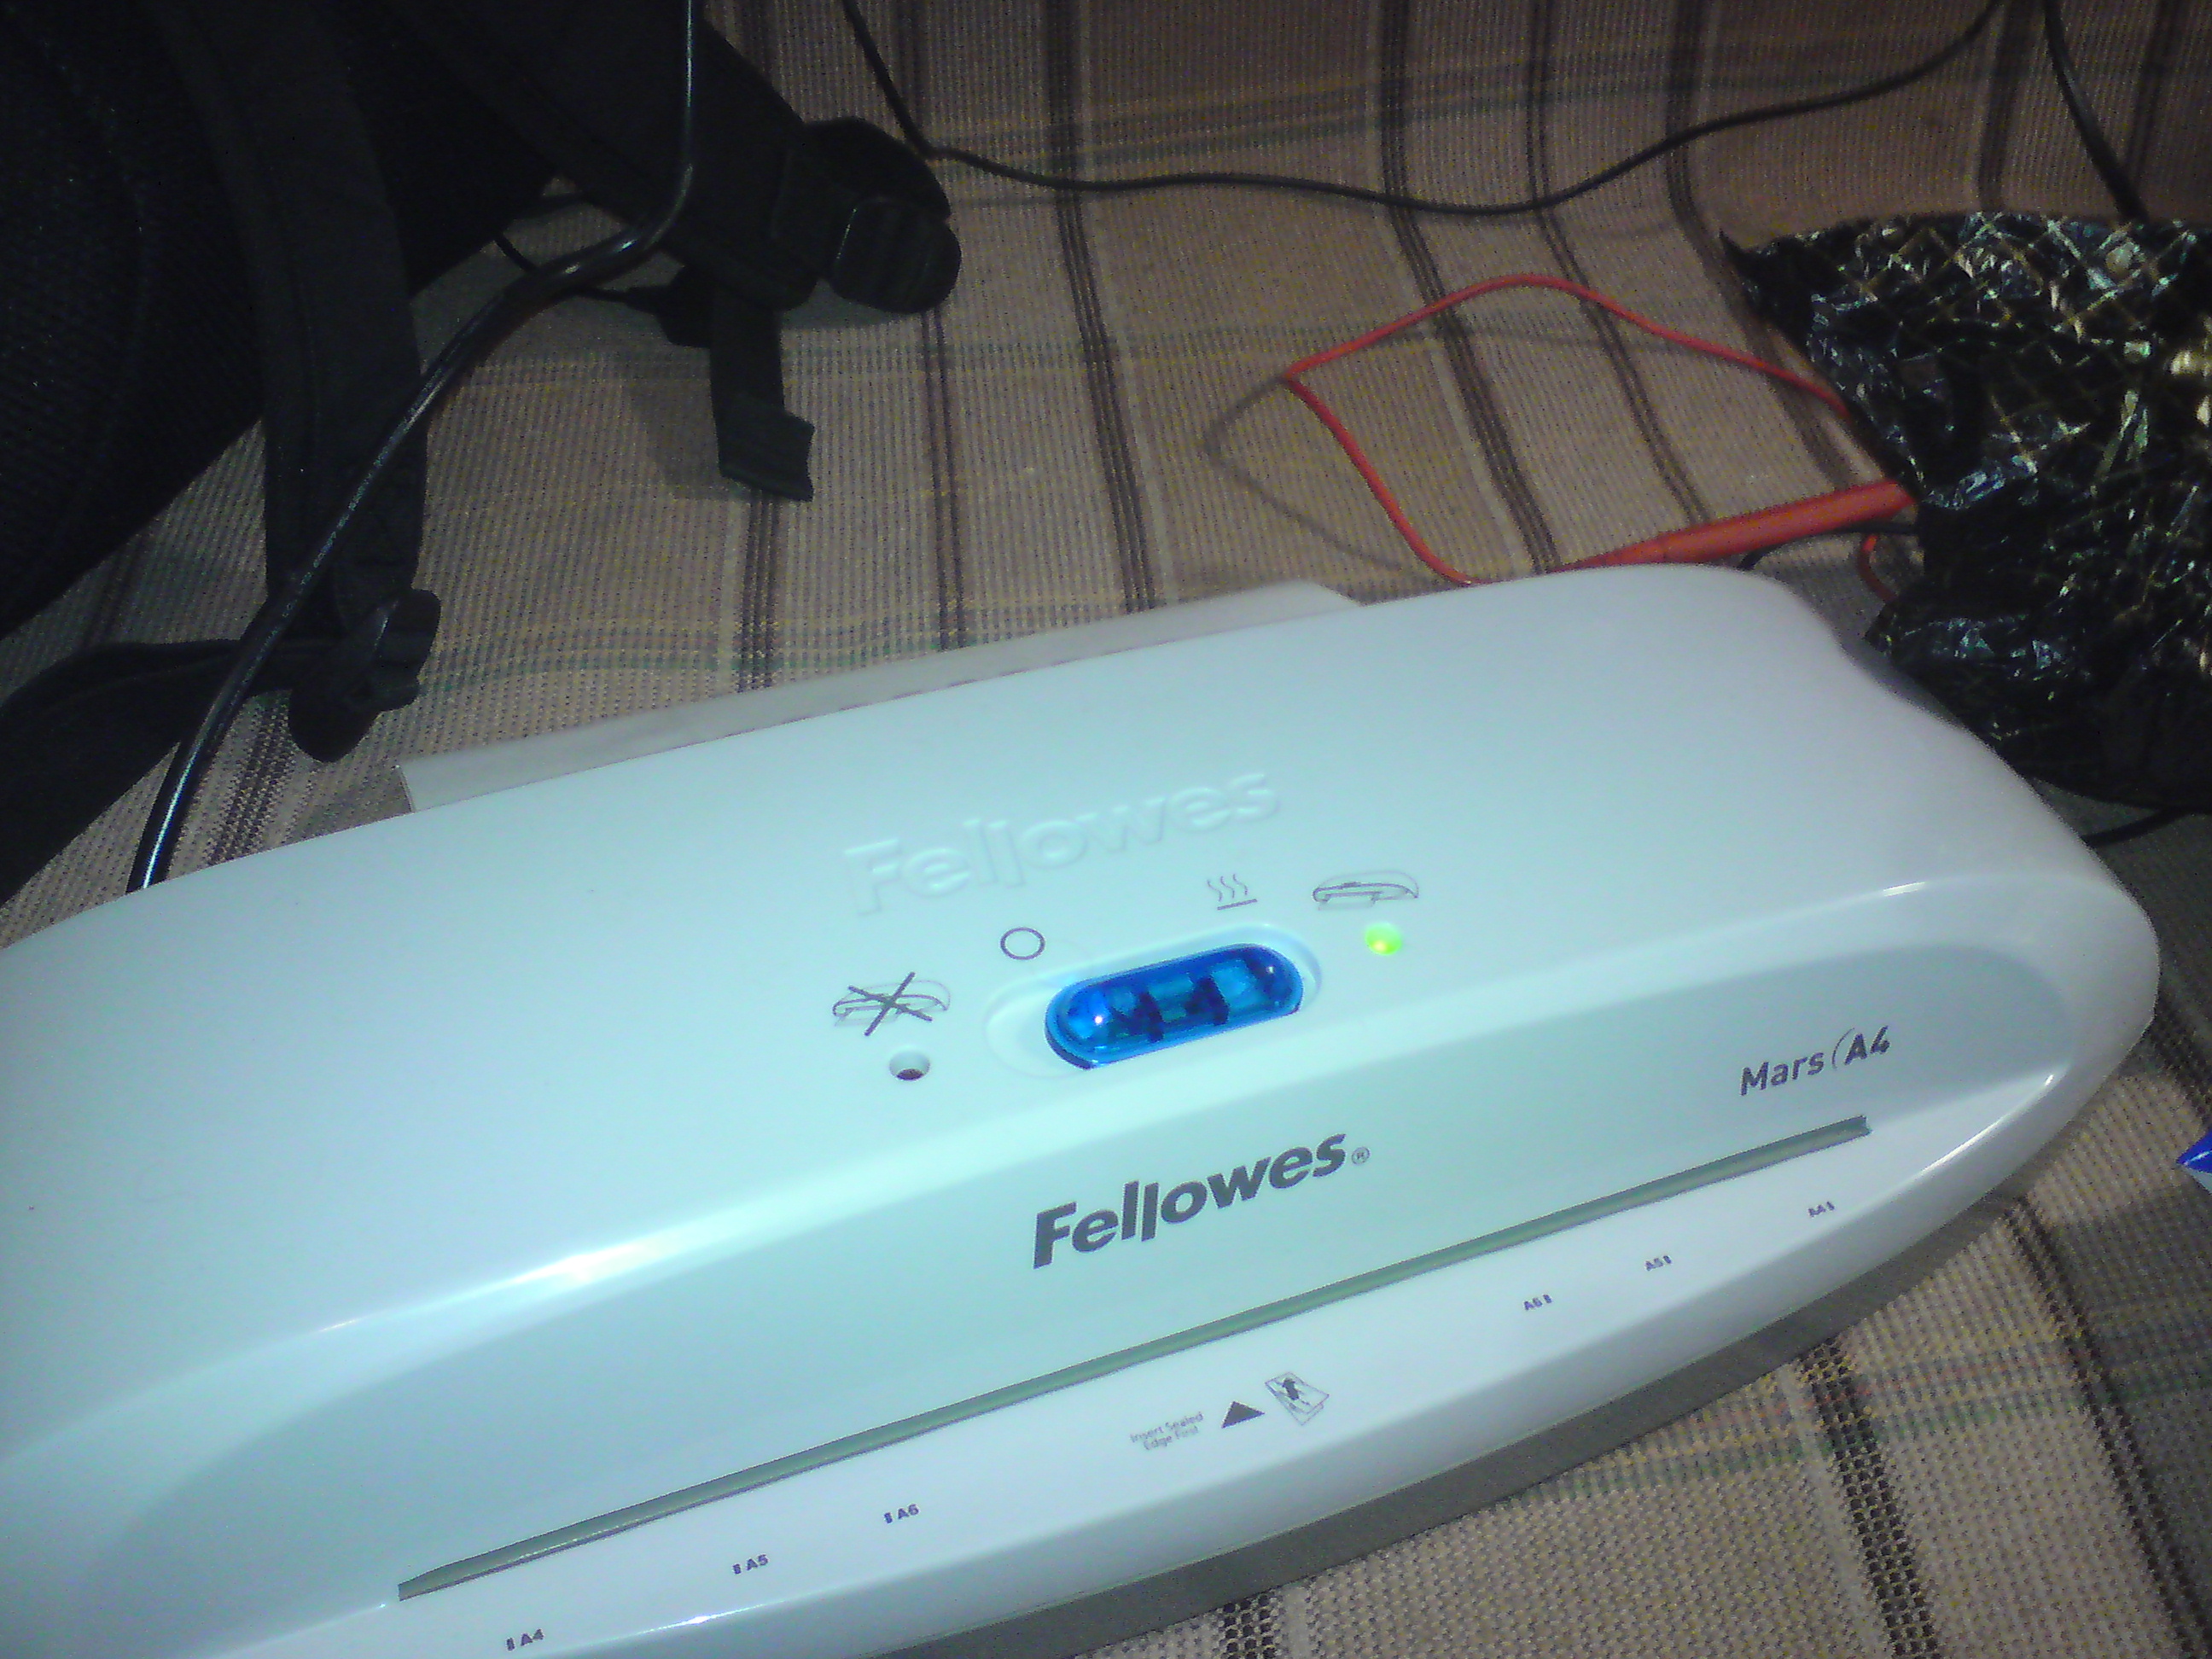
We wrap the board with paper and skip 2 times through the laminator, so that the photoresist adheres better to the board.
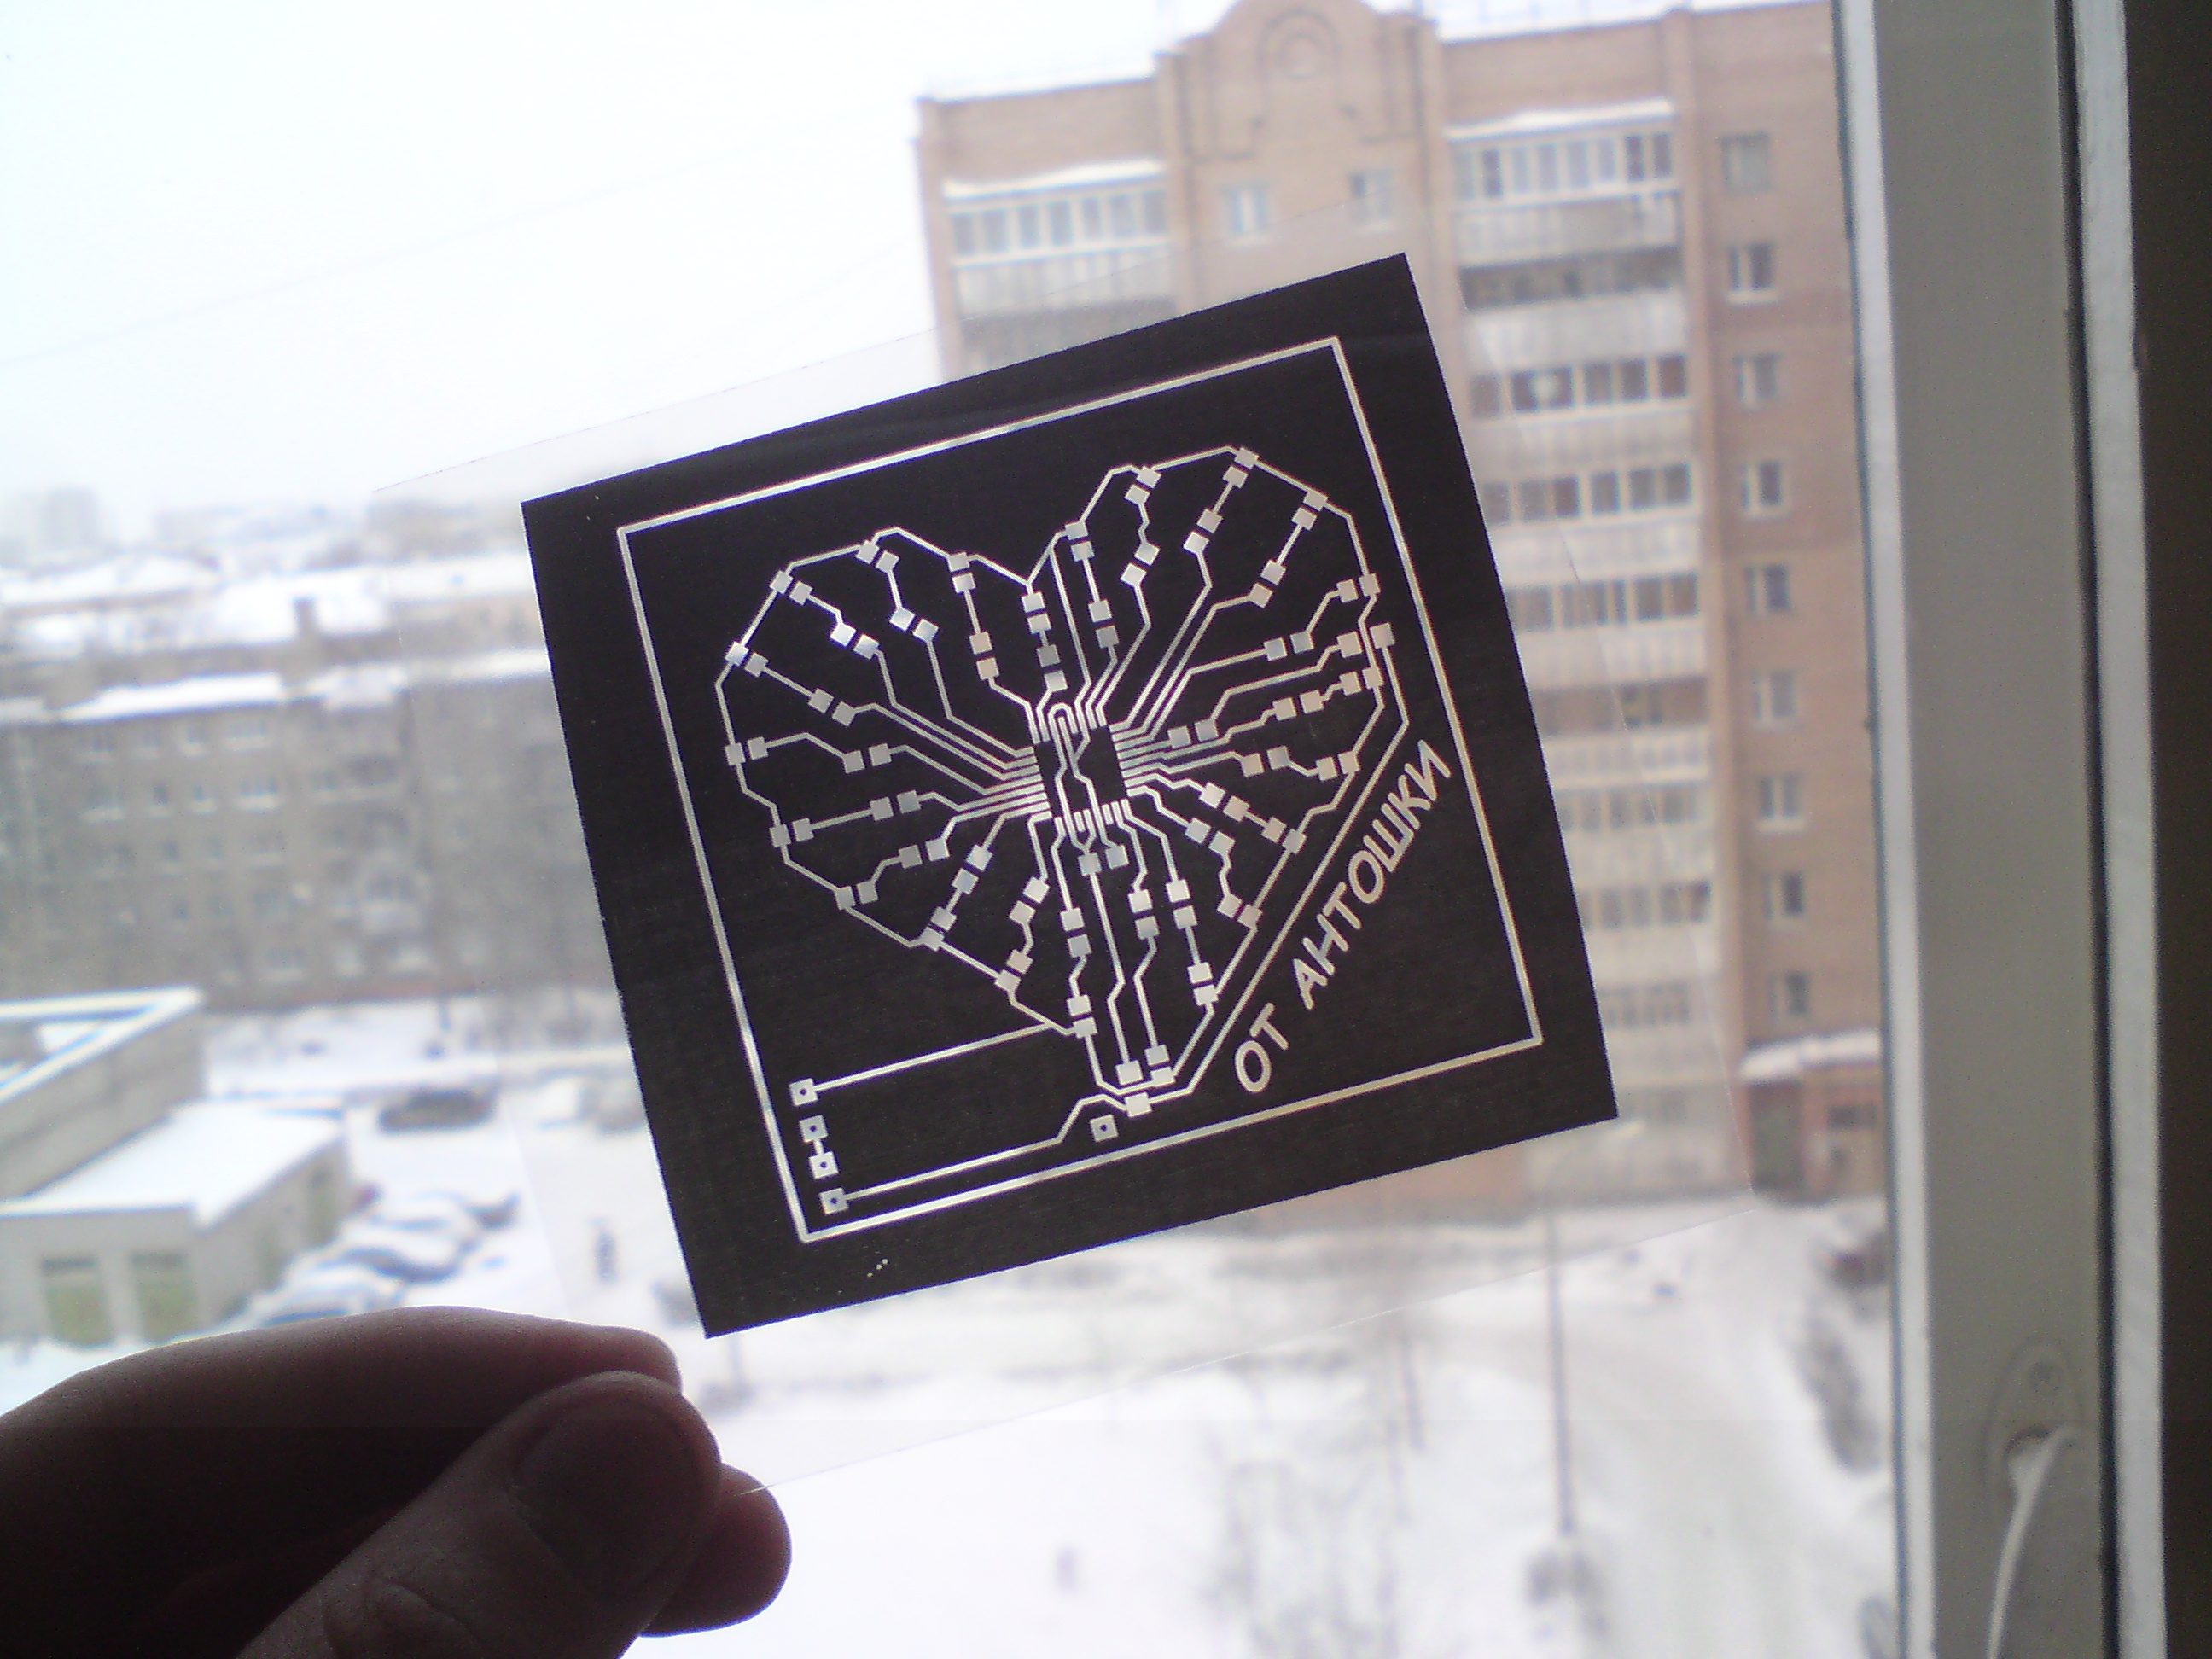
We print a photo mask. We will put the photomask with toner to the board, so we print it in mirror.
We put the photomask on the board, press it on top with glass. Turn on the UV lamp for 3 minutes. According to science, it is necessary to use plexiglass, but everything is fine with glass removed from the bookshelf.

After exposure, remove the upper protective film.
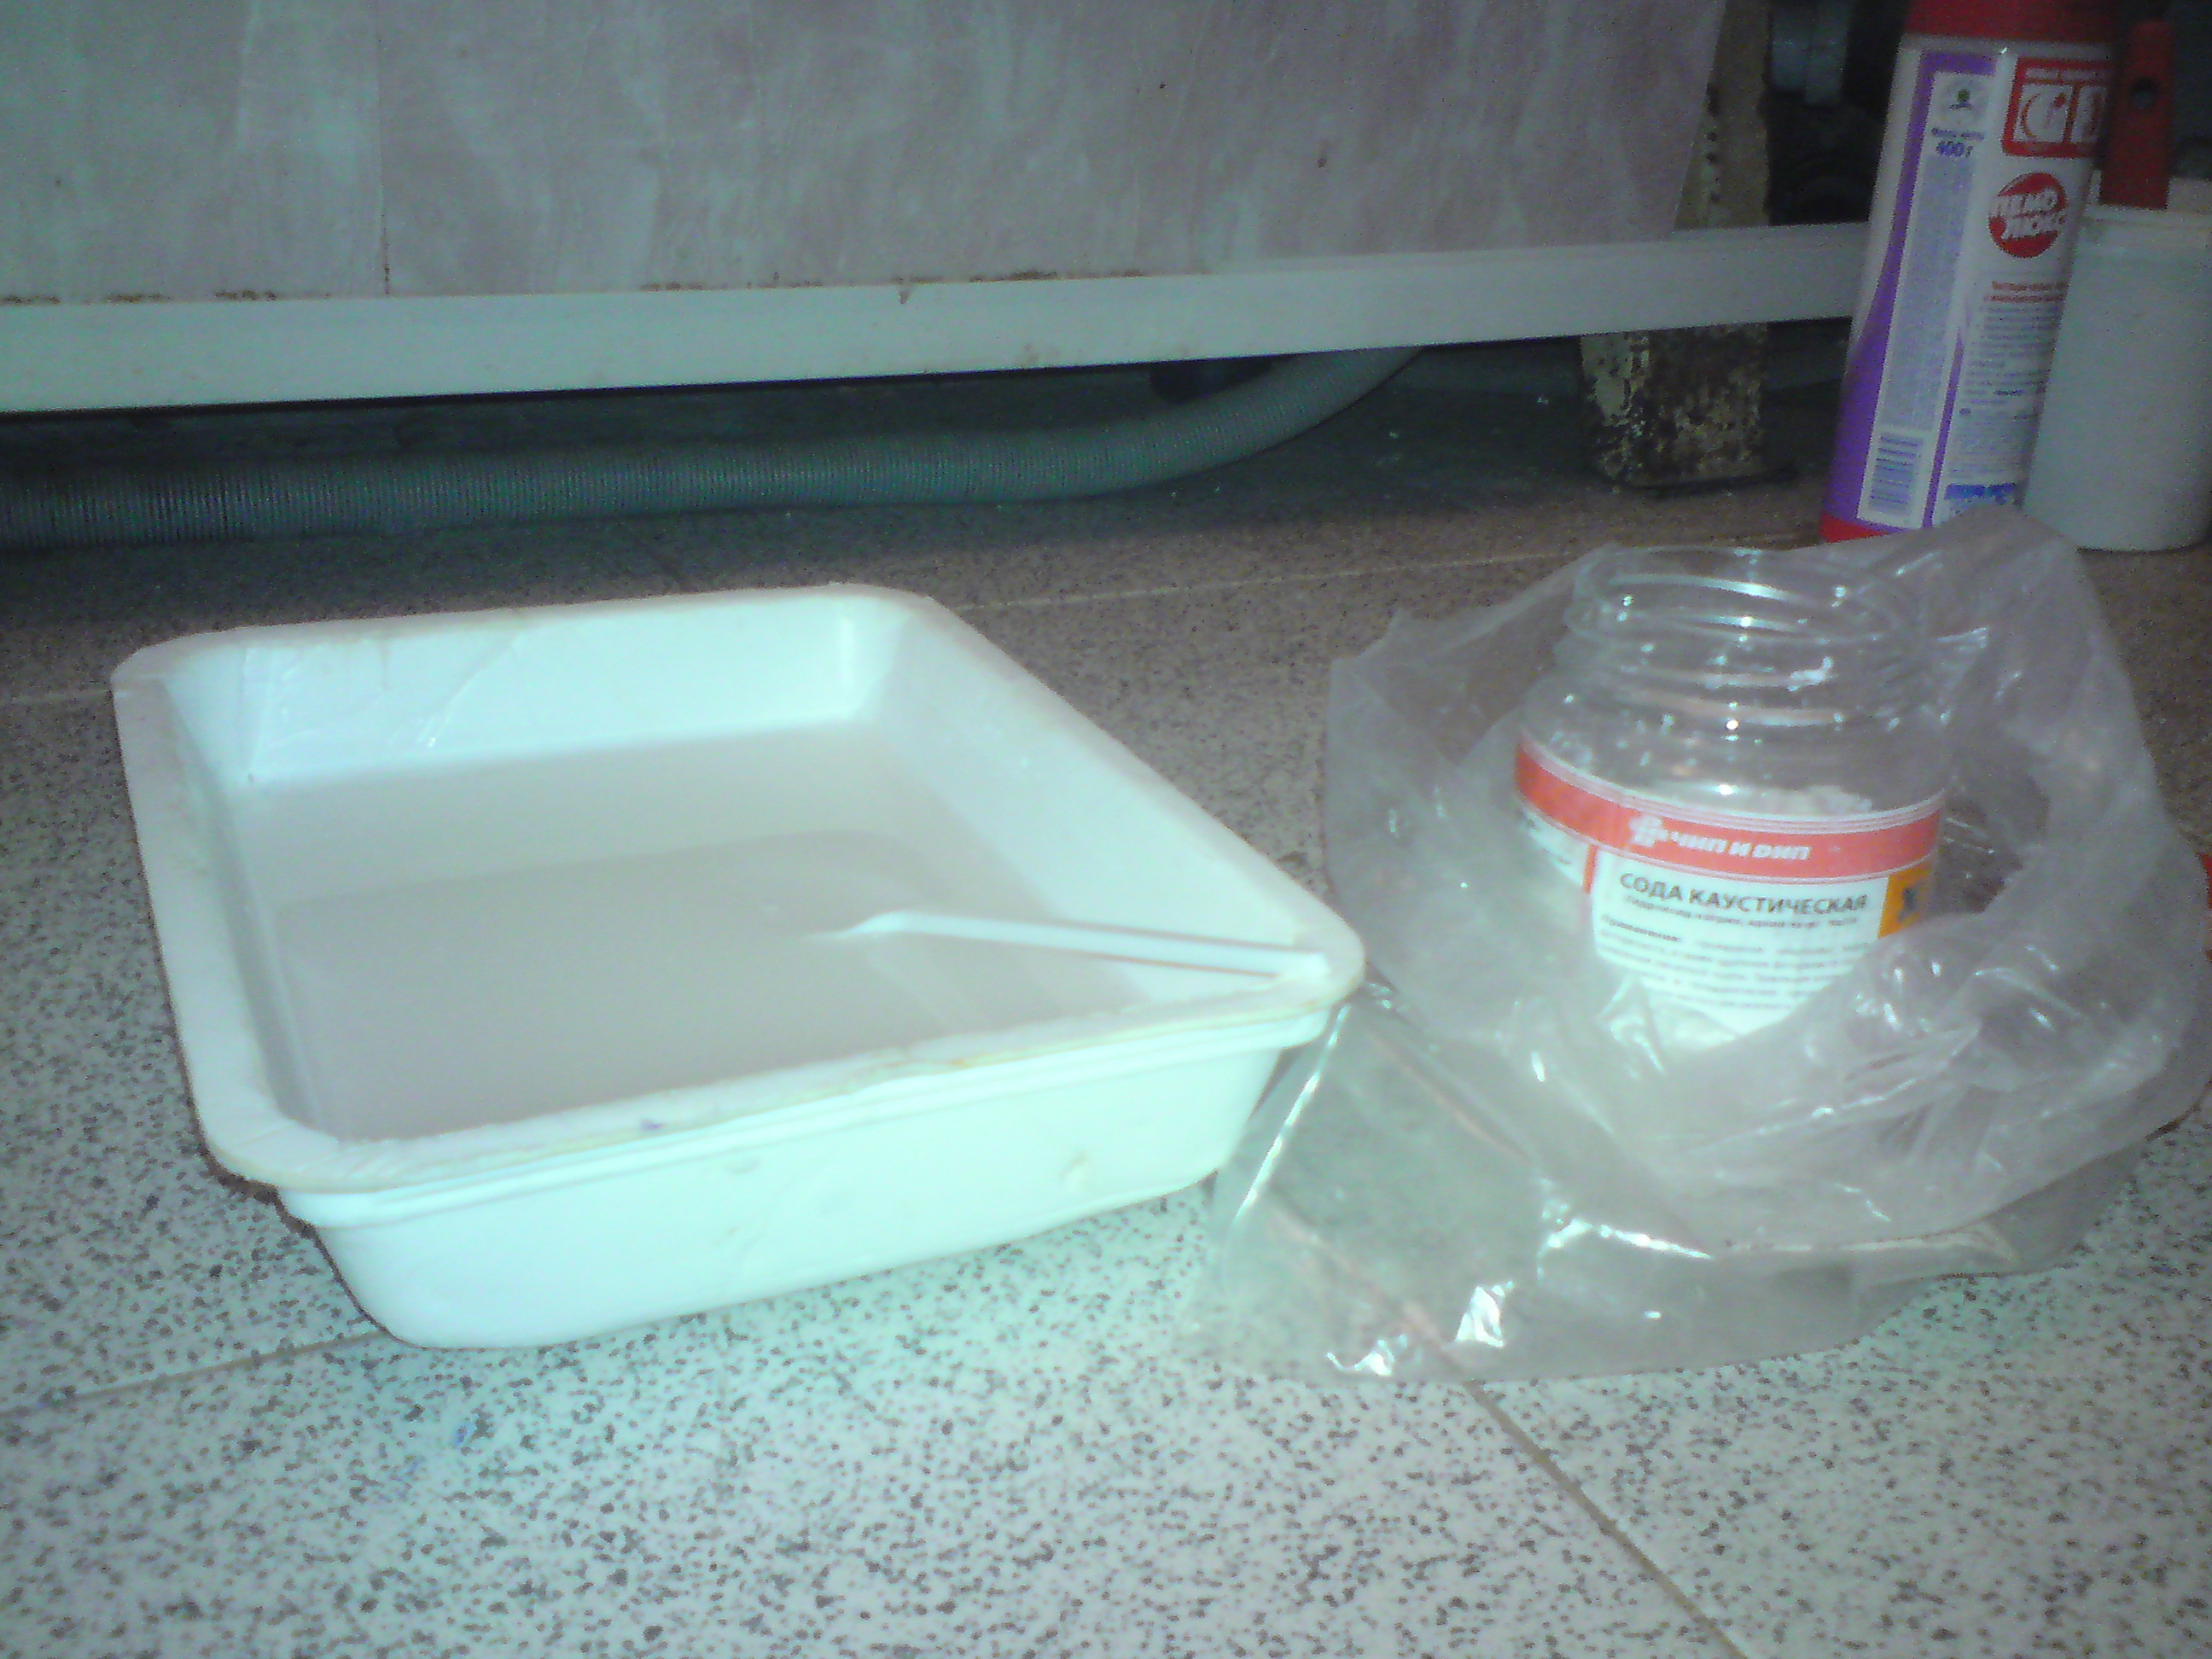
Preparing the developer. To do this, take the usual water, passed through a filter or boiled, to reduce its hardness. With ordinary tap water, as a rule, there are problems. We also need soda ash (NaCO3). The concentration of the solution is a teaspoon per 100 ml of water.

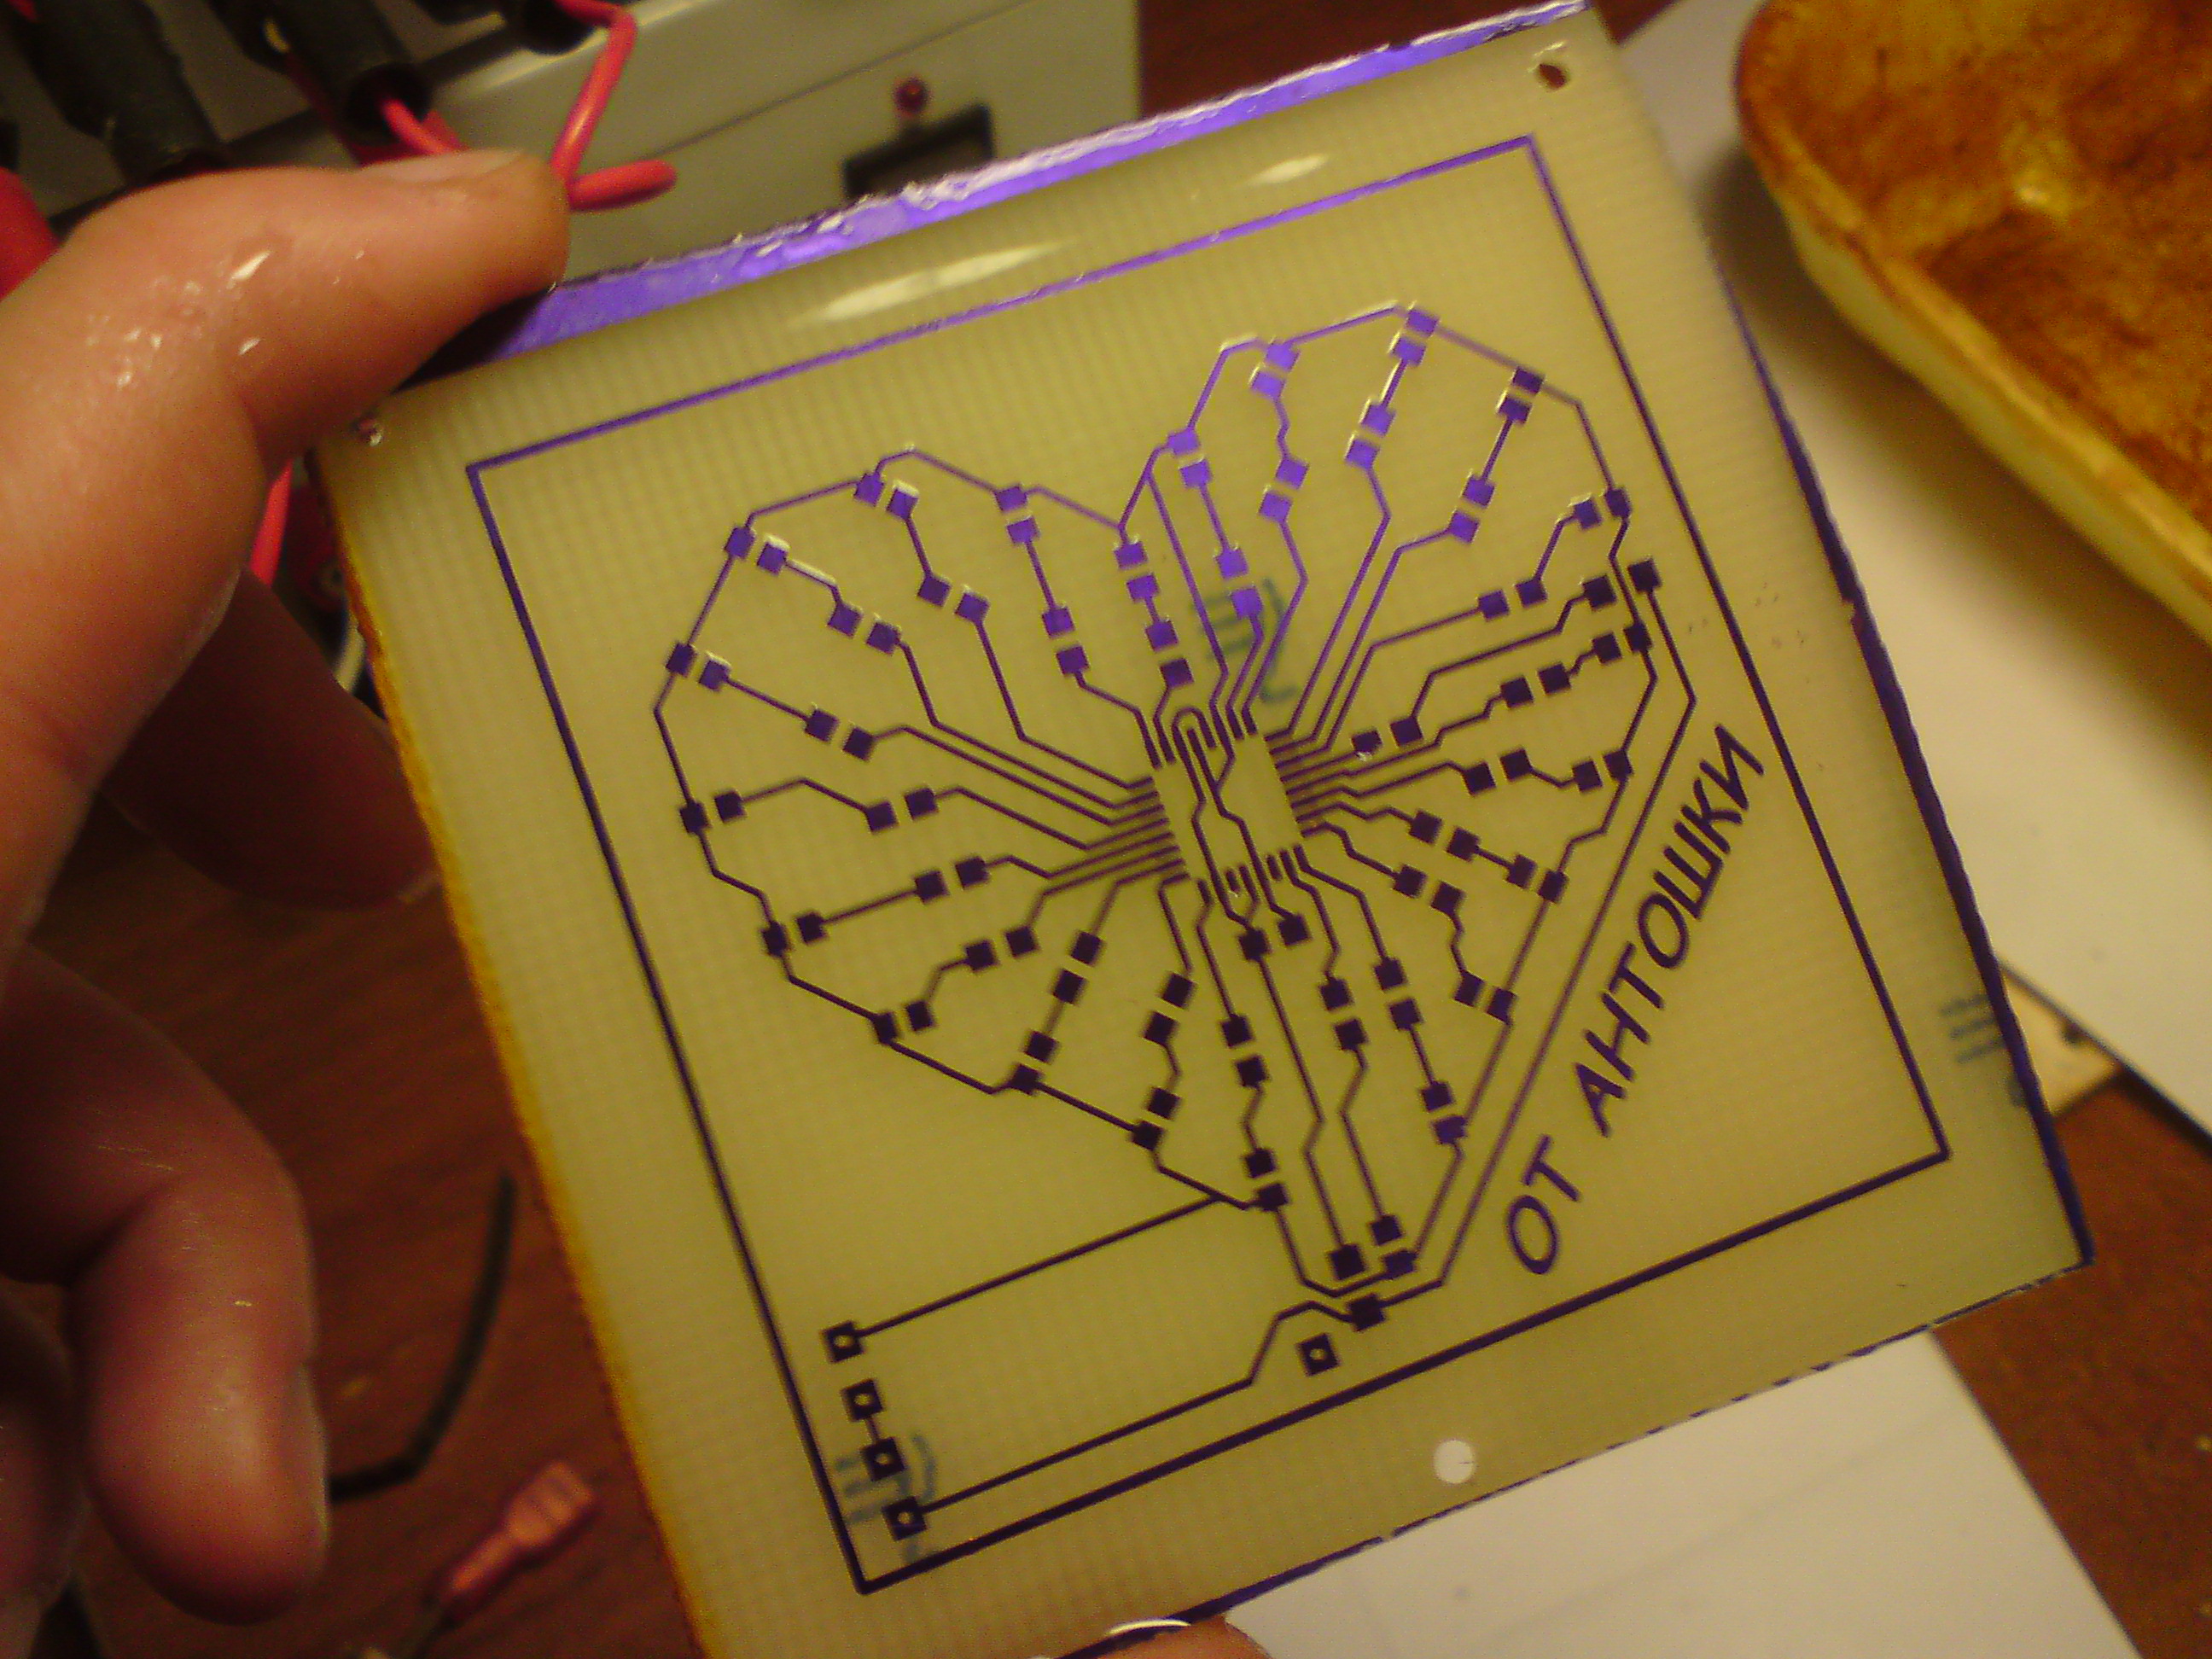
Shows a fee. The pattern, which was illuminated by ultraviolet light, remains on the board, everything else dissolves.
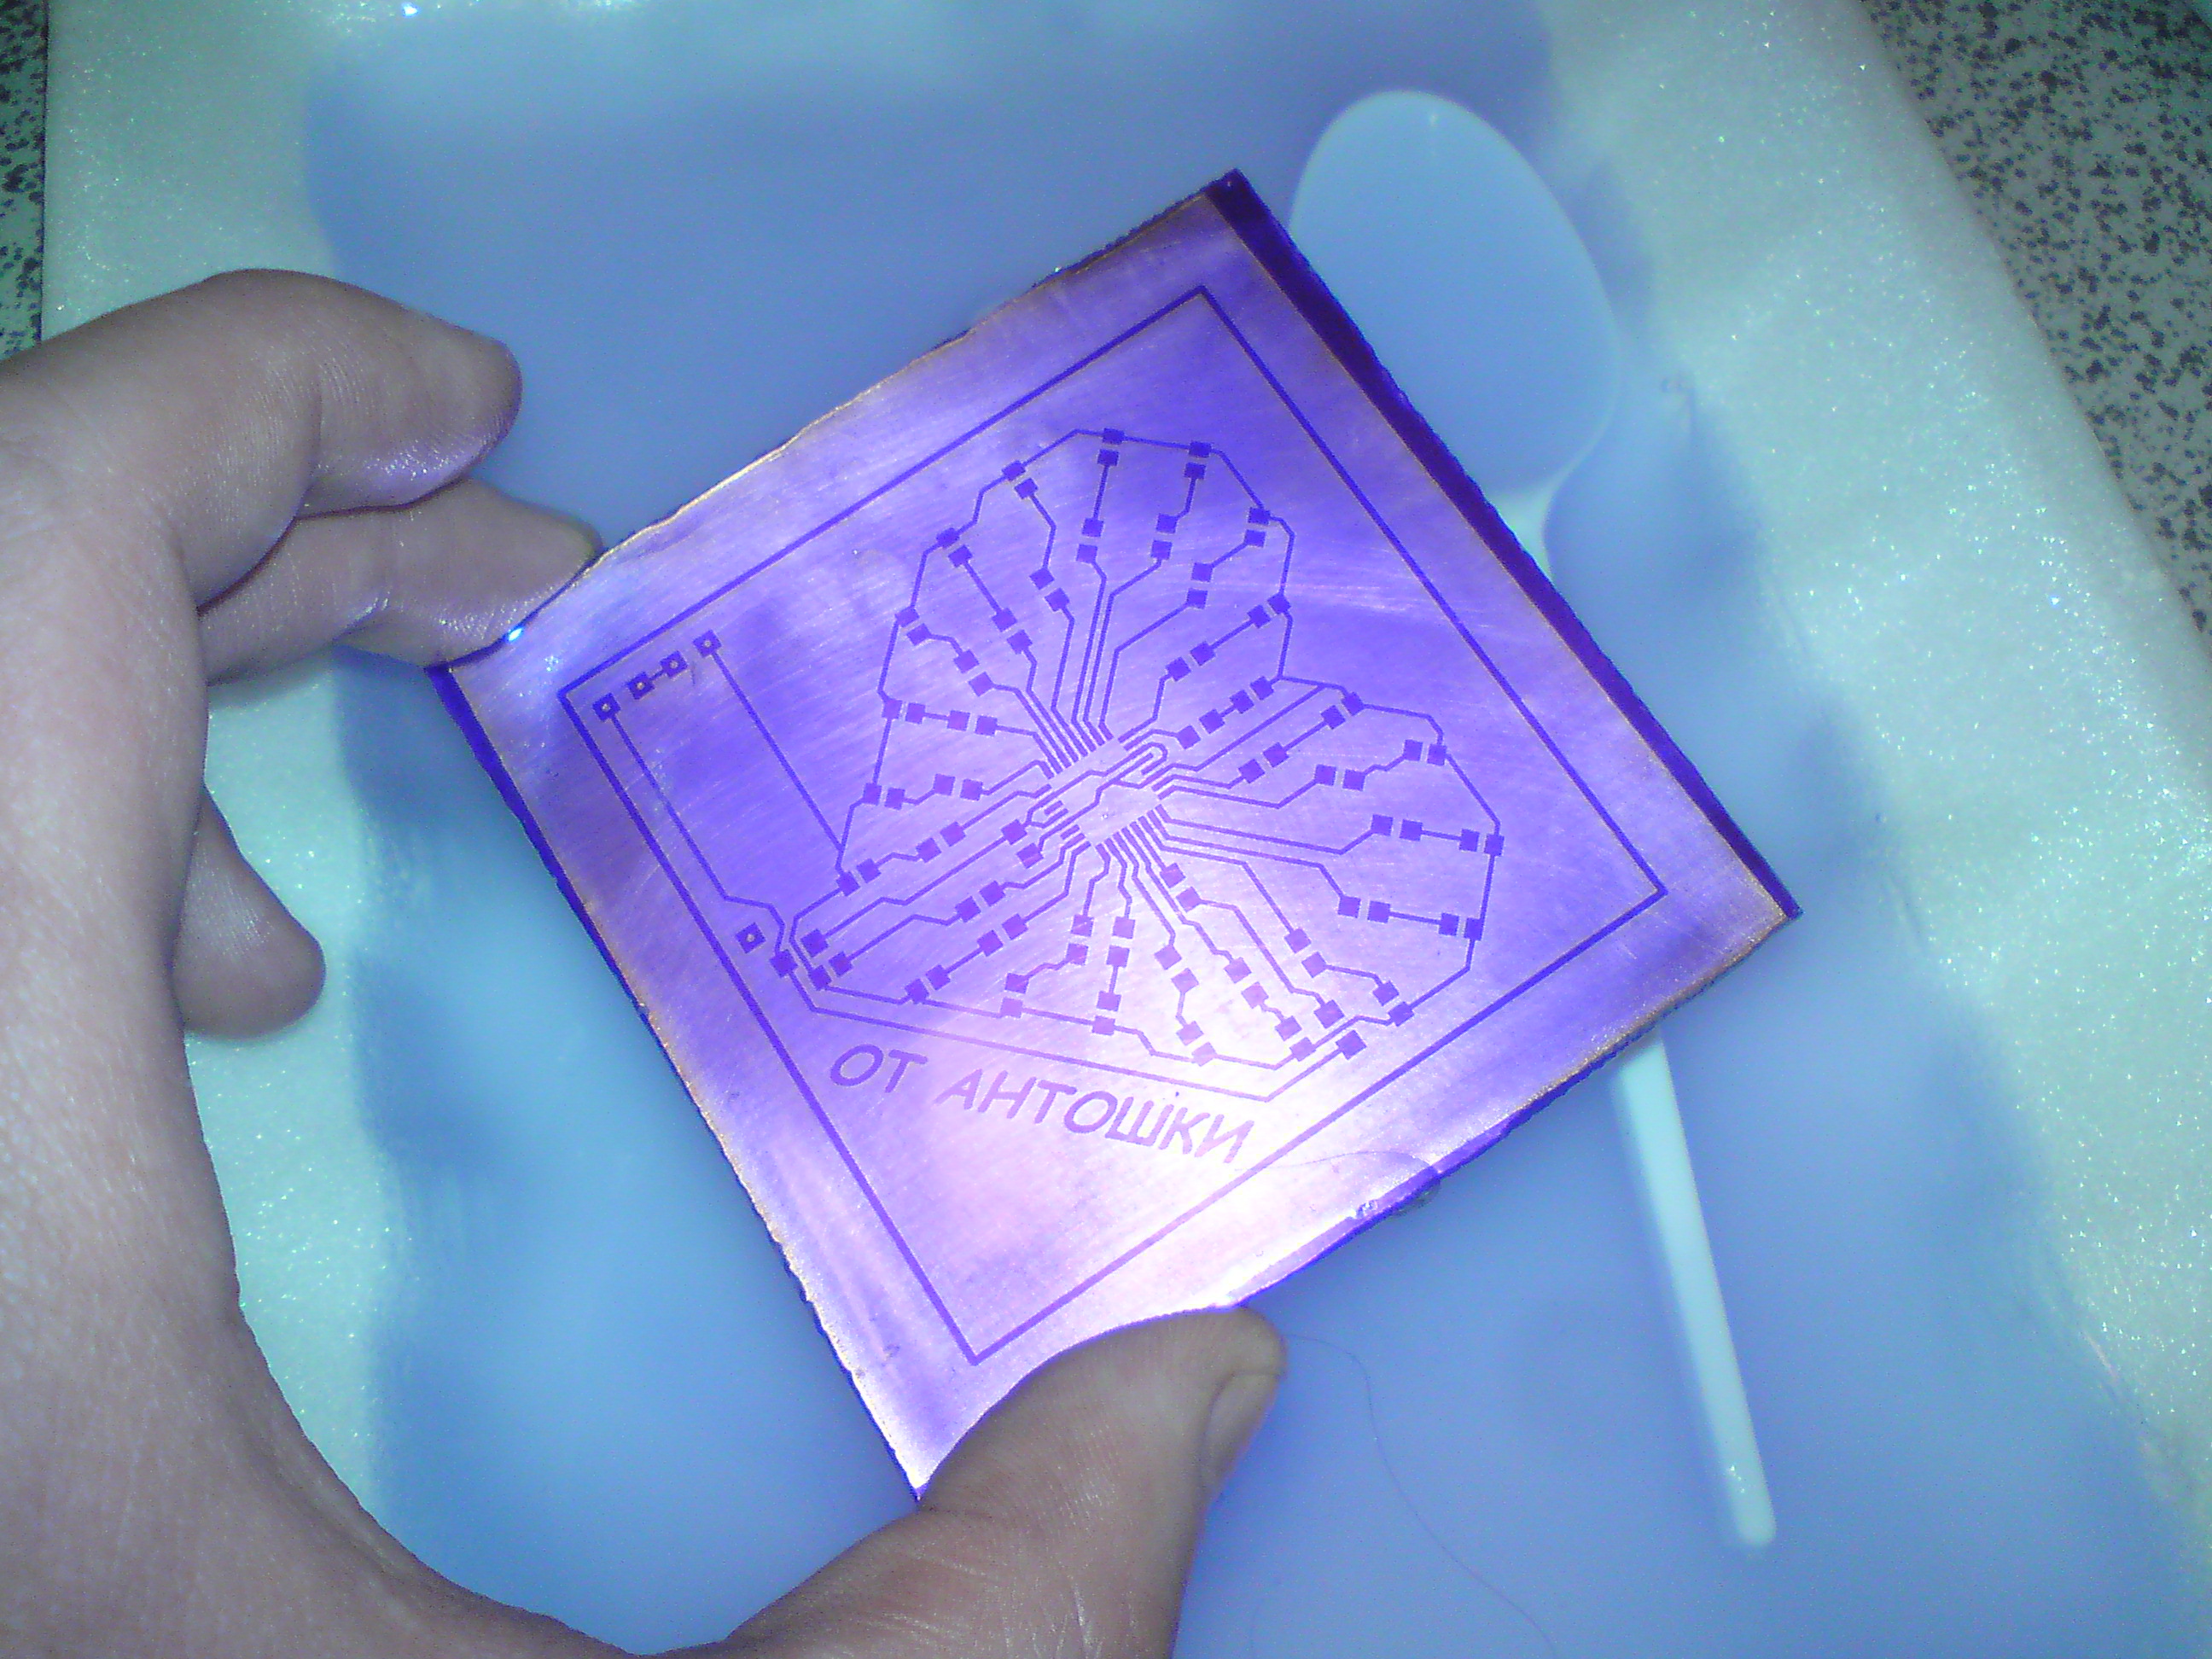
Manifest board ready for pickling.
Prepare a pickling solution of ferric chloride. For this we need, surprisingly, ferric chloride and water (now you can directly from under the tap). We breed 1 to 3.

We hurt the board. We follow the accuracy, as ferric chloride is poorly washed from hands and furniture and is extremely difficult to wash off clothes.

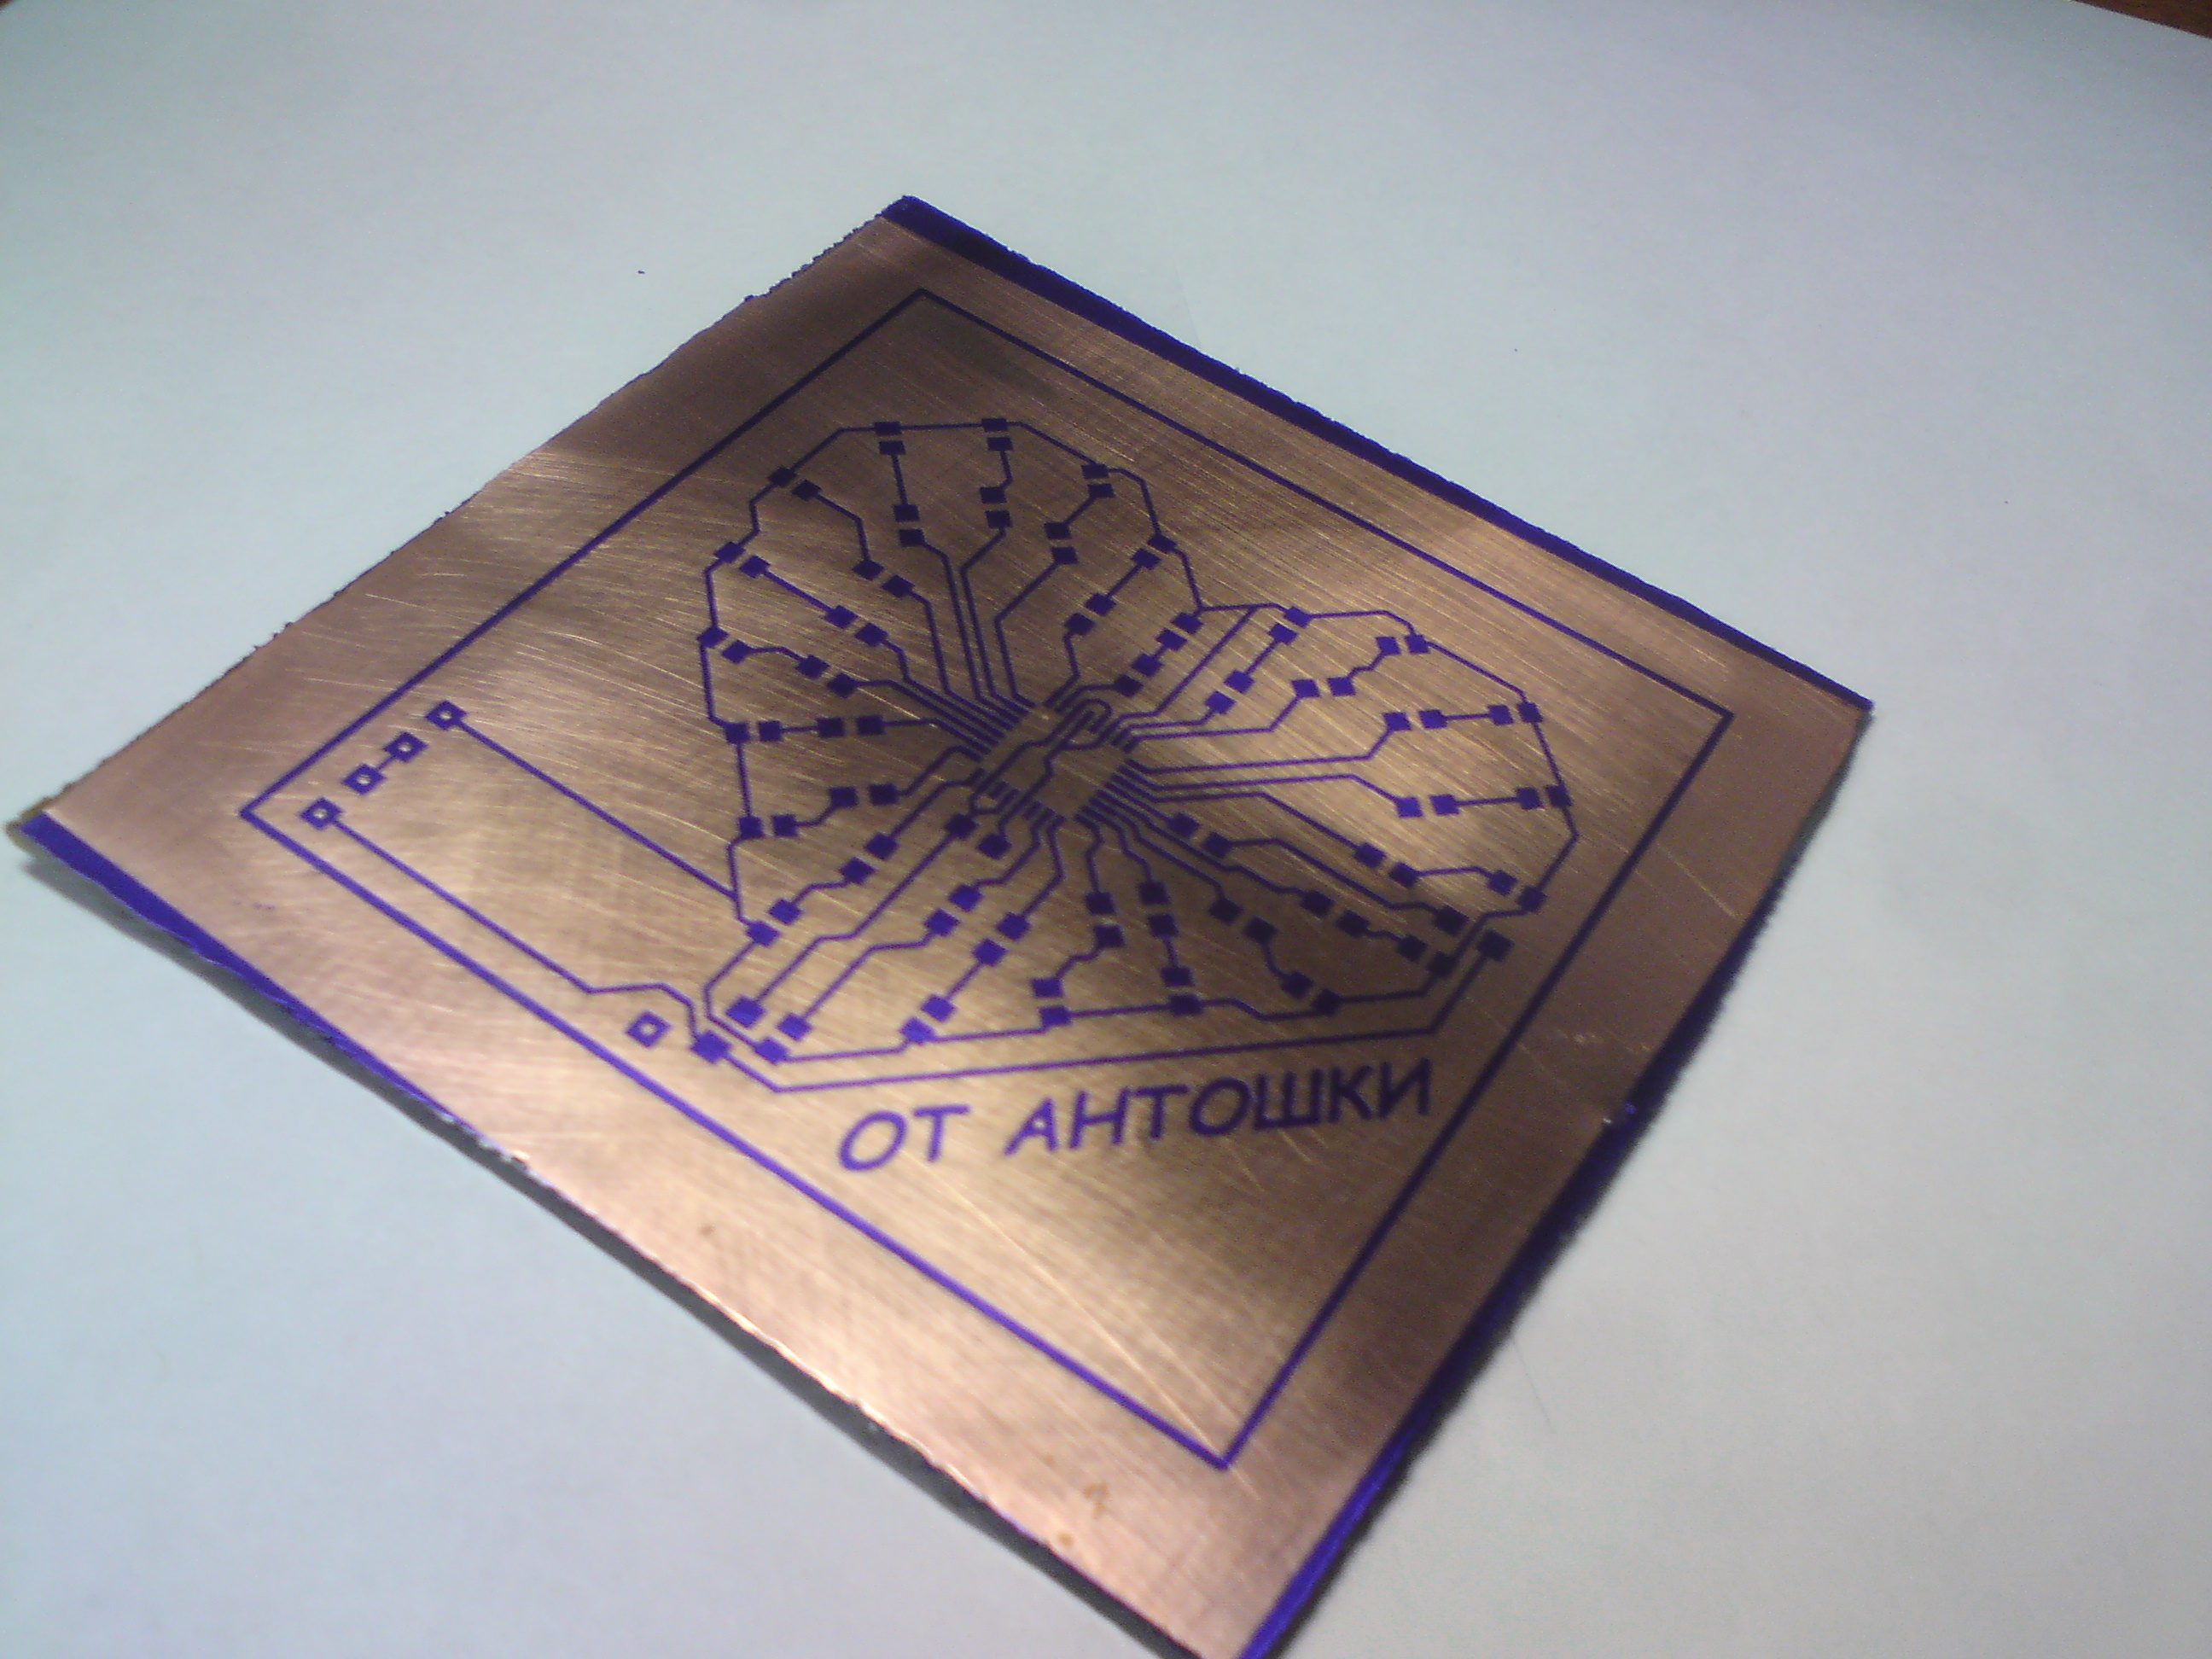
Almost ready fee.
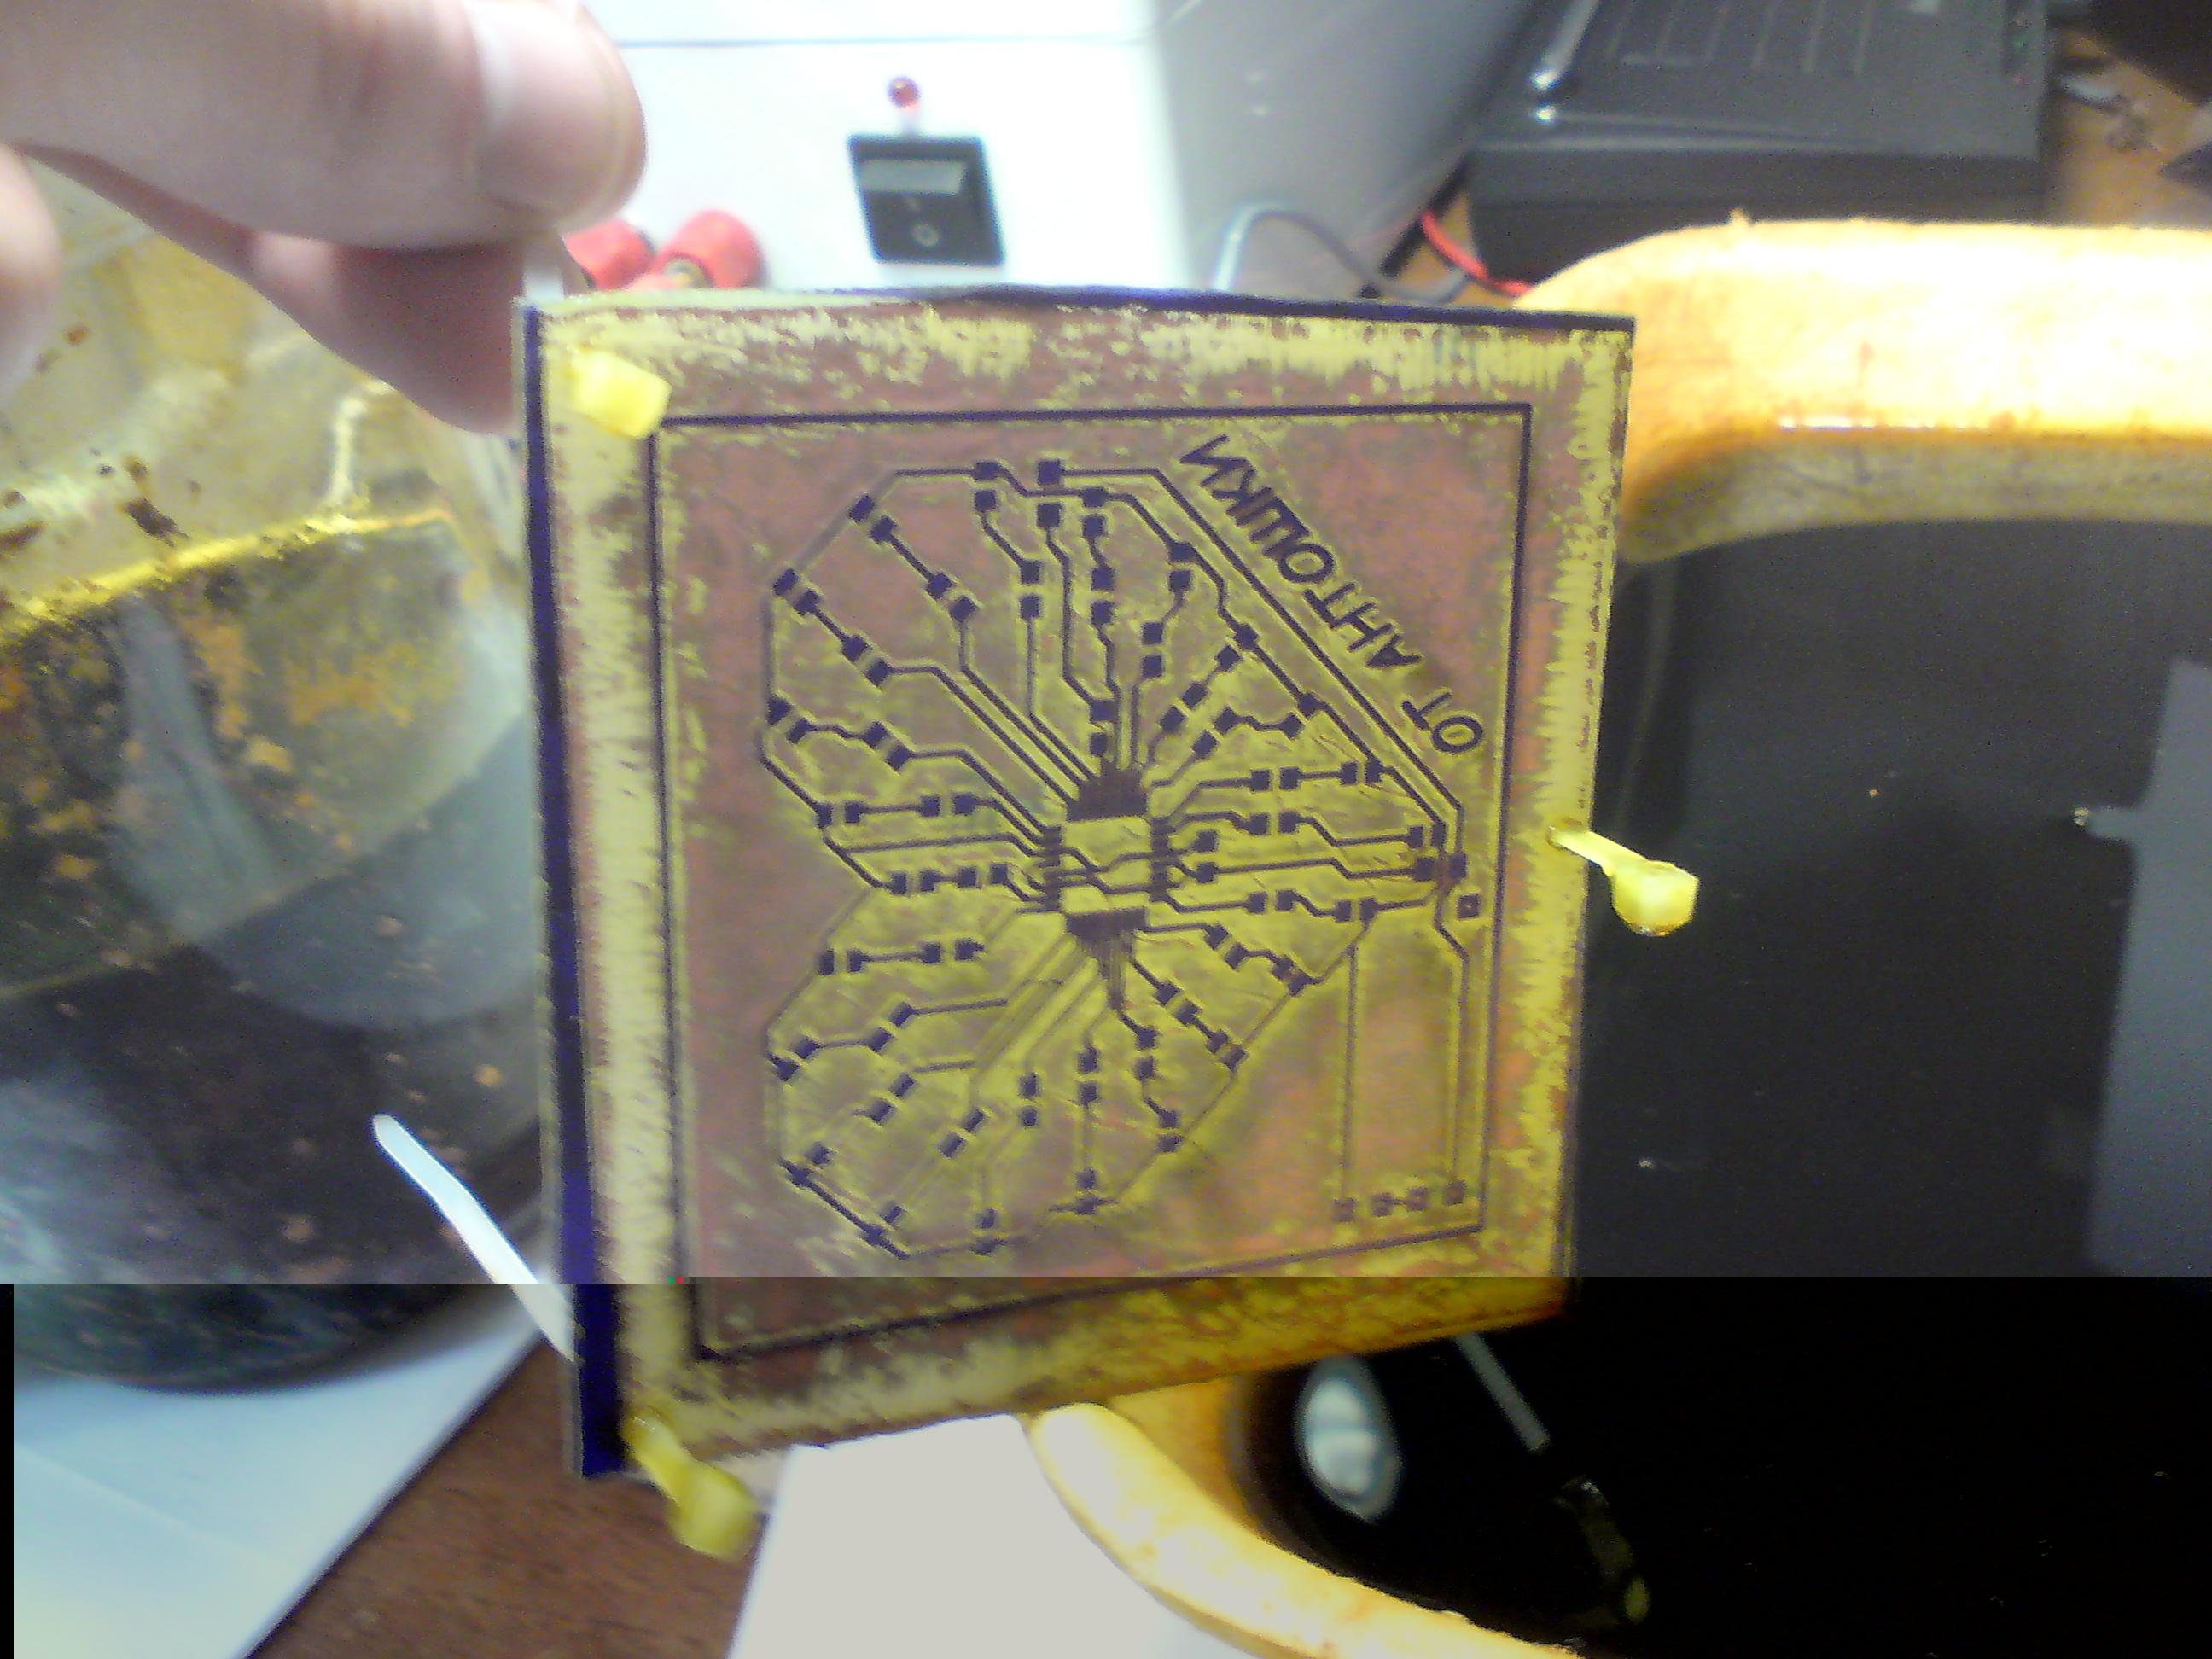
Fully etched board, ready to remove photoresist.
Making a solution for removing photoresist. We take water (again from the tap) and caustic soda, the concentration we already know - a teaspoon per 100 ml of water.
Remove the photoresist, do not forget to use rubber gloves, as the solution is quite caustic.

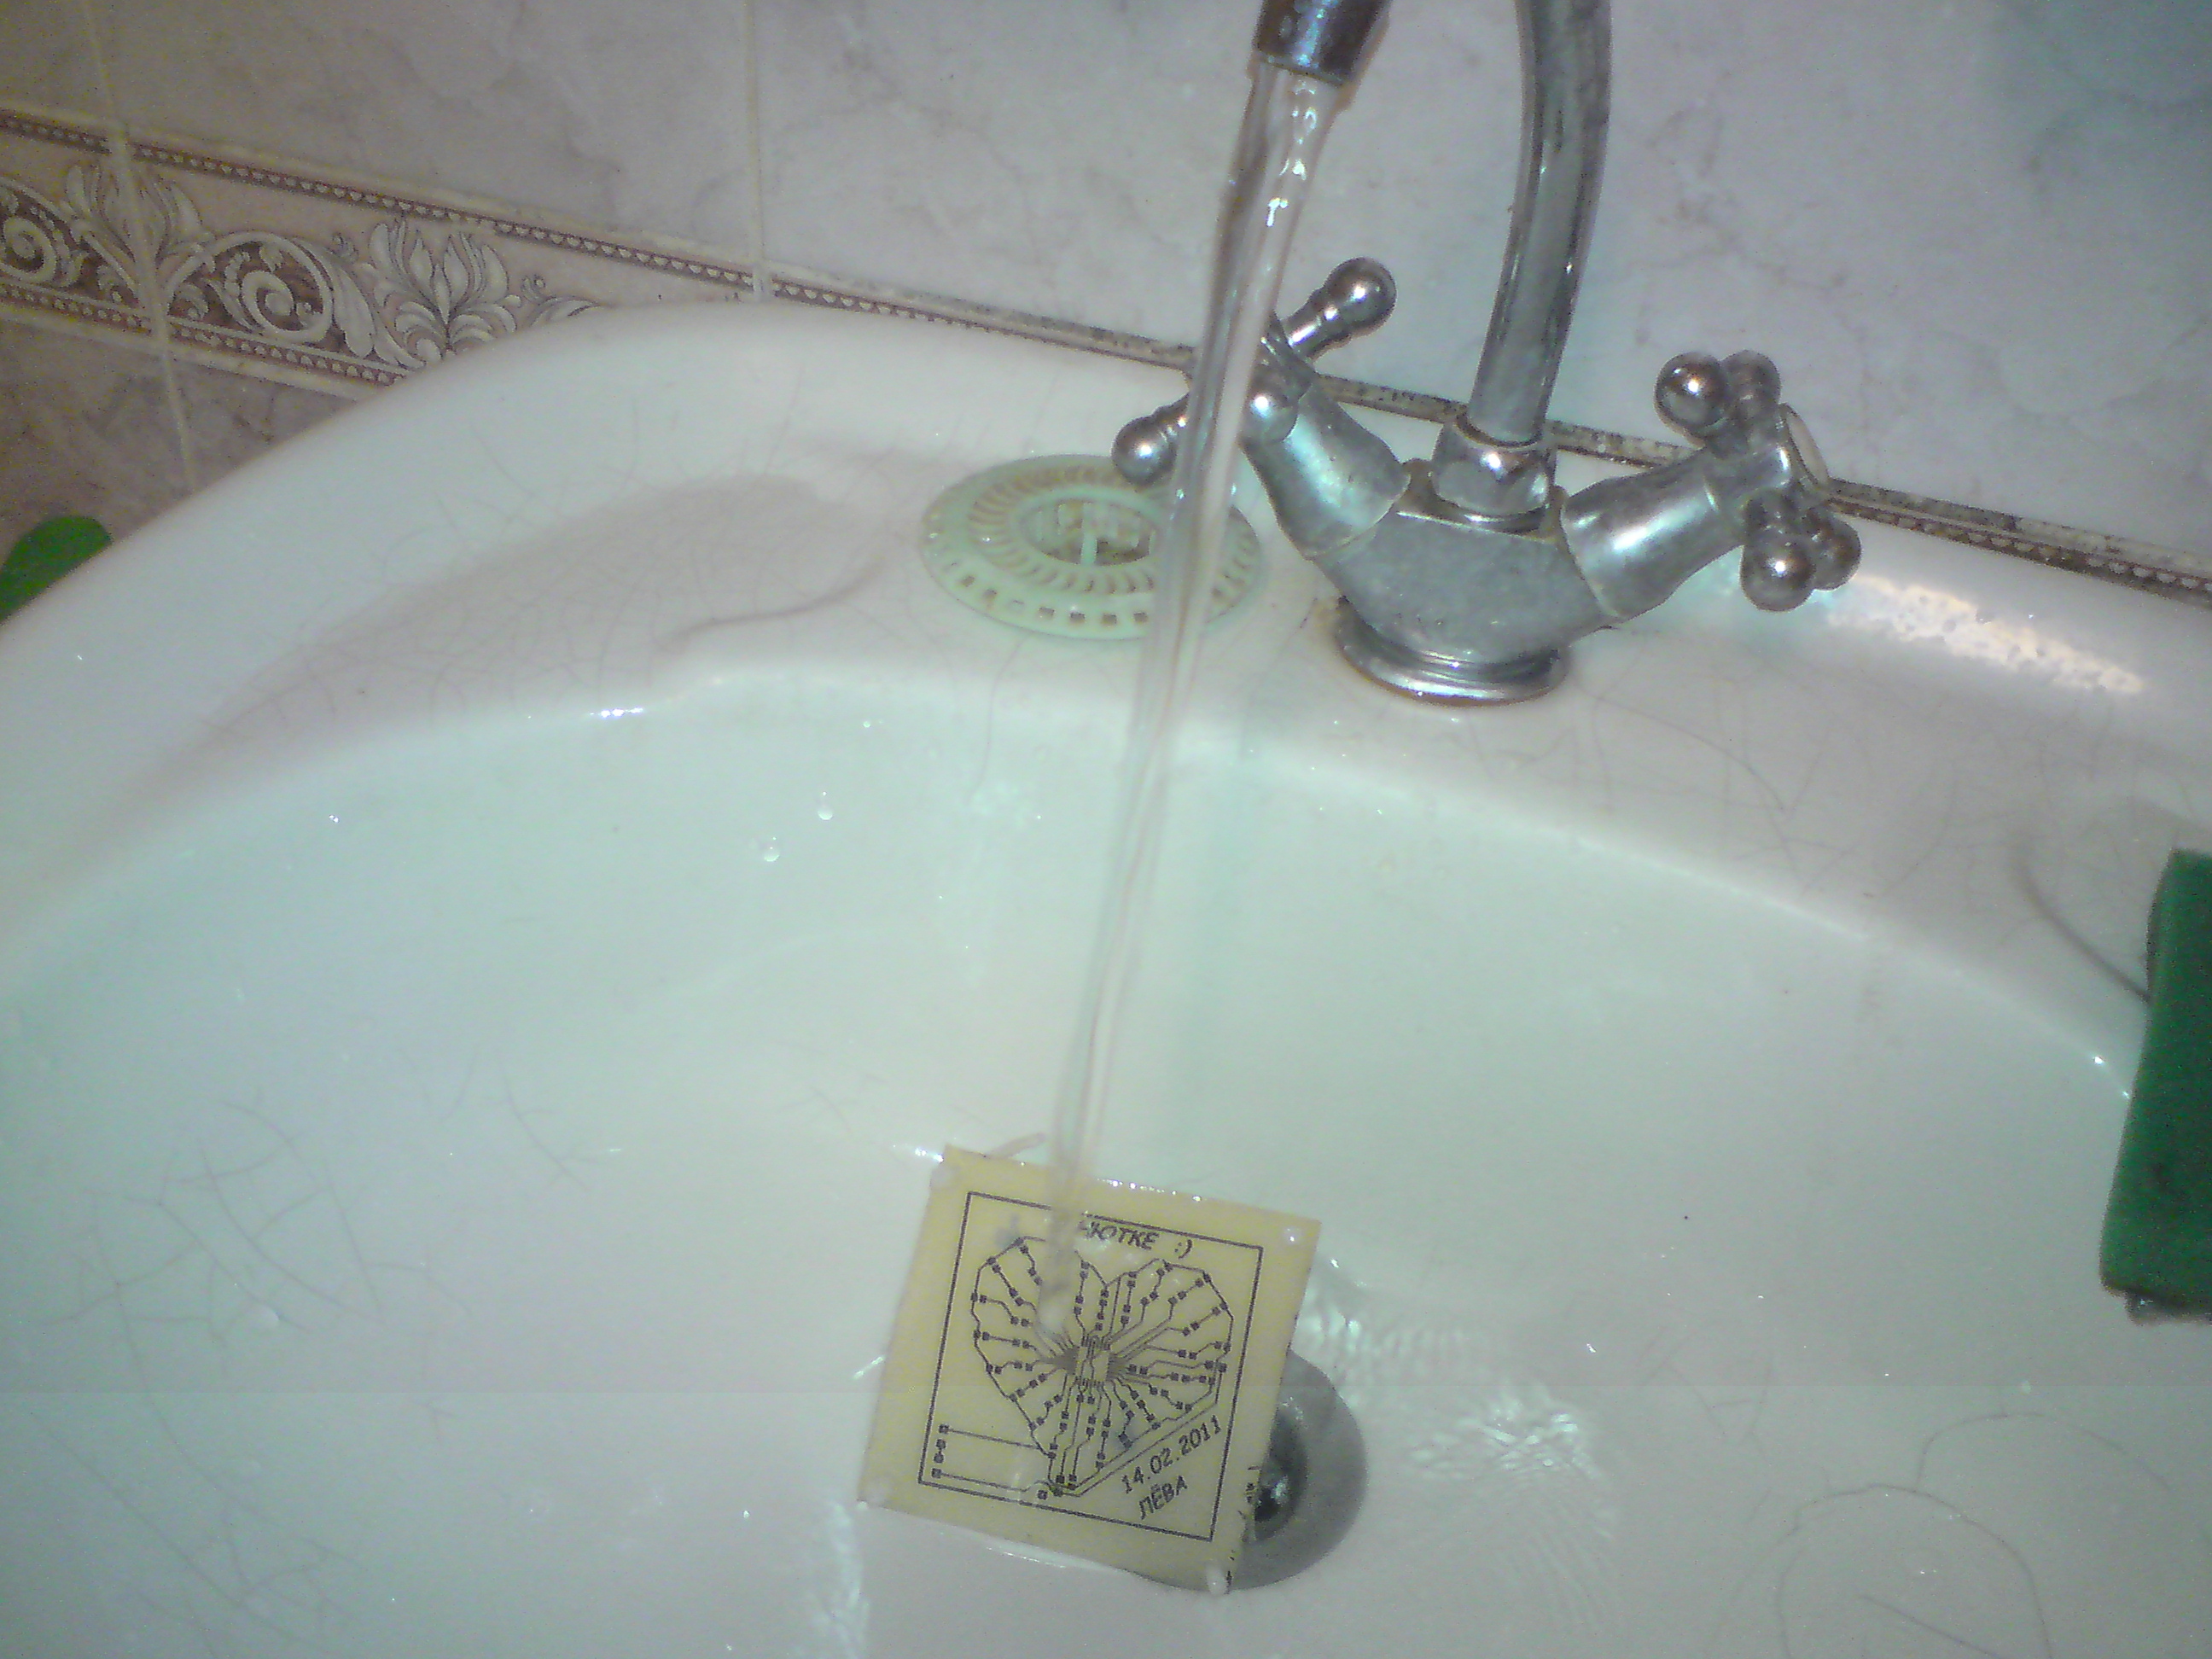
Flush.
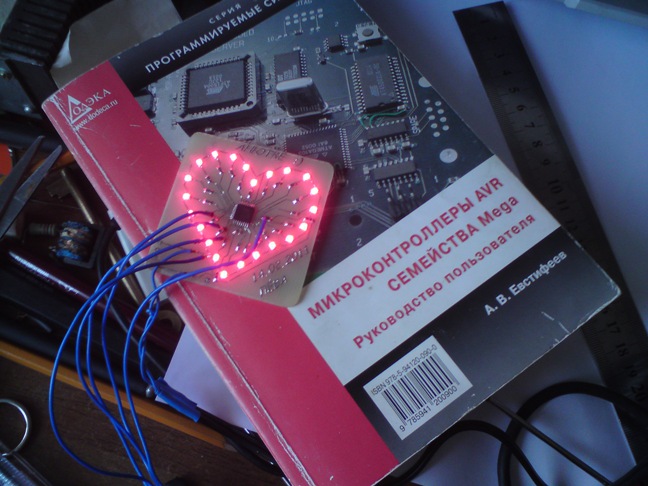
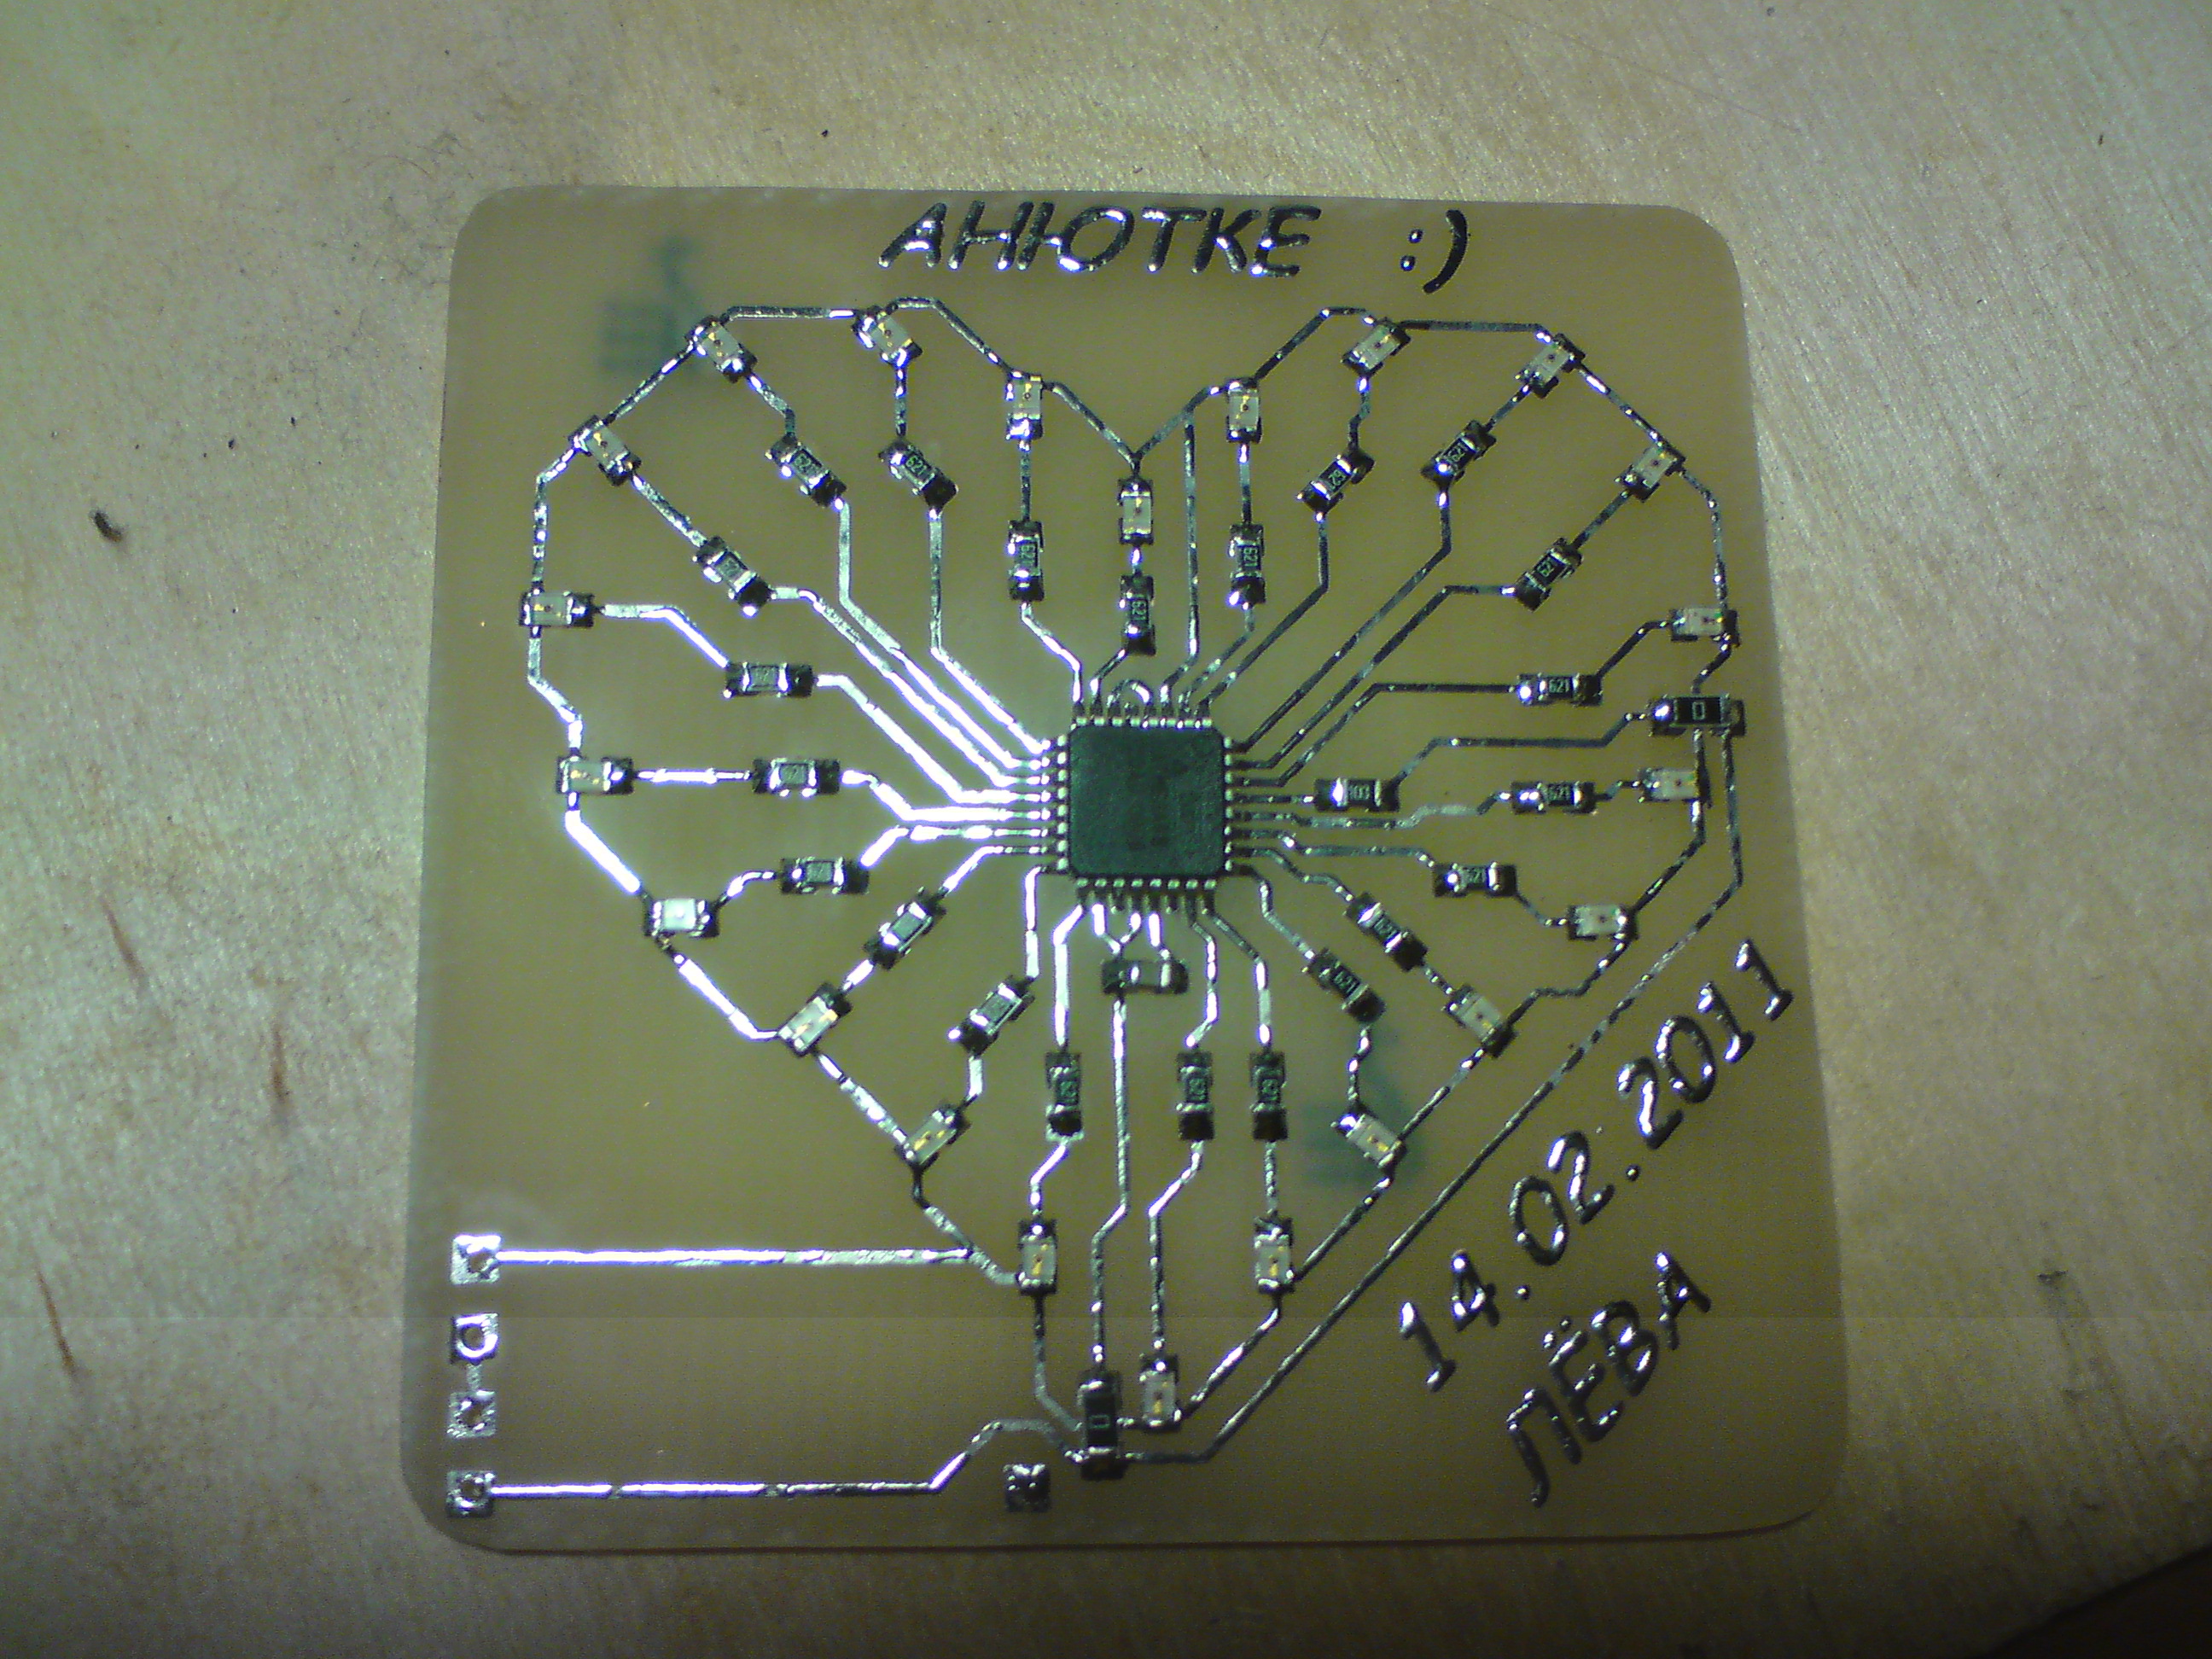
Solder the components on the board according to the drawing.
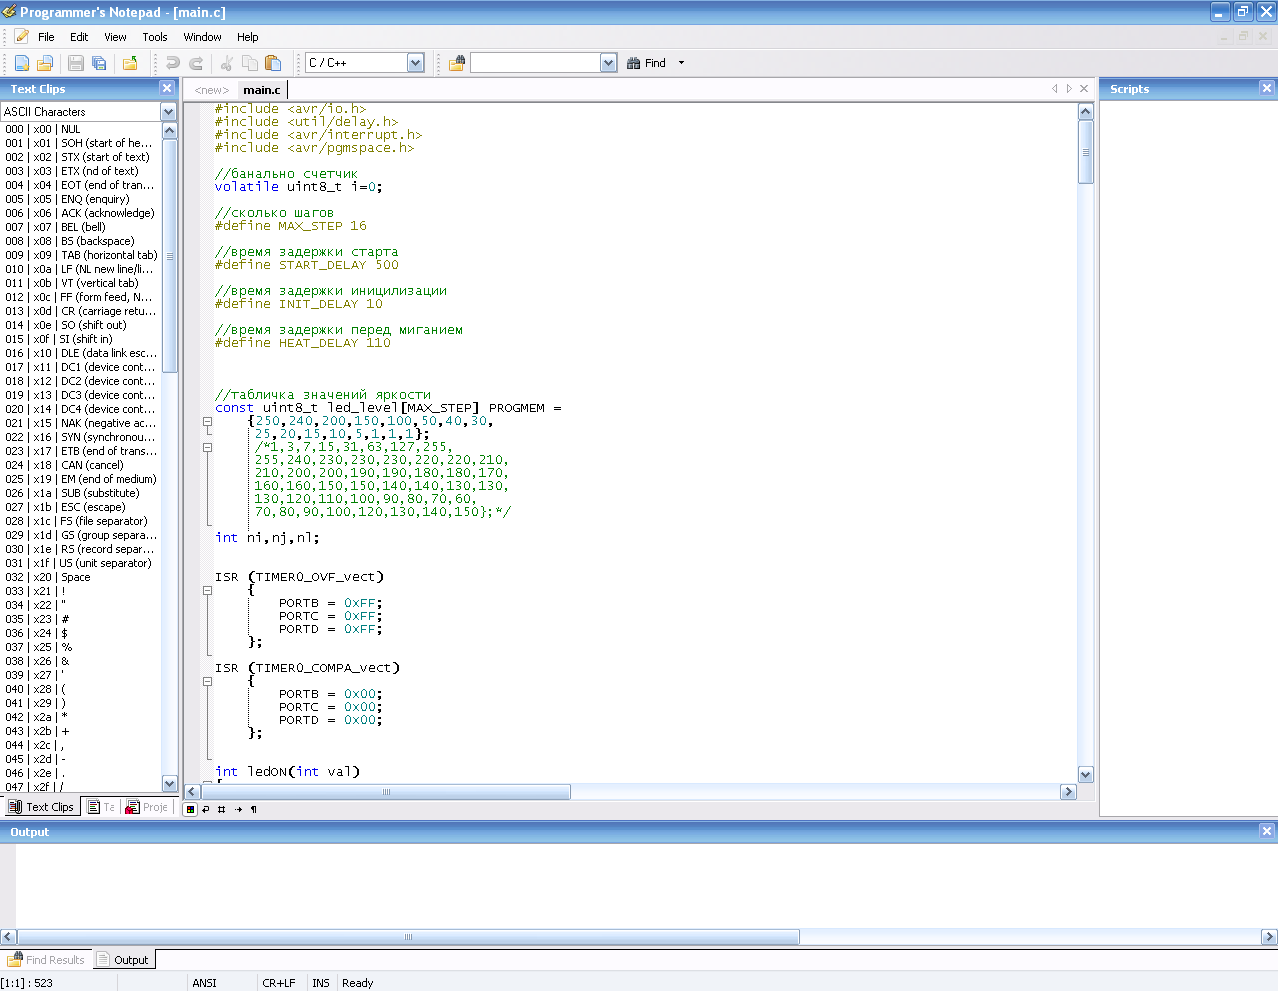
And we begin to code. For programming and firmware we have enough package WinAVR .
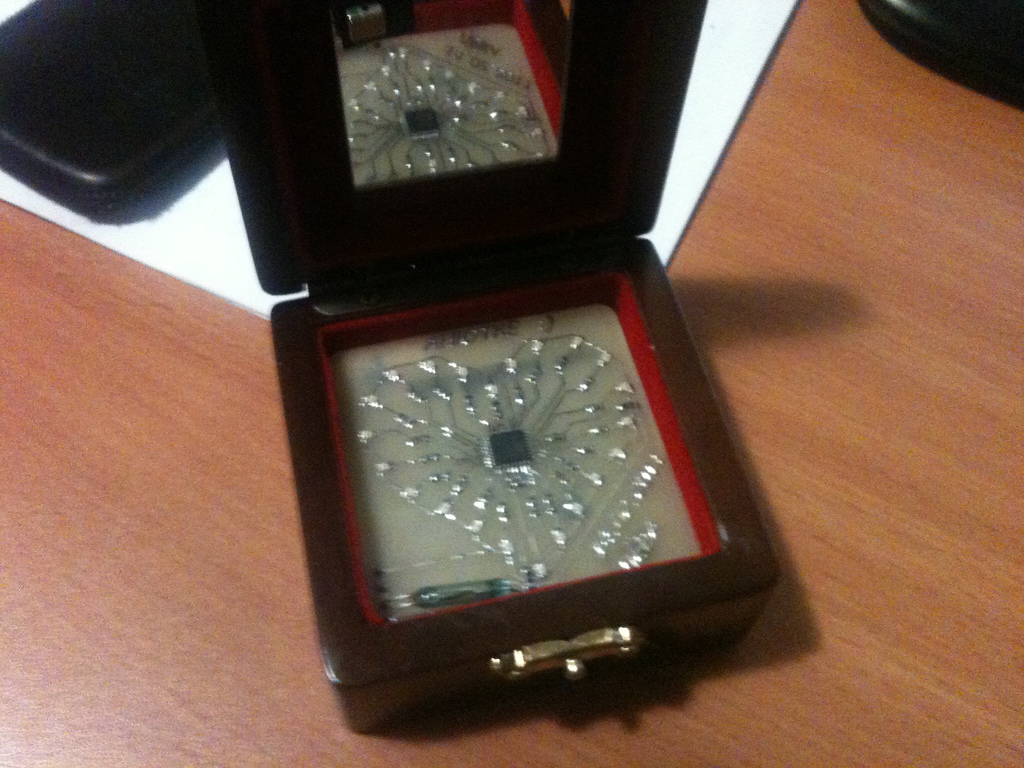
After all the above procedures, batteries and a reed switch were soldered to the board, then the board was placed in a box with a magnet on the lid, which, when the box is closed, opens the reed switch with a constant magnetic field.
And now a video illustrating the work of the finished "toy":
I spread the drawings and the program code .
(Be careful, lots of pictures!)
')
I warn you that in photos you may notice some inconsistencies in the inscriptions on the board. I explain - my friend turned this whole undertaking, I only helped him to program and arrange the article, and some explanatory photos were not taken during the production of the first board, so it was decided to make the second one.
In order to create such a trinket, we need a little bit:
1) ATmega88 microcontroller
2) 22 red SMD LEDs (better to take with a margin)
3) 22 SMD resistors 620 Ohms (similarly)
4) 1 10 kΩ SMD Resistor
5) 1 SMD capacitor 0.1 microfarad
6) 2 SMD jumpers
7) Glass fiber
8) STK500V2 Programmer
9) PV-SCHV photoresist
10) Soda Ash
11) Caustic soda
12) Ferric Chloride
13) Beer (optional)
14) Half a liter (without them you just can not figure it out)
We draw the scheme. According to this scheme, we will then breed the board. From the schematic editor, we then unload the NET-list (list of chains) and the archive library of the components used.
We breed fee. All components for surface mounting.
Sticking film photoresist on the board.
Almost the same as when tinting car windows, the main thing is to prevent the formation of air bubbles.
We wrap the board with paper and skip 2 times through the laminator, so that the photoresist adheres better to the board.
We print a photo mask. We will put the photomask with toner to the board, so we print it in mirror.
We put the photomask on the board, press it on top with glass. Turn on the UV lamp for 3 minutes. According to science, it is necessary to use plexiglass, but everything is fine with glass removed from the bookshelf.
After exposure, remove the upper protective film.
Preparing the developer. To do this, take the usual water, passed through a filter or boiled, to reduce its hardness. With ordinary tap water, as a rule, there are problems. We also need soda ash (NaCO3). The concentration of the solution is a teaspoon per 100 ml of water.
Shows a fee. The pattern, which was illuminated by ultraviolet light, remains on the board, everything else dissolves.
Manifest board ready for pickling.
Prepare a pickling solution of ferric chloride. For this we need, surprisingly, ferric chloride and water (now you can directly from under the tap). We breed 1 to 3.
We hurt the board. We follow the accuracy, as ferric chloride is poorly washed from hands and furniture and is extremely difficult to wash off clothes.
Almost ready fee.
Fully etched board, ready to remove photoresist.
Making a solution for removing photoresist. We take water (again from the tap) and caustic soda, the concentration we already know - a teaspoon per 100 ml of water.
Remove the photoresist, do not forget to use rubber gloves, as the solution is quite caustic.
Flush.
Solder the components on the board according to the drawing.
And we begin to code. For programming and firmware we have enough package WinAVR .
After all the above procedures, batteries and a reed switch were soldered to the board, then the board was placed in a box with a magnet on the lid, which, when the box is closed, opens the reed switch with a constant magnetic field.
And now a video illustrating the work of the finished "toy":
I spread the drawings and the program code .
Source: https://habr.com/ru/post/113675/
All Articles