Android nine-patch - stretch android
 Recommendations for creating UI widgets and some blocks of applications for the Android OS instruct us to use blocks with rounded corners and / or with a volume effect, casting shadows. What tools does the SDK give us to implement such interfaces?
When describing simple vector shapes without additional design of the corners and edges of the block, it is recommended to use shape shapes . If the block has complex graphic elements in the corners or from the edges of the block, you can use the Nine-patch images, which will be discussed in this article. In case of complex block design, for example, in the form of a single object, it remains to use only a fixed image, which will reduce the scaling frame and prevent changing the aspect ratio of the block.
So what is 9-path? In fact, this is a regular image (.png), in which the edges of 1 pixel size contain some service information that the Android graphics subsystem can interpret.
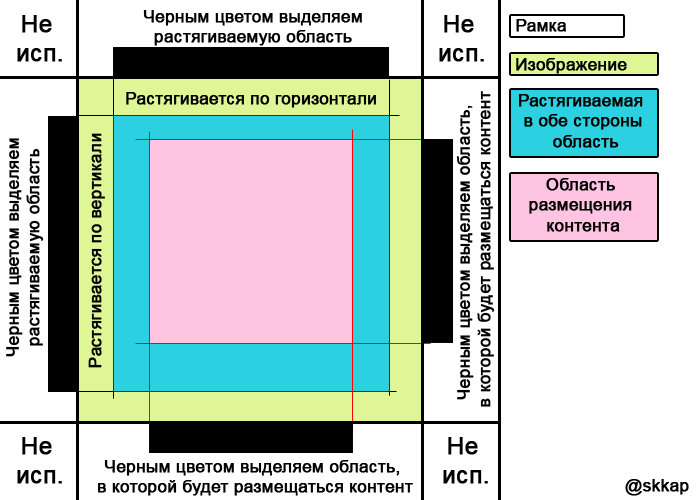
This service information is divided into two components: information for correct block scaling and information about the content placement area in the block. In the absence of the first - the image will be scaled as a whole (you always need to specify both horizontal and vertical zoom lines, or not both), the second - the content will be placed over the entire image area.
Now how this information is set. The top and left of the frame define the scalable areas, the right and bottom - the content display area. At the same time, transparent pixels represent the unmarked area, and black (# 000000) - marked. More in the picture.
')
Now we will try to make our 9-patch image. As I wrote above, it should be a frame with complex corners and / or edges, so I googled such a picture:

To make this usual 9-patch image, you can use any graphic editor that supports * .png or the special utility draw9patch, which you probably already have in the tools folder at the installation location of the Android SDK. The advantage of this utility is that the scaling results and the content placement area are clearly displayed in the editor window. As well as the utility allows you to edit only the frame, not allowing to accidentally strike at the image.
Launch the application, open our frame (File> Open 9-patch) and mark the repeatable areas and the content placement area.

In the right utility block you can see the result of scaling.
Now you need to save the resulting image with the extension * .9.png. Then add it to the project, to the / drawable / folder (if you do not plan for various image options for different ldpi / mdpi / hdpi devices) and use it as a background for various controls (without the .9 extension).
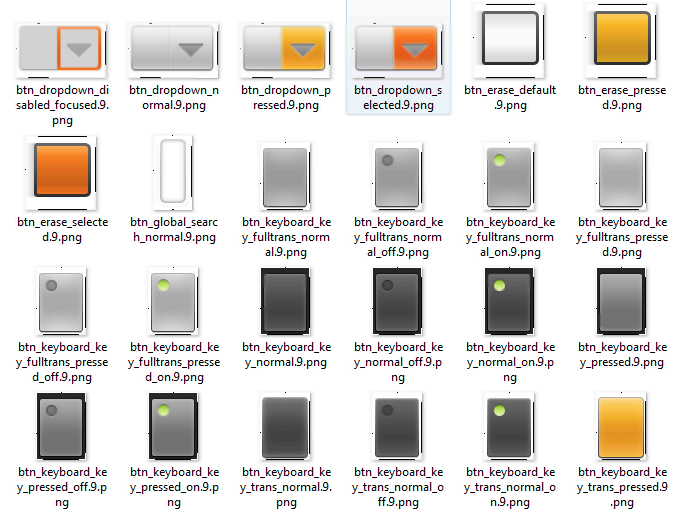
In Android OS, nine-path is used to determine the appearance of buttons, input fields, drop-down lists, etc. You can modify these images for your designs by taking them from the folder: android_sdk \ platforms \ android-8 \ data \ res \ drawable-hdpi.
Related Links:
Android User Interface Guidelines
Android 2d graphics
Working with NinePatch Stretchable Graphics in Android
public class android.graphics.NinePatch
Draw 9-patch tool
Source: https://habr.com/ru/post/113623/
All Articles