Master Class. Making a case on the iPad
I spread the master-class on creating a cover for the iPad from my wife Julia.
Make a iPad case with your own hands easy and simple! This case can be used both for carrying and for watching videos, as a photo frame, etc. (if to turn out and put a triangle in the manner of desktop calendars). Further from her name:
Today I decided to post a master class on making a cover on the iPad.
This year, I became the happy owner of an iPad and ran into a problem: I could not buy a decent case for price and quality! In branded Makovsky shops they cost a fortune, the price on the Internet (with delivery) - an average of $ 120 (for what I want). And then I decided to make the cover itself.
I hope someone my lesson will be useful. Moreover, a new series of holidays is coming soon: the day of lovers, the day of men, women's day ... and a gift made with your own hands is always valued higher!
So let's get started:
Step 1
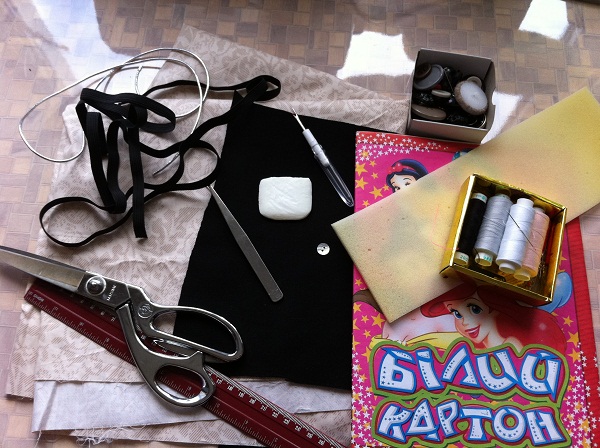
We will need:
- flap of fabric 28x44 cm. On the cover (I have a light beige satin),
- takani flap on the backing 28x44 (better than black, because the iPad screen color is black)
- a piece of foam rubber 26x42 cm. 0.5 cm thick (once bought a whole roll in the hardware store - 10 m. For $ 1 :) useful thing as it turned out)
- two sheets of cardboard 20x26 cm.
- 35 cm. 1 cm thick black gum.
- 15 cm. Decorative hat gum (I have silver)
- 2 buttons: one small and flat, the second more for fastener
- scissors, ruler, thread, needles, ripper, chalk ... Well, any other nonsense with which you are comfortable to work.
')
Step 2
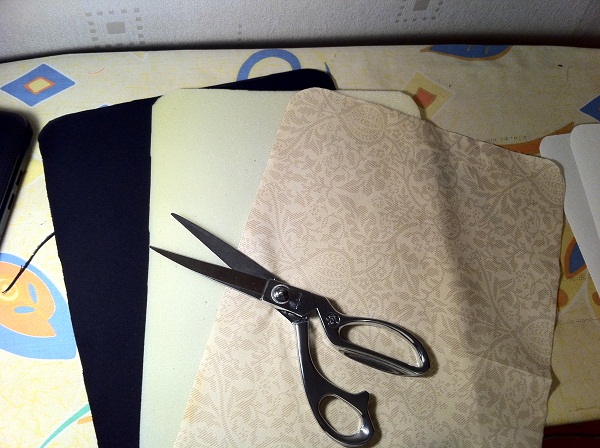
We cut fabric, foam rubber and a cardboard by the sizes specified above. Round the edges.
Step 3

Sewing (we note) the cover flap to foam rubber (as in the photo).
Step 4
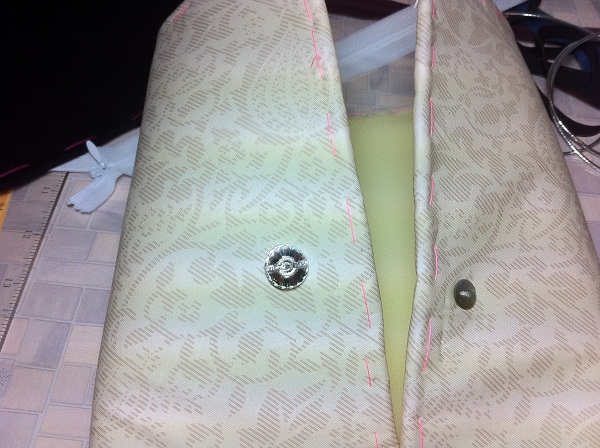
We sew buttons for the future fastener: a flat button back, and a large and beautiful on the front side.
Step 5
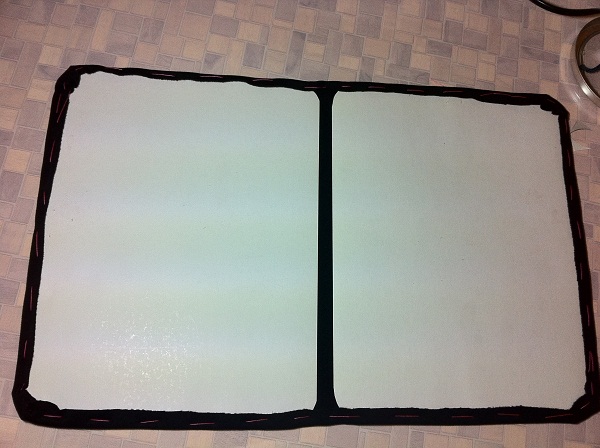
We stick the cardboard to the substrate flap, so that there is a distance of about 2 cm between the sheets.
Step 6
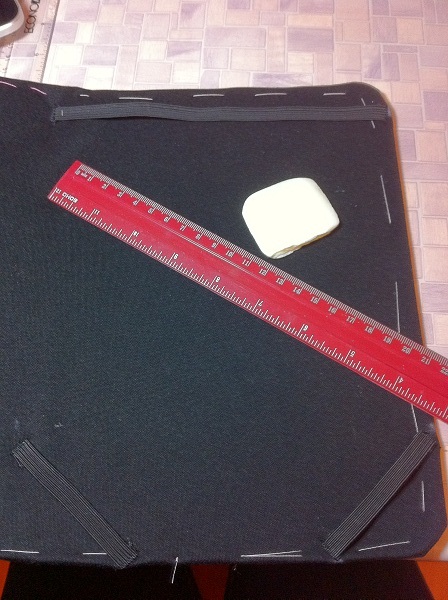
To the front side of the substrate we sew gum: on the corners of 10 cm and on top of 20 cm.
Step 7

We connect the cover and the substrate, we sweep them and we tie them together by 0.1. Because my top is light, and the bottom is black, I tucked a light-colored thread into the top looper and a black one into the bobbin. Then we sweep the extra threads.
Step 8
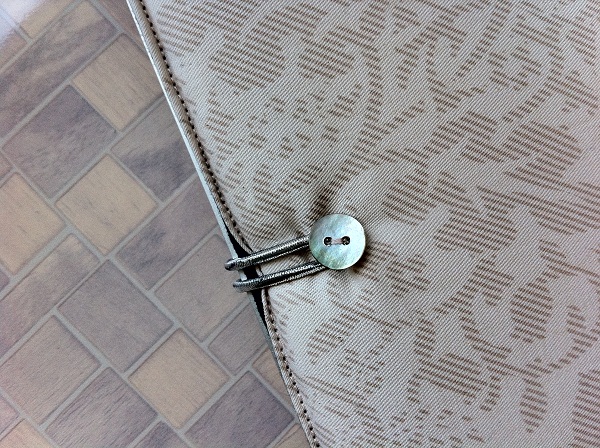
We tie a hat gum to the bottom button. The ends are joined together and tied with knots.
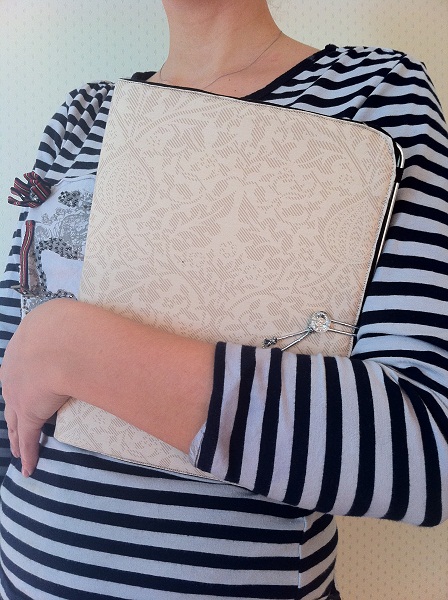
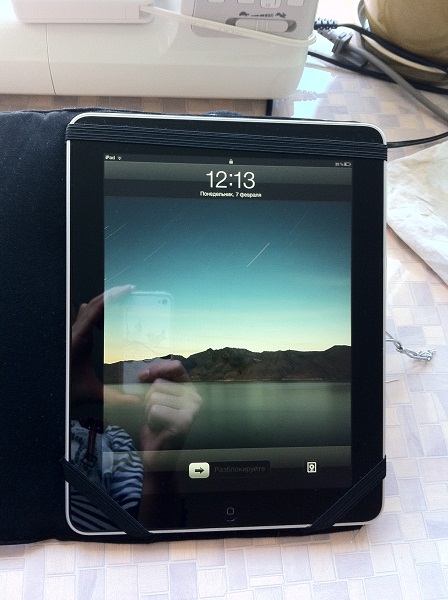
Result
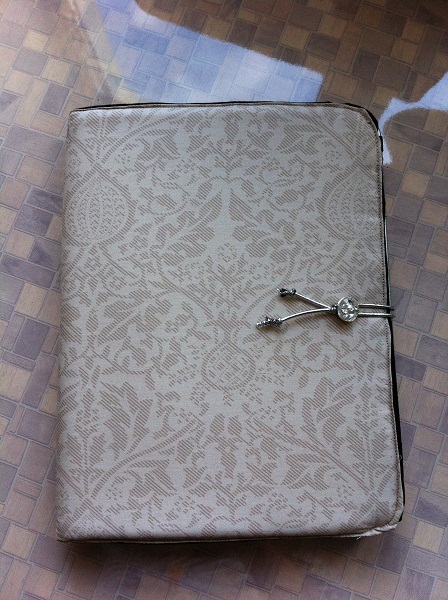
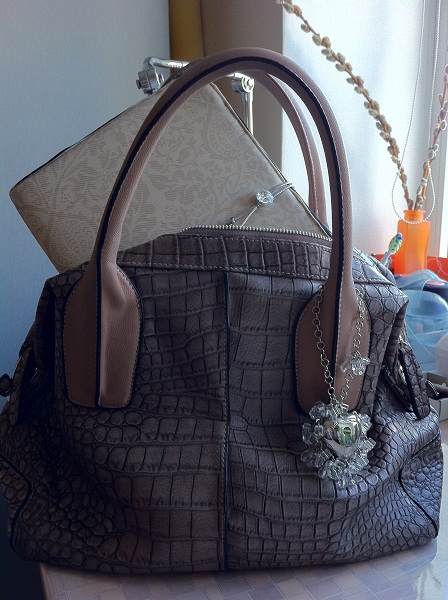
We enjoy the result of our creativity! Now you can safely throw the iPad into the bag, without fear of scratching the lightning teeth on the bag or the keys lying in it, and so on.
A couple more pictures:
Thanks for attention! :)
PS All photos are taken using the iPhone 4
Source: https://habr.com/ru/post/113299/
All Articles