Juniper JunOS Virtualization in GNS3

Introduction
In telecommunications, one indisputable phenomenon associated with technical staff can be observed - it is becoming less and less, while the requirements for specific specialists are increasing. During the periods when digital switching systems at telephone exchanges remained fiction, the station’s staff included a significant number of electricians. Many operations to switch subscribers, change the numbering, create new directions were carried out "hands", after the transition to digital systems, most of the actions began to be solved programmatically, with the involvement of a smaller number of staff. The hardware and software systems developed and improved and became more complex and the requirements with the engineer increased.
There are a lot of screenshots under the cut.
There are always popular products and working with them is much easier because of the wide community that “generates” all sorts of manuals and whoto, there is also quite good, often localized literature. In my opinion, the active network equipment of the Cisco System can be attributed with such a popular and very successful product.
For me, Juniper Networks products were unfamiliar for a long time and work played a big role in their "popularization". With the beginning of working days, I began my acquaintance with the main product lines. I just want to say that I was probably lucky and I could “touch” the M / MX and T series devices (up to the T1600), and then the EX series switches. For faster learning, I immediately wanted to play around with the glands, and if you can do it with Cisco, for example, on a test bench from several main chassis, then everything is more complicated with Juniper. There are few free carrier-class devices of such a scale, and the lesser popularity mentioned above played its part.
Start
When the question arises it is difficult to have access to this or that equipment, I am reminded of the successful Dynamips project, and during its development, the GNS3 environment. I also immediately noticed that JunOS is based on FreeBSD, and this inspired hope for virtualization.
')
All ingenious thought up to me
I did not immediately think about going to the official site of the GNS3 project, and it was idle for me there that Q (J) EMU, included in GNS3, allows “... Cisco IOS Juniper or to check configurations that need to be deployed later on real routers ” .
I decided to check the above statements.
I download the full GNS3 package, install and see before me the familiar graphical environment. In node types, you can observe (previously unnoticed by me) Juniper router. Drag it to the topology window and:

Of course, if everything worked right away, well, it was not at all interesting.
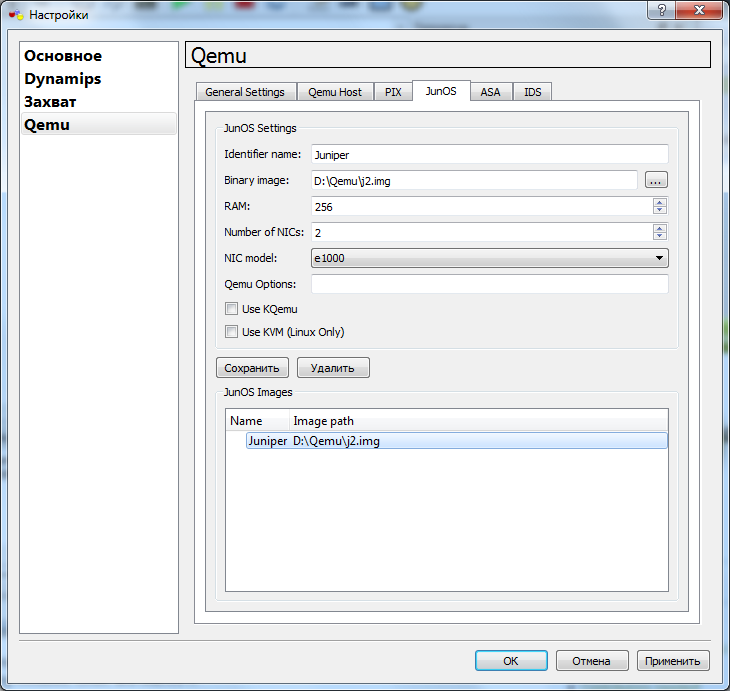
Well set up.
Interested point Binary image . Google As expected, this is an OS image (more precisely HDD) for QEMU. Immediately there were several articles on the self-build “JunOS over FreeBSD” (as I collected my image I will tell you next time).
I want to mention the project Olive, it is the initial attempt to run JunOS on a regular PC (more details in the links).
And so while we use ready-made way. Just want to dwell on the choice of version of JunOS. Version 9.3 is interesting for me, in view of the work of real pieces of iron at work on it.
And so Here we found the image according to the description that suits us:
- Image for QEMU
- JunOS version 9.3
- Login / Password Details
This is how our configuration will first look like:
Well, let's assemble a simple test stand:

As a second router, I use my favorite 7200 chassis.
We set ourselves a simple task to connect between two routers with a network of 192.168.0.0/24 and ping from both sides in order to fully ensure success. And so we will launch the stand.
We have a QEMU window:
Go to it and click.
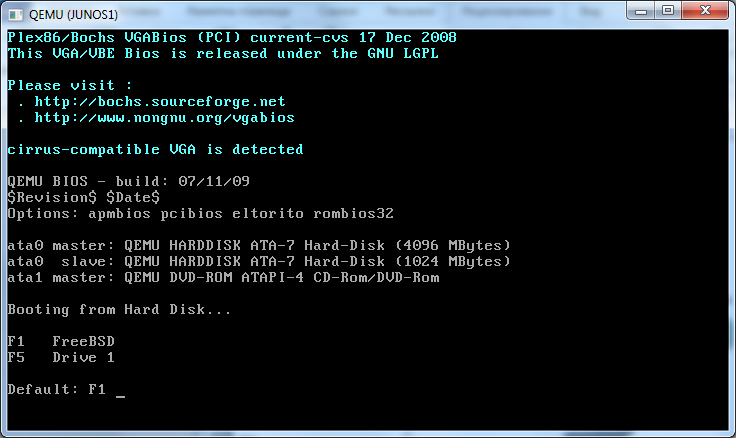
And we begin to wait. Now loading our virtual machine.
Visually, one can only observe the inscription:

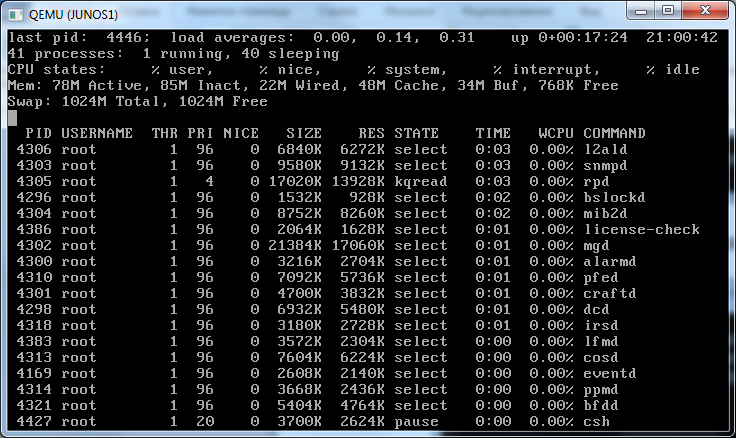
As a result, we will see a greeting for the login and password. We enter and get into the FreeBSD console:

Perform top :
But let's not get distracted by JunOS, run cli and we can see the classic prompt, execute sh ver :
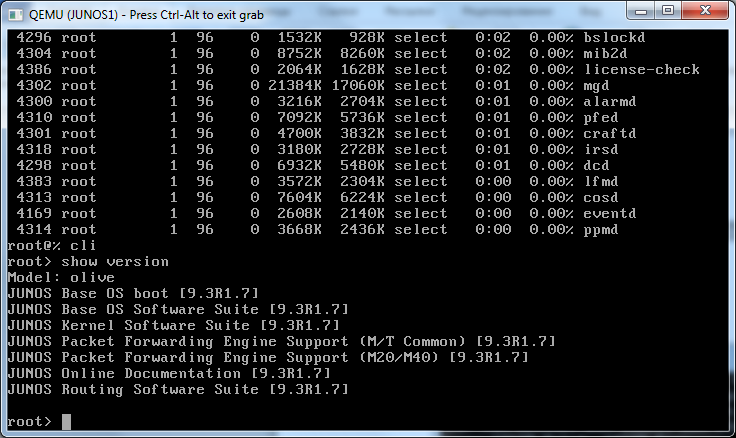
Here we have successfully launched JunOS. We proceed to the setting.
First, let's see the list of available interfaces.
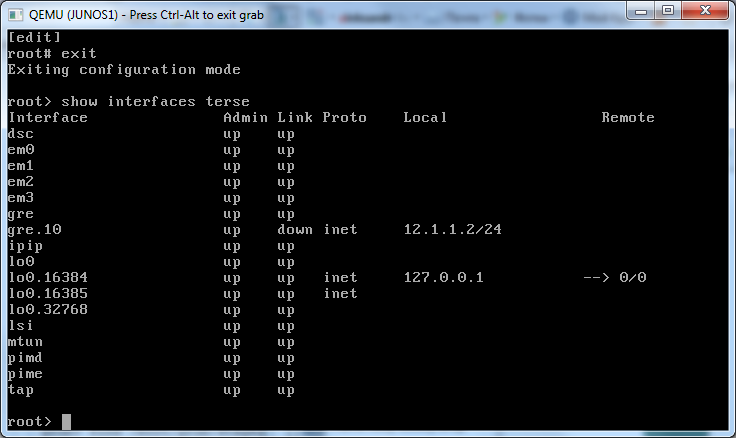
Fine. We have em interfaces (these are our Virtual Intel 1000e Pro NICs).
View the port status of em0 :
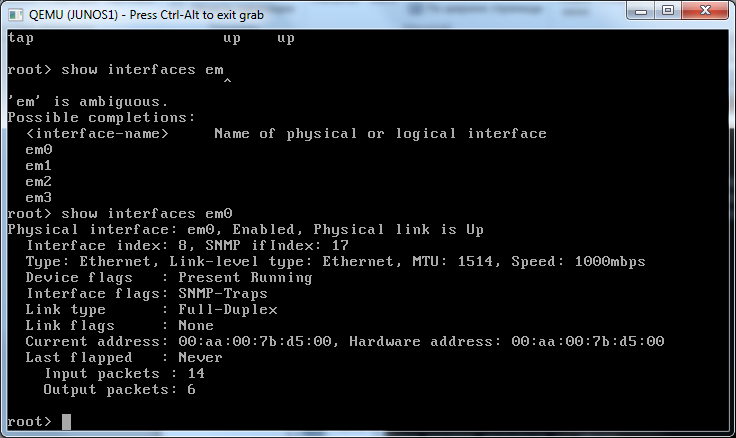
The interface is up. Full-duplex 1Gb / s, MAC is present.
Now you can register the address to fulfill our goal.
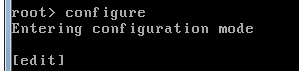
Go to configuration mode:
Perform:

Once again, let's see what we did and check the candidate version:

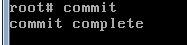
And apply the configuration:
Let's exit configuration mode and ping a Cisco72xx node (192.168.0.1/24).
The process of configuring interfaces on IOS is well described and I omit it.
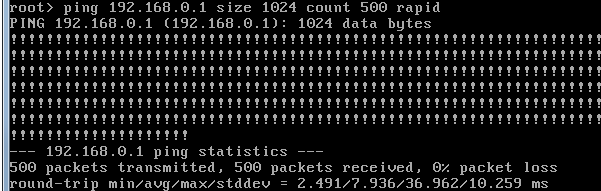
And on the reverse side of Cisco72xx (192.168.0.1/24):
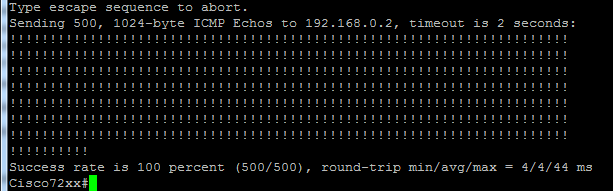
Conclusion
As a result, we have achieved our goal:
- JunOS virtualization
- primary setup
- successful simple check
A couple of words about virtualization. Juniper solutions are hybrid in nature and some of the calculations are performed hardware in special modules (typical of the MX / M / T series of routers), so there will be a number of problems in the implementation of certain things on our stand.
But I haven’t mentioned the J series yet, it’s considered “programmatically” and if you assemble a stand on it, then many difficulties can be overcome.
This is a trial article with pictures about the initial stage, I have a desire to make a cycle of articles and consider different issues from typical CE-PE schemes for BGP / VPLS, MPLS PE-PE and, of course, consider a policer, etc.
Links
Juniper Networks official website
Juniper Clue wiki
About Olive
UPD: Corrected with the review / image ( Torin666 remark)
Thank.
Source: https://habr.com/ru/post/111172/
All Articles