Lego film camera
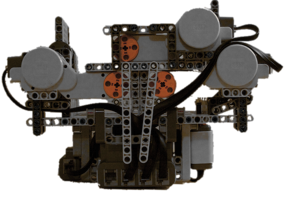
Why not?
I really like the designer Lego, cameras and programming. I decided to combine these three of my hobbies and assemble an automatic Lego film camera. I wanted the camera to do everything by itself: all that was required of the user was to insert a film, point the target and press a button.
In this post I would like to talk about how I made an automatic camera from Lego, how it was programmed and what came of it.
')
Pinhole camera
I started from the beginning, with a camera obscura. This is the basis of any camera: through the hole on the film (or sensor) light enters and leaves the image there. I decided to make a hole in a piece of foil. With the help of one of the mini-drill, I made a hole with a diameter of about 0.3 mm.
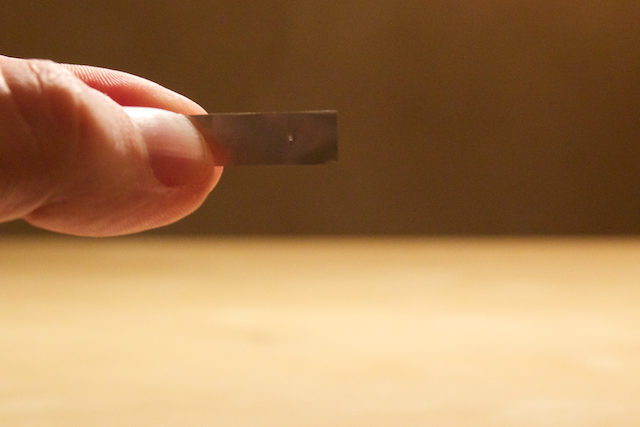
Now it was necessary to assemble an opaque camera in which there would be a film. Calculators from Mr. Pinhole . They allowed to calculate the optimal dimensions of the camera. It's very simple: with a hole size of 0.3 mm, the distance from the hole to the film should be somewhere around 60mm.
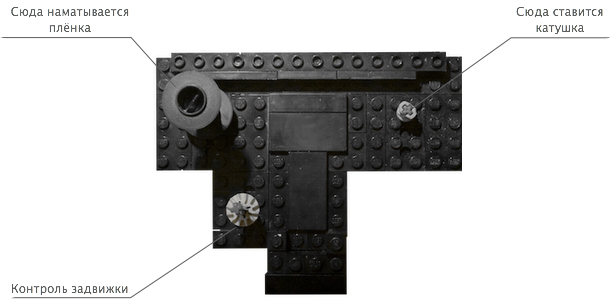
The principle of operation is very simple: the user inserts a new cassette with a film, the film is immediately rewound onto a free reel. With each new frame, the film is wound back into the cassette. When all frames are clicked, you just need to get the used tape. Here are a couple of snapshots of the build process:
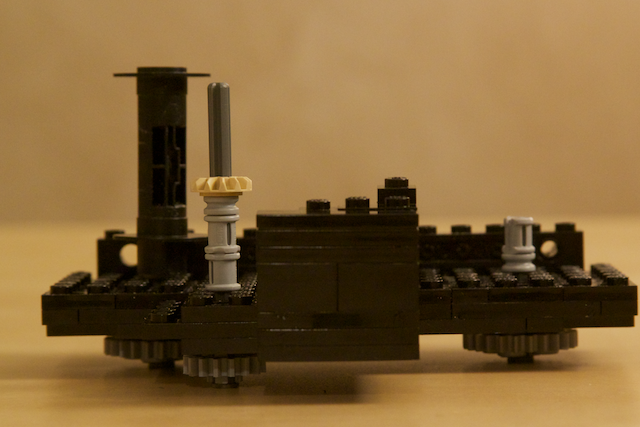
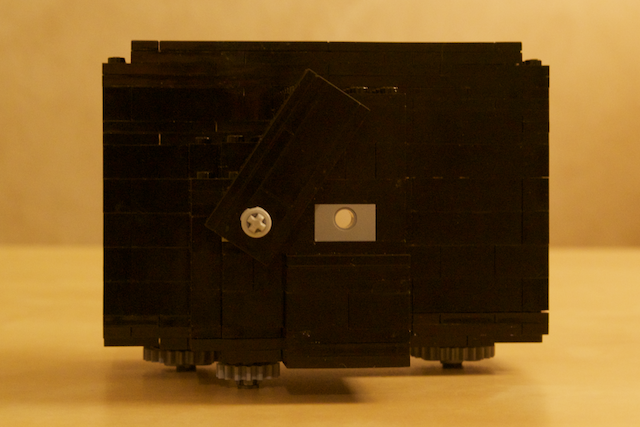
I wanted the camera obscura to provide three interfaces: the control of the main coil (which the user set), the control of the free coil (where the film is unwound) and the control of the valve. It looks like this:

In the future, the motors of the automation module will turn these three gears. In the meantime, I had to make sure that the camera does not transmit light. I dragged my design to the photo lab. I decided to use photo paper to search for light holes. Photo paper is sensitive to light: where the light hit, a black spot appears. I stuffed my photo paper into my camera obscura, brought it to light, waited a few minutes and showed the paper. The entire surface was covered with black scars. It took me a few hours to find all the holes and wrap them with tape. Here's what happened:
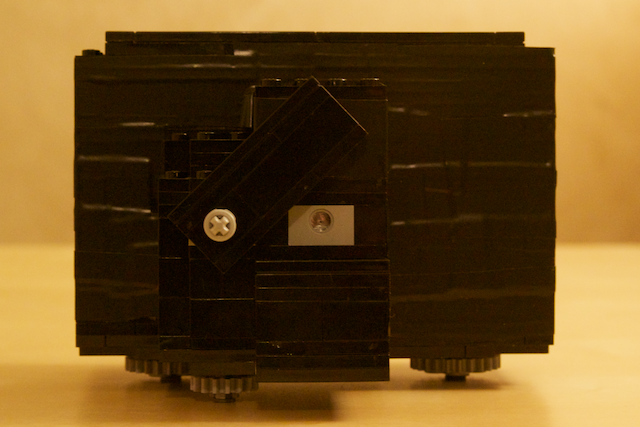
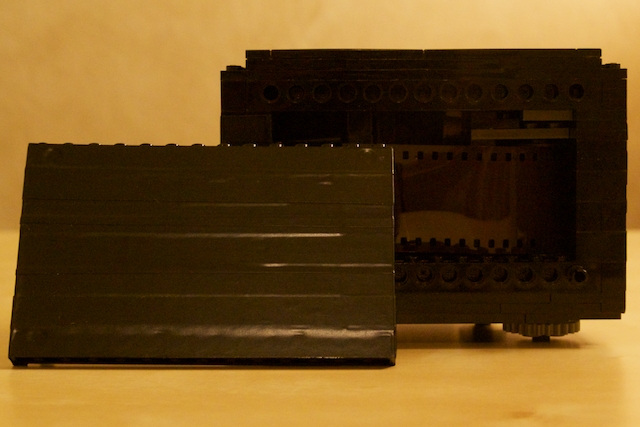
The camera obscura was over. Honestly, many lovers themselves collected such devices. So while I was on a relatively trodden path. However, I did not find a single amateur project that went further and decided to automate my camera.
Automation
I had Lego bricks in my childhood. However, I bought the Lego Mindstorms kit only recently. The kit contains three motors, a pair of buttons, a light sensor and a programmable module. Everything you need for a modern camera.
The automation module should contain three motors - two for controlling the rewind and one for controlling the valve, - a release button, an illumination sensor and a sensor that determines whether the pinhole camera is inserted. The last sensor is quite important: it determines the moment when the camera is just inserted and the film needs to be unwound. It should have been something like this:
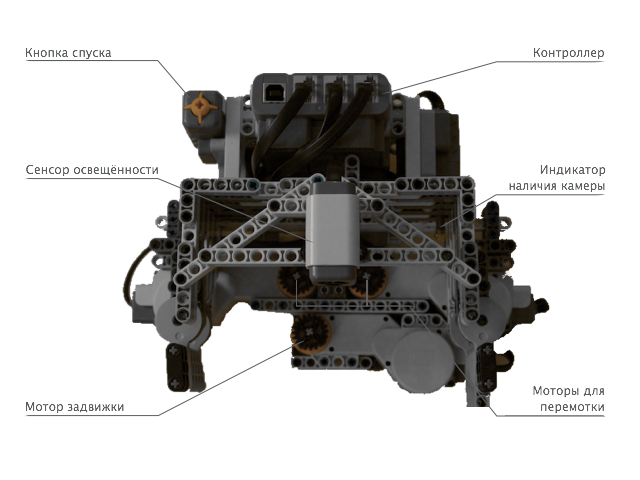
Constantly lacked specific details. The BrickLink website came to the rescue . On it, I found absolutely all the details and was able to buy them through PayPal. I must say that the prices were very reasonable. Soon the automation module was assembled. The camera obscura was carefully inserted into the automation module:
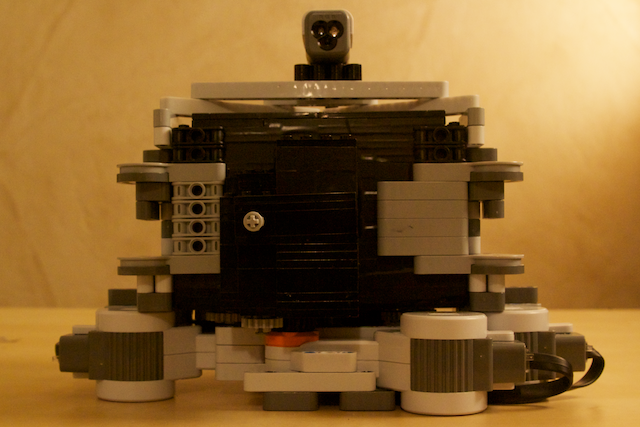
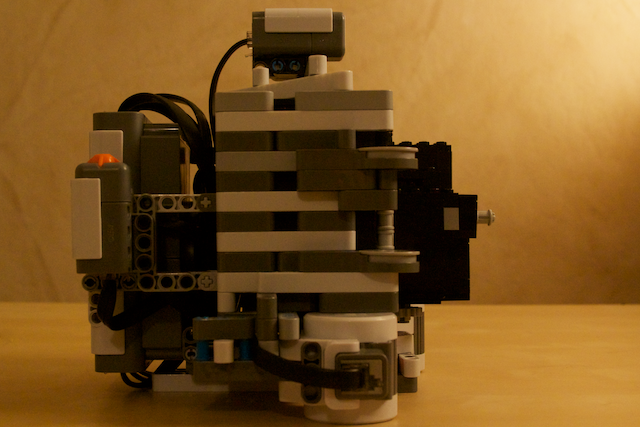
Iron, more precisely, the plastic was ready. It remains only to program this thing.
Code
The programmable module (controller) is controlled by the Lego operating system. The module can be programmed in a visual development environment: dragging the building blocks, making blocks, cycles, etc. I didn’t like this system. So, the first thing I did was flush the module with the Lejos system. Programs for it can be written on a few curtailed Java. What we need for our adventure.
I put the camera code on http://code.google.com/p/legocamera/ .
The program contains several interesting features:
The logic for computing the rewind angle
The film turned out to be much more difficult to rewind than it seemed to me at first. Film reels are very similar to a spiral. That is, the angle at which it is necessary to turn the coil to wind the 40mm film depends on the amount of the film already wound. To make the calculation had to use the equation as much second order. This is not every day kodish. Who is interested to see - the logic in the FilmTransportUtils file.
Valve Speed Calculation
And then the trap waited: the sensor Lego returns the level of illumination from 0 to 1023. I did not manage to find out how this number corresponds to any physical quantities. So I had to build compliance with the method of scientific spear. I rented a light meter and went for a walk. He made a measurement with a lego sensor, wrote down the reading, then made a measurement with the device. The result was a fairly tolerable correspondence table. It seems to me that it can be clarified, but it will come down for beta. Who is interested to see - welcome to ExposureUtils .
User interface
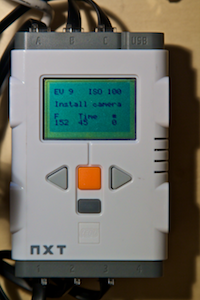
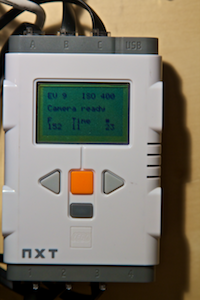
I really wanted to dynamically update the information about the camera: whether the camera obscura was inserted, the value of the meter, the number of frames, the current task, etc. An additional thread, a little magic, and it seems to me that it turned out almost like in adults:
 |  | 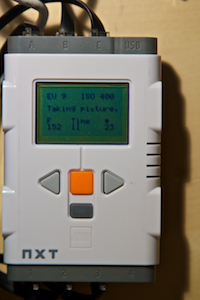 |
Result
Everything was ready. Here is a video with a demonstration of the camera:
But the resulting photos. Hydrant:
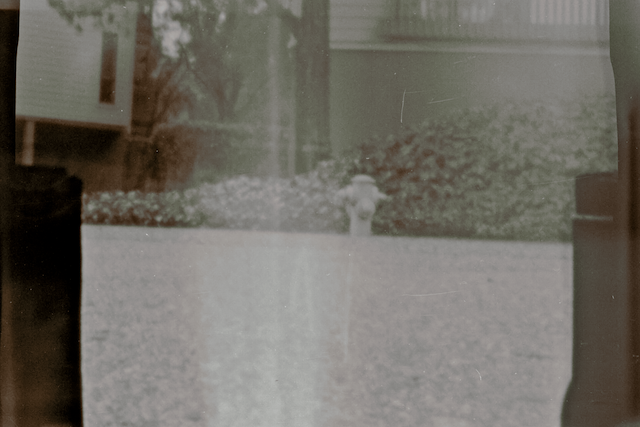
Neighbor moves:

I will shoot on my camera and on: it's so easy, I pressed the button - and you're done!
Source: https://habr.com/ru/post/110725/
All Articles