Continuous Integration and TeamCity
Continuous Integration (Continuous Integration) is a software development practice that involves performing frequent automated project builds to identify and solve integration problems as quickly as possible. In a typical project, where developers work independently on different parts of the system, the integration stage is final. She can unpredictably delay the completion of work. The transition to continuous integration reduces the complexity of integration and makes it more predictable due to the earliest detection and elimination of errors and contradictions.
 In this topic, we will review in general terms the process of implementing continuous integration using the example of TeamCity Enterprise 6.0 EAP (build 15400) and pay attention to the use of the tools discussed in the previous topic: Ensuring the quality of a software product .
You will need to independently download and install the TeamCity version suitable for your platform, as well as install the toolkit from the previous article, all this is good without any problems, but if you ask questions in the comments. You also need some existing PHP project already stored in SVN (or any other similar system).
TeamCity GUI will be available via HTTP on the installed host, after authorization and configuration, the main page will look something like the screenshot below. Each project has its own block. With a large number of projects, you can adjust their visibility, and the status of each block (minimized, expanded) is remembered. The projects contain configurations, each of which has a status line, which displays information about the build number, an indicator (4 states: completed successfully, completed with errors, executed, executed with errors — all of them are intuitive), a small text description of the build which can now see data on the number of tests and information on code analysis. Almost all elements have AJAX hints that display extended information and / or navigation.

')
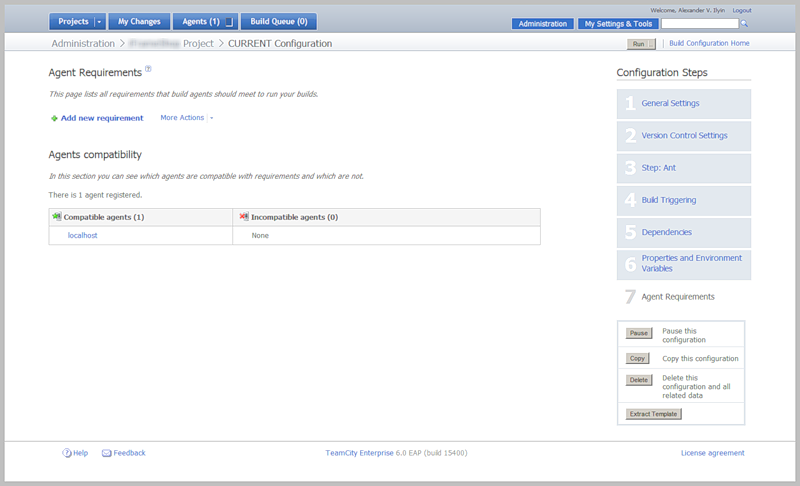
To create a project, you need to go to the “Administration” section, below you can see that we have already created a created project, also the main TeamCity setting is made from this section (right menu):

The project initialization process consists of 7 simple steps, 3 of which are implied as mandatory and they are proposed to be completed with the help of a small assistant, we consider each separately:
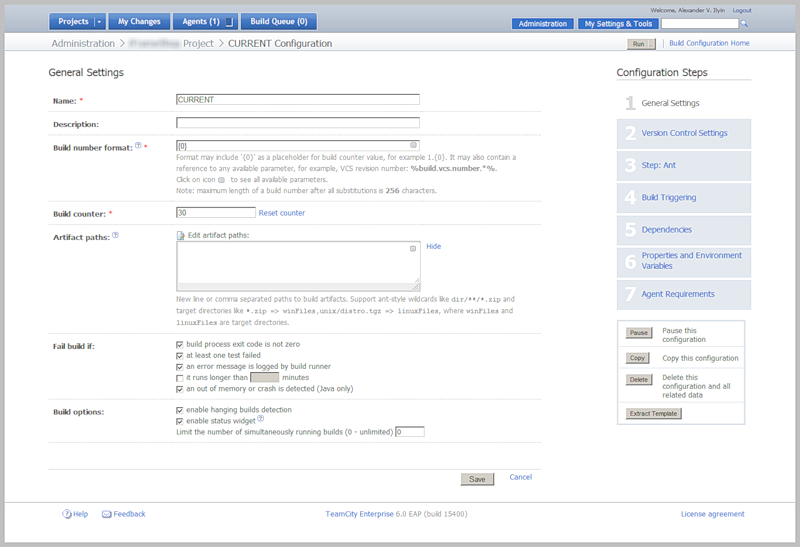
In the main settings we will need to specify only the name of the project, the values of all other fields can be left as default:
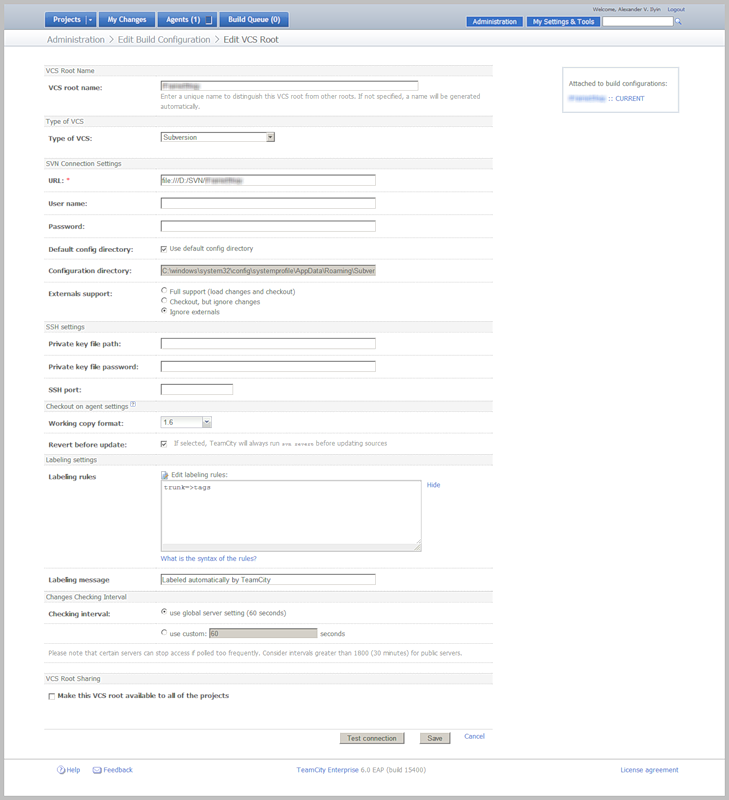
The next step is integration with the version control system, which is presented in the following images. You will need to specify the type and other data for the configuration, specify the location in the root, all subsequent conversions when getting the code must be done with the help of "Checkout rules", in my case one simple rule "+: trunk => source" is enough.

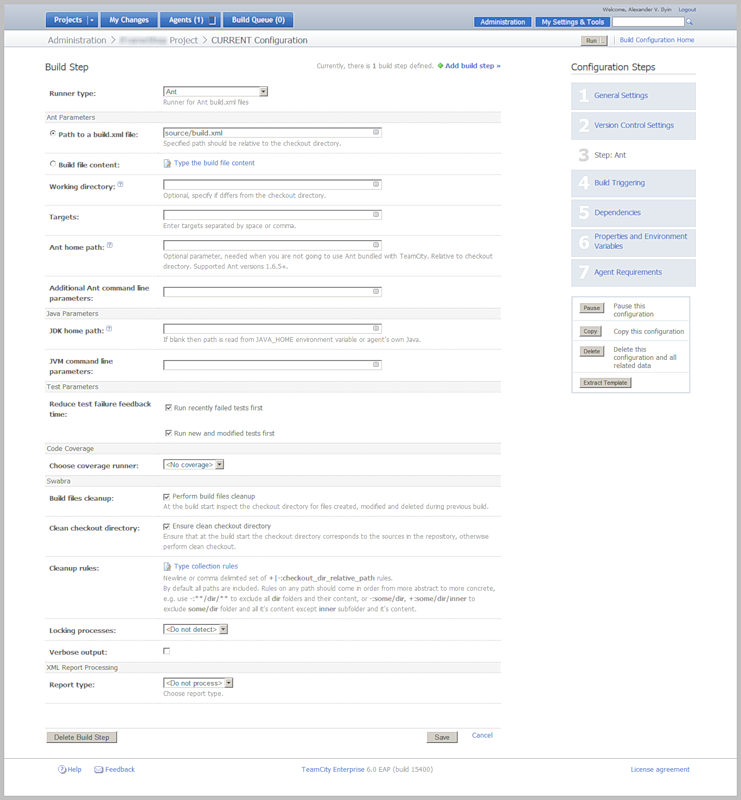
The next step is to choose a tool to start the project build process, again most of the fields will be left by default, the rest will be filled in by analogy with screenshots, the main point to which you should pay attention - in this example, use the built-in Apache Ant, but if you have others preferences or experience - go for it. the configuration file will be stored in SVN, as for me so it is quite convenient.
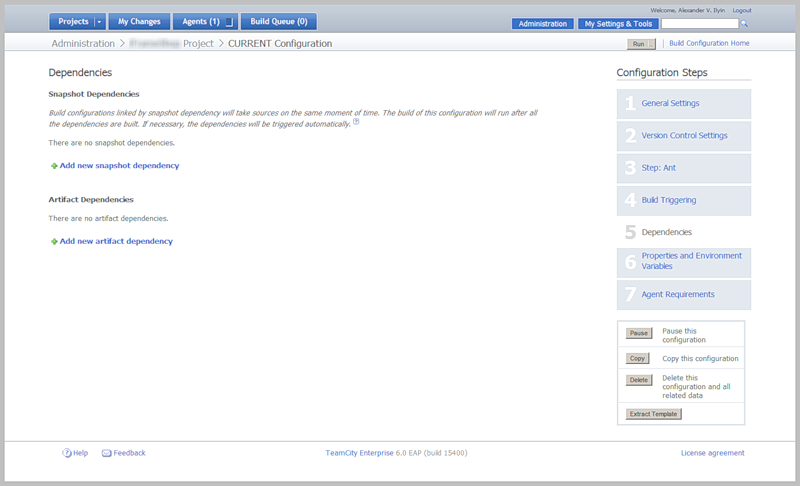
In the following four screenshots, the sections for setting up triggers, dependencies, variables and requirements for agents are presented (agents build the project directly, in my case one agent is used, configured by default during installation, the only remarks immediately after installing TeamCity is to wait for a while until the agent arrives in readiness.).


Next, we need to create build.xml that will manage the build process (after several days of communication with it, I can say that this is a miracle tool that can replace most of the small shell scripts to perform everyday actions):
It is worth paying attention to the default argument in the second line and the target element in the fourth, further presents various tasks for launching third-party tools as well as integrating their results with TeamCity. Initializing identical tasks for windows and unix looks a little different, but by the way this time, though it caused some difficulties, it turned out to be already discussed in the Apache Ant FAQ. You should only copy its contents. Interaction with TeamCity is performed using service messages:
- ## teamcity [importData type = 'pmd' path = '...']
- ## teamcity [importData type = 'junit' path = '...']
- ## teamcity [publishArtifacts '...']
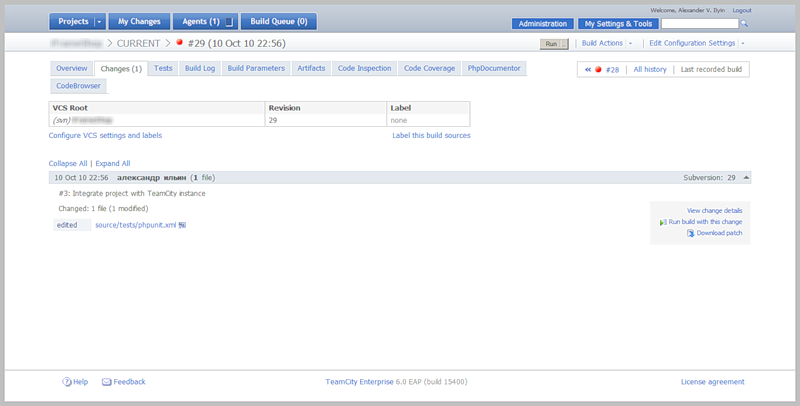
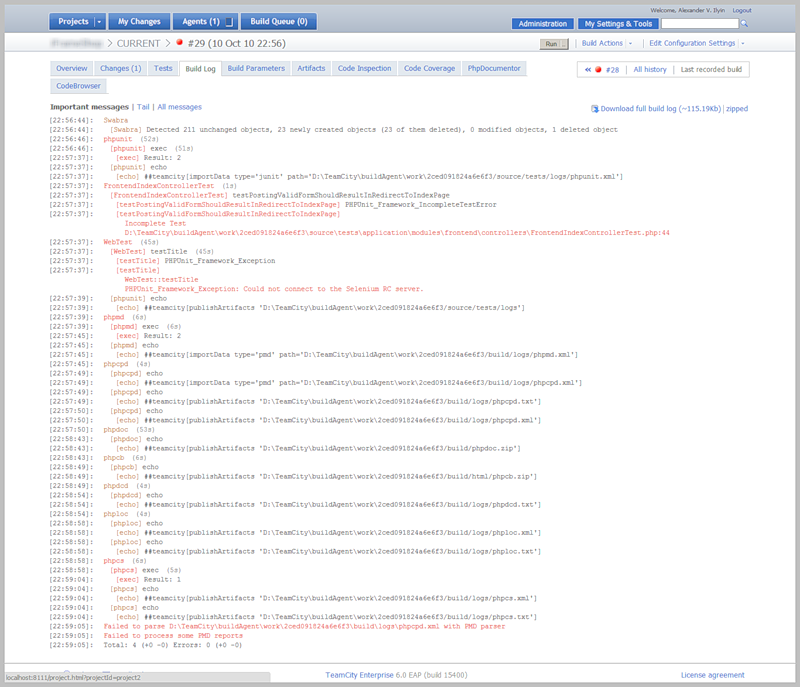
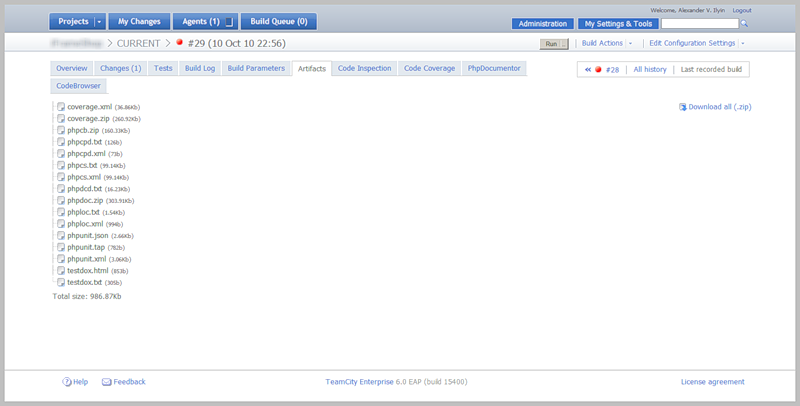
We commit the contents to the repository, if the trigger is configured to commit, then the build will be started automatically, if not - click Run from the GUI. In a few minutes we will have access to complete information about the assembly.
Summary information about the assembly.

Changes from the repository.
Tests performed.

Log build process.
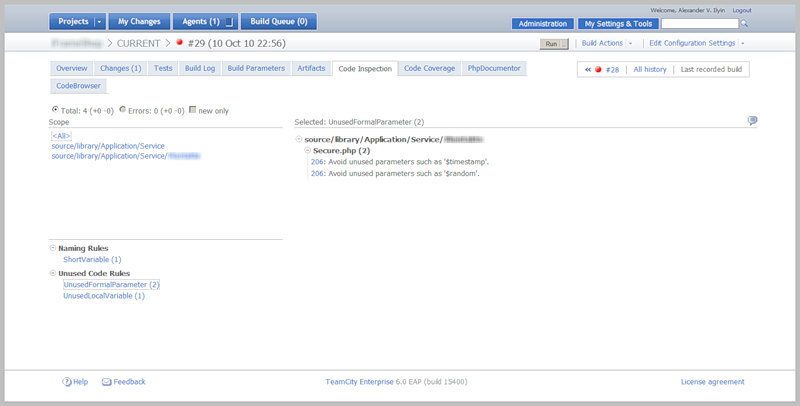
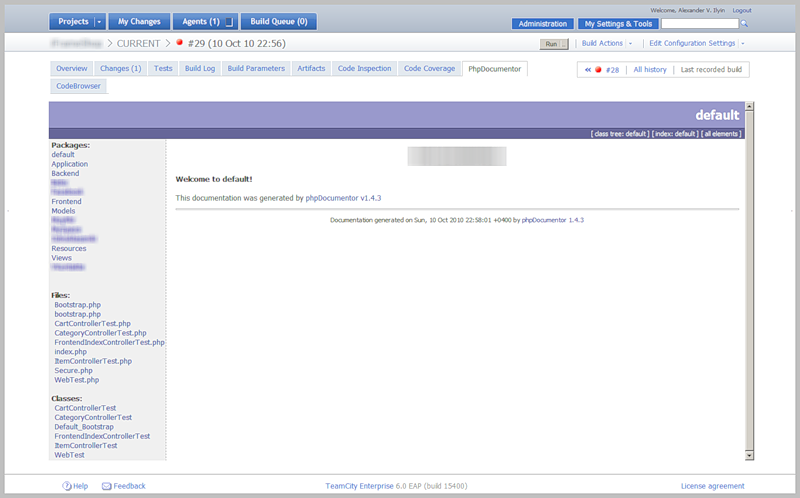
Artifacts, some of them presented in the following screenshots in the form of additional tabs. Unfortunately, not all the results have been successfully integrated, but it can be downloaded and viewed in the original format.


PS
Despite the fact that I wanted to write an article in the form of a guide to action, I got a general overview, so if you are interested in some points, but not fully disclosed, comment, I will try to disclose.
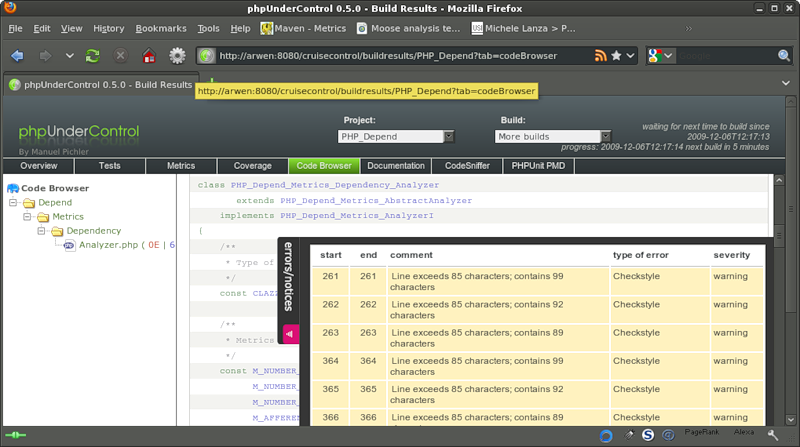
The plans also integrate Doxygen, Padawan and a couple of other tools. In the example build.xml, the pdepend section is included in the build process by default, so the results are not displayed in the artifacts, as well as in the build.xml there is no section for clearing data from previous builds - starting with the sixth version of TeamCity, the mop does it for us. About PHP CodeBrowser for some unclear reason in the current version of the GUI has become much more settled, for comparison, a screenshot of one of the first versions:
Source: https://habr.com/ru/post/105895/
All Articles