Aptana IDE 2.0.5 + Django = in pictures
Here it will be a little shown how to create the Django-project, by importing from the existing.
Create a Git repository, and the basic functions of using the repository.
Despite the fact that I already saw, on Habré, a couple of articles on the topic of using and configuring Aptana IDE, I decided to continue the topic, because it is not yet fully illuminated.
You can make a series of similar visual aids to make it easier to get up to date and not to search for a long time, for a beginner. Show, in this IDE, all the features that make life easier. Or suggest something new to people who do not fully use its capabilities. Well, or how to properly use the capabilities of this IDE.
For example, here it is described how to cross Eclipse and Redmine .
')
And here - an introduction to working with Aptana , its installation and configuration. In some moments I can repeat what is there, and on the habr.
Before taking screenshots PyDev and Git were pre-installed. Probably everyone will be easy to figure out how to do it. Moreover, the start page of the Aptana greeting, after installation, immediately suggests installing new modules, among which you can find them.
I suggest everyone to speak on the topic of how you use it yourself and show it in pictures.
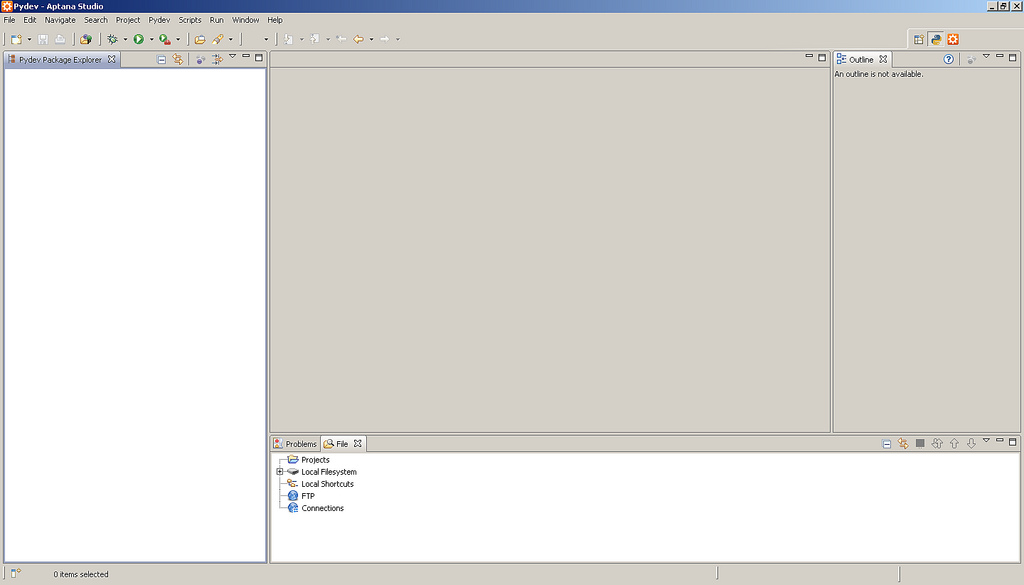
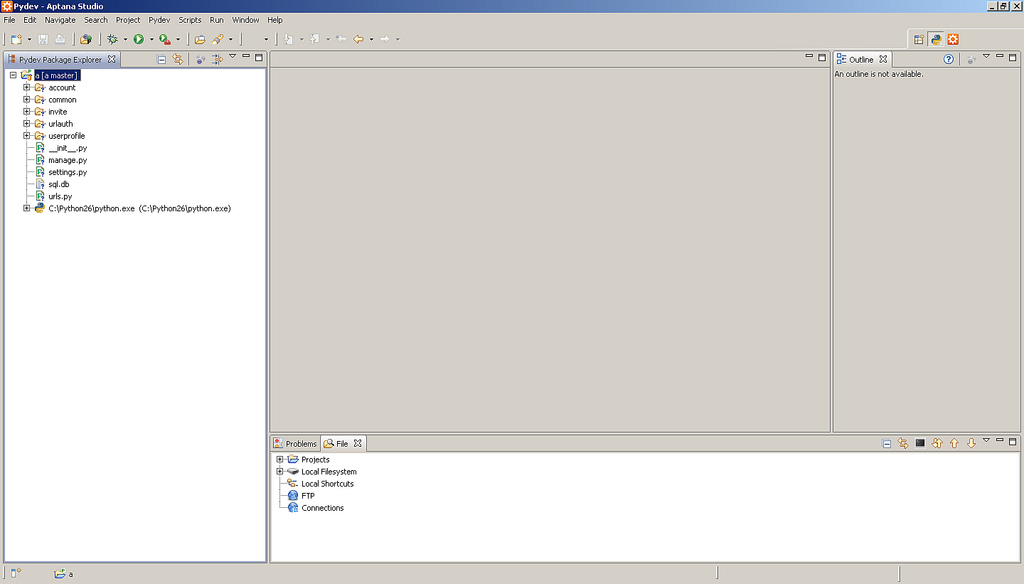
What we see when entering the PyDev perspective is highlighted at the very top, on the right.
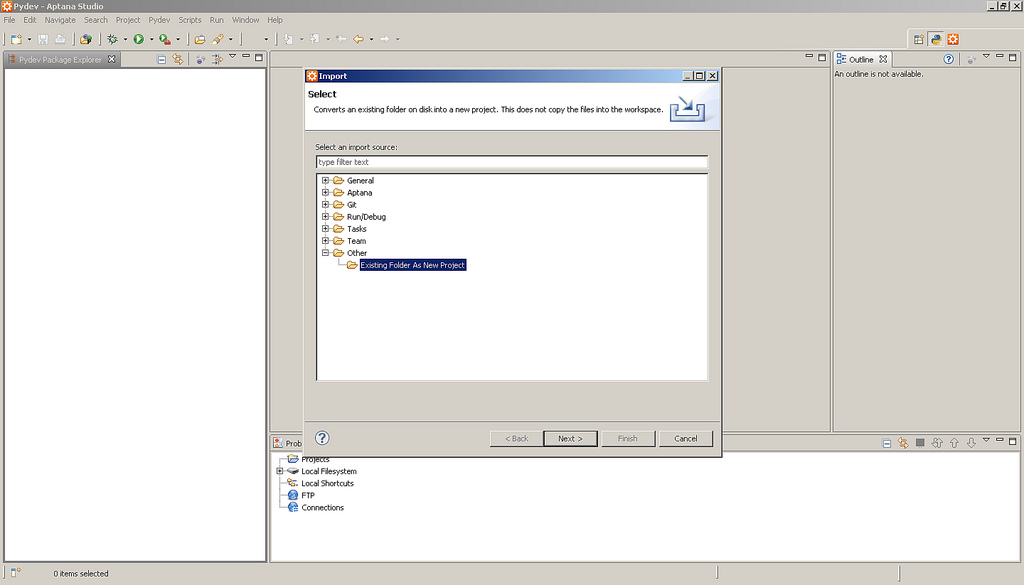
Now we import ...
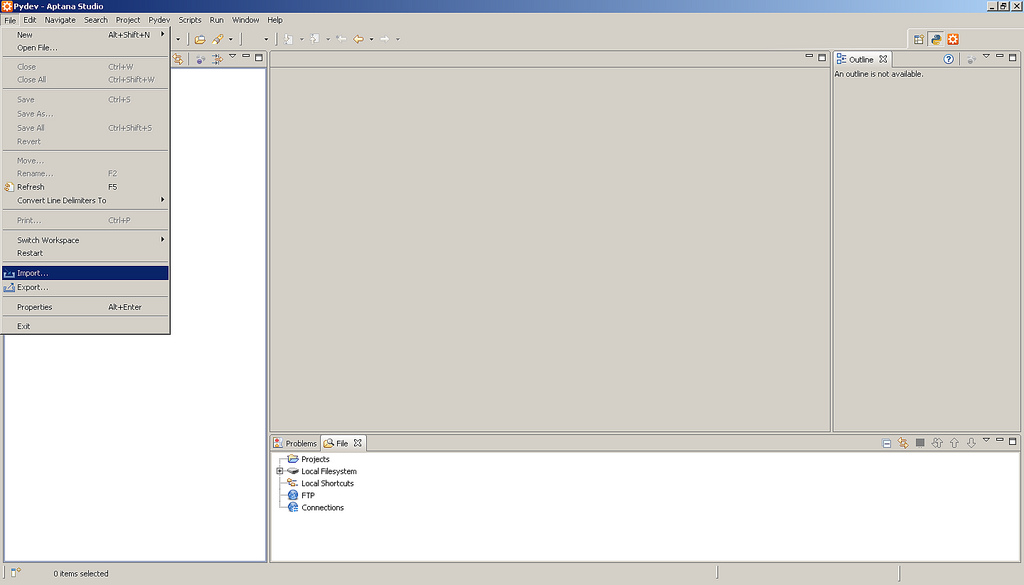
... project, from existing directory.
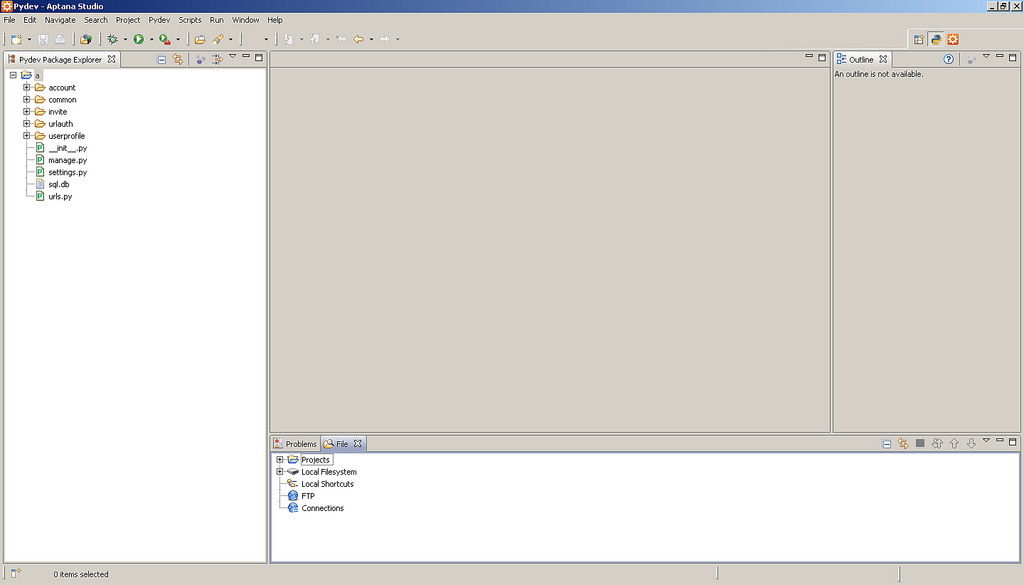
After importing, we will see it.
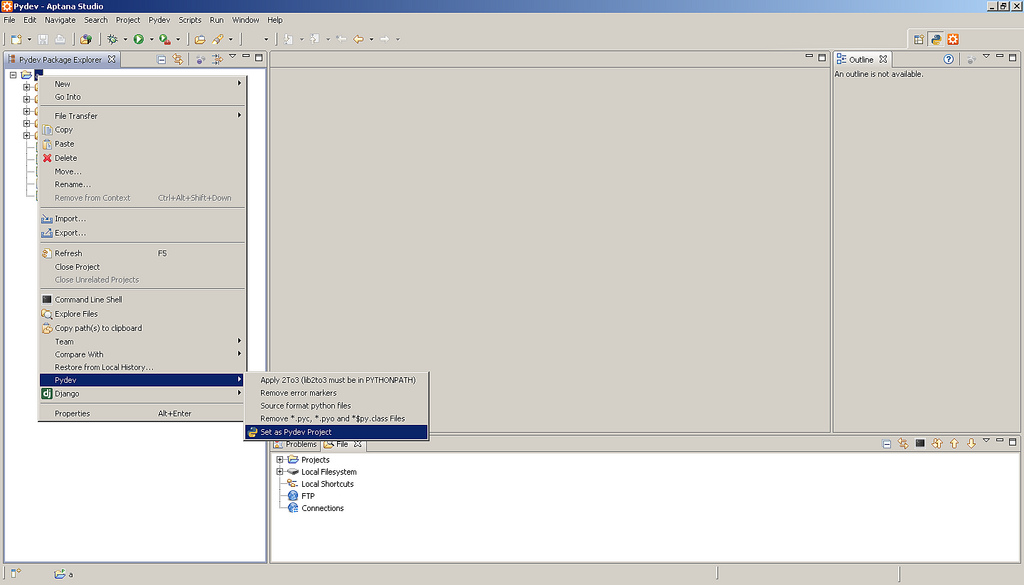
Let's turn it into a Django project.

And in the python project. Without this, no Django commands will start, since the necessary libraries will not be loaded.
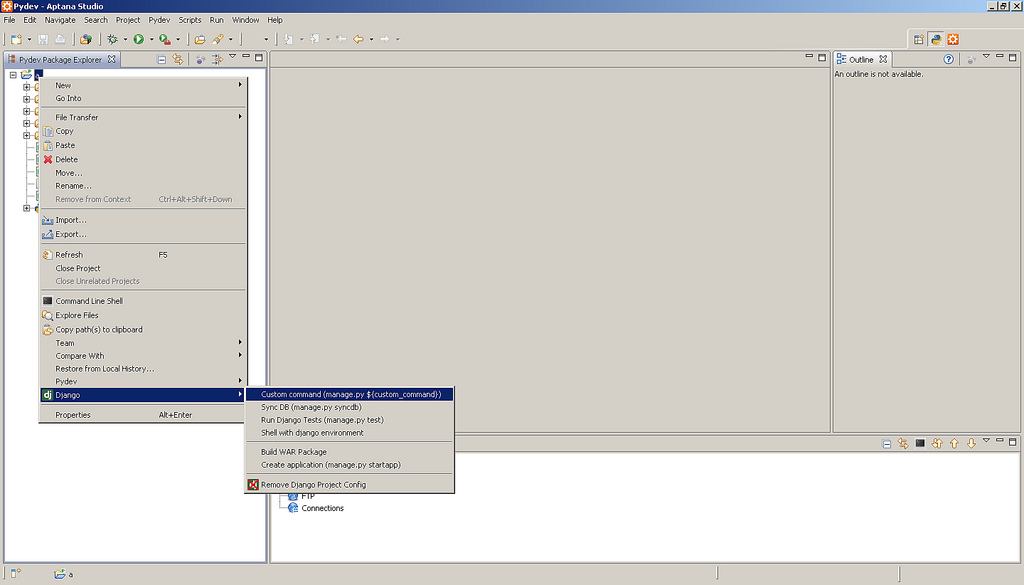
Commands that are there to simplify the use of Django, applicable to our project.
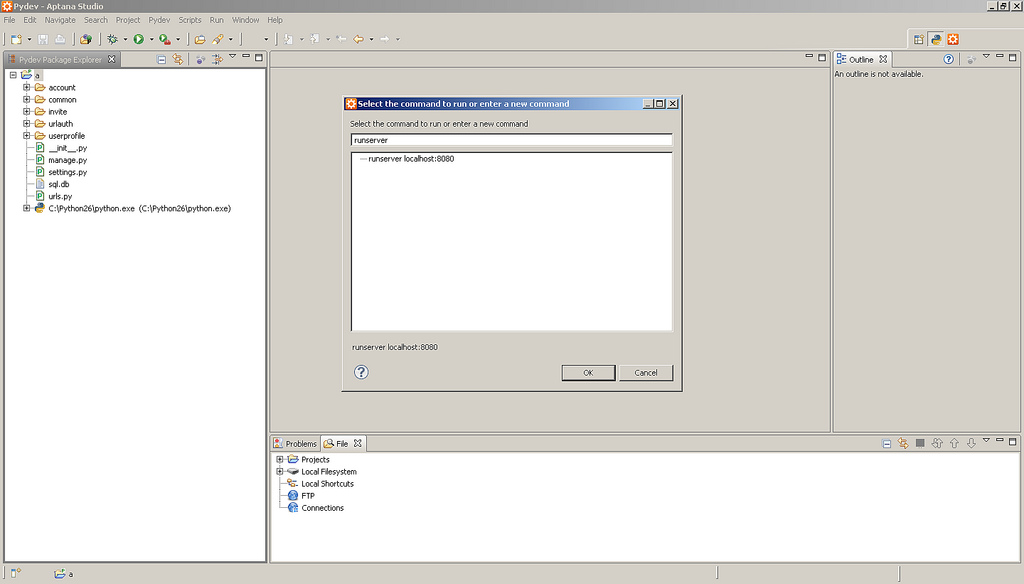
When you click on the marked, we will see the opportunity to choose from those that have been written by us ever before. We can write the necessary in the input field. When entering a part of the command name, it will work as a search for existing ones, narrowing the list
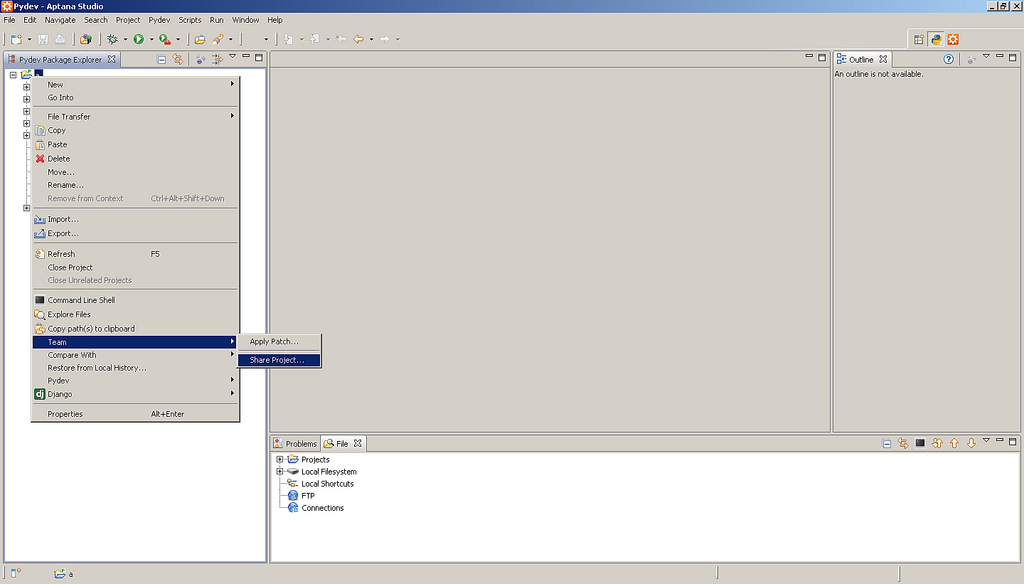
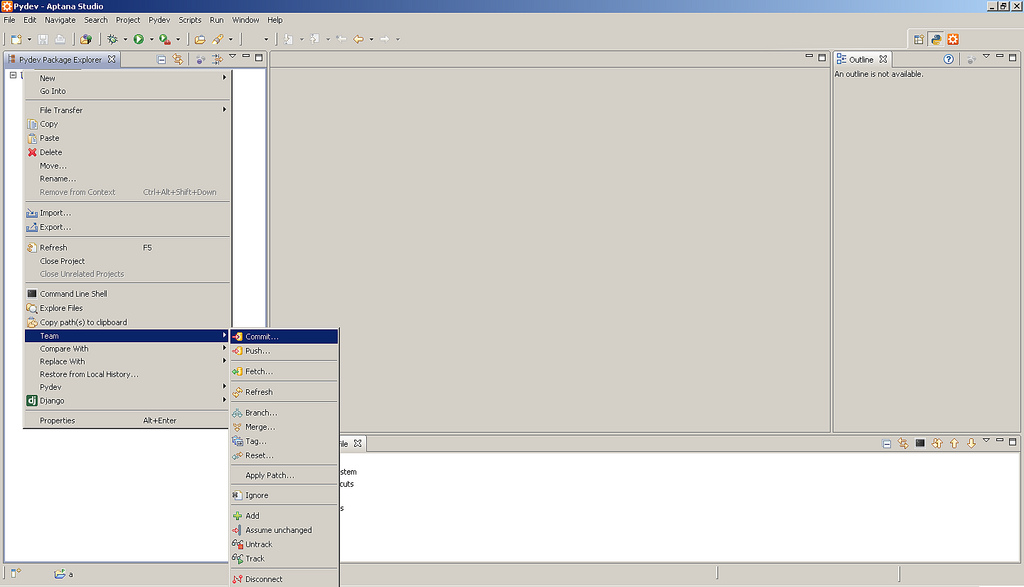
We are trying to get a repository for the project (after this screen, the Git-repository was apparently chosen).
We get a repository on the Create repository button, we press Finish.

Questions marked uncommitted files and folders (those on which after the commit will be possible rollback).
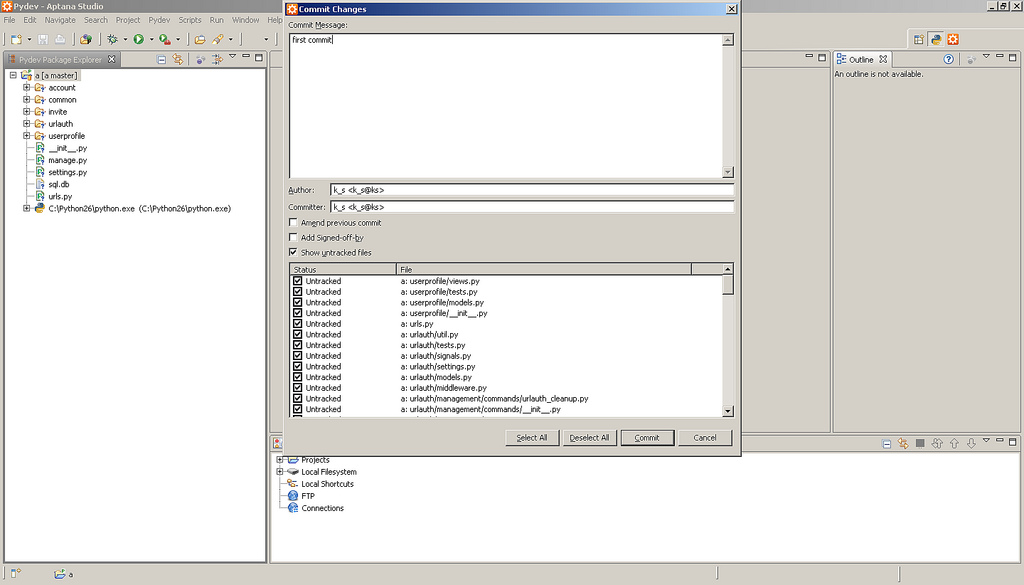
We make the first commit.
All files that have been modified or newly created are automatically selected. Kryzhik Amend-previous means to fix the previous commit, followed.
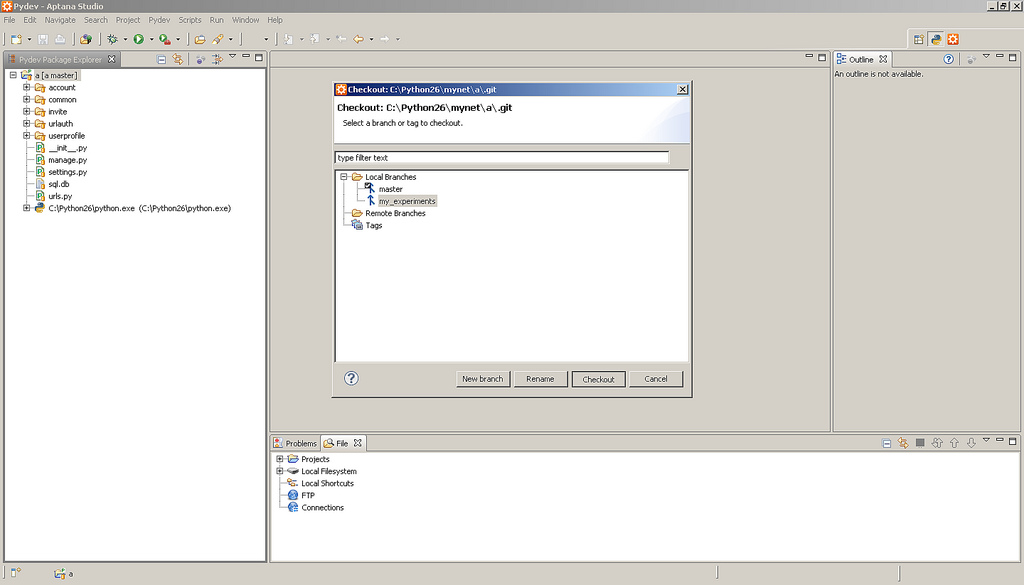
When a new repository is established, according to the project, one master master branch is created - it is not entirely correct to manage your project in it, since when working and changing the code, errors may occur, so we will create a new branch in which we will conduct experiments. Subsequently, it can be drained from the main one when we are fully confident in its efficiency.
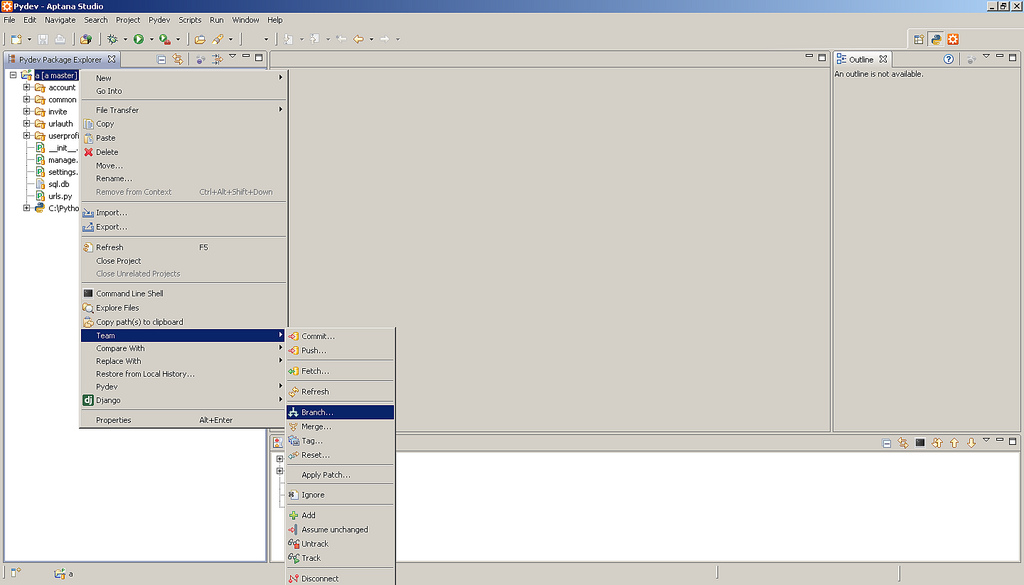
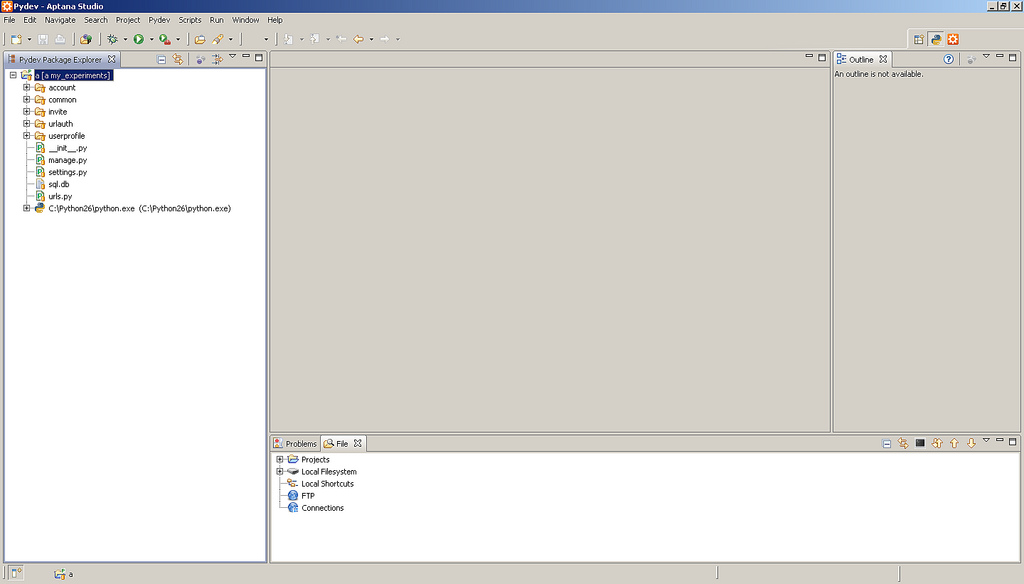
And make a checkout into it.
From the bottom, you can easily click on the button that will allow you to add new menus.
I preferred to get a console from there, then a history of commits, but I will not show it.
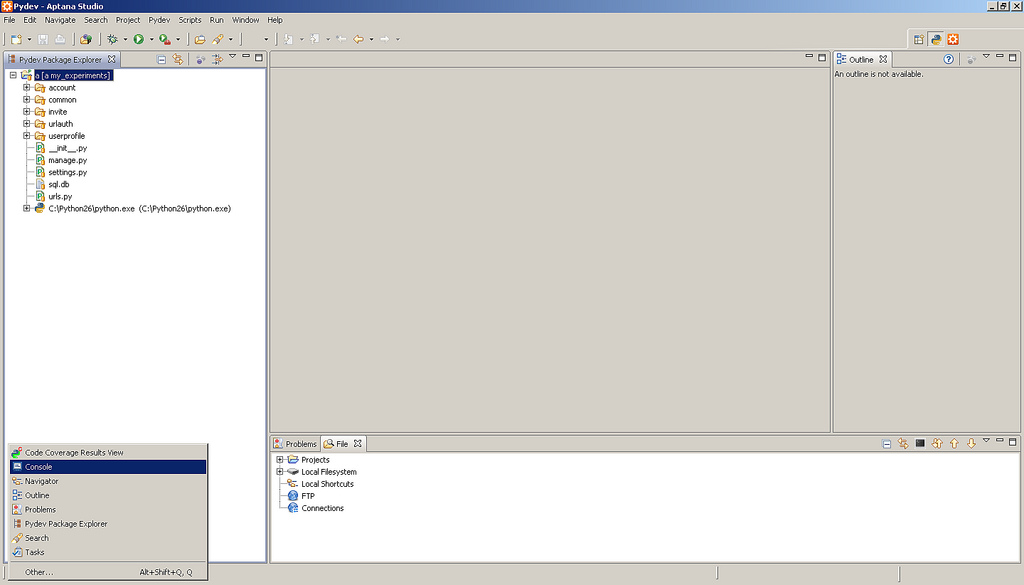
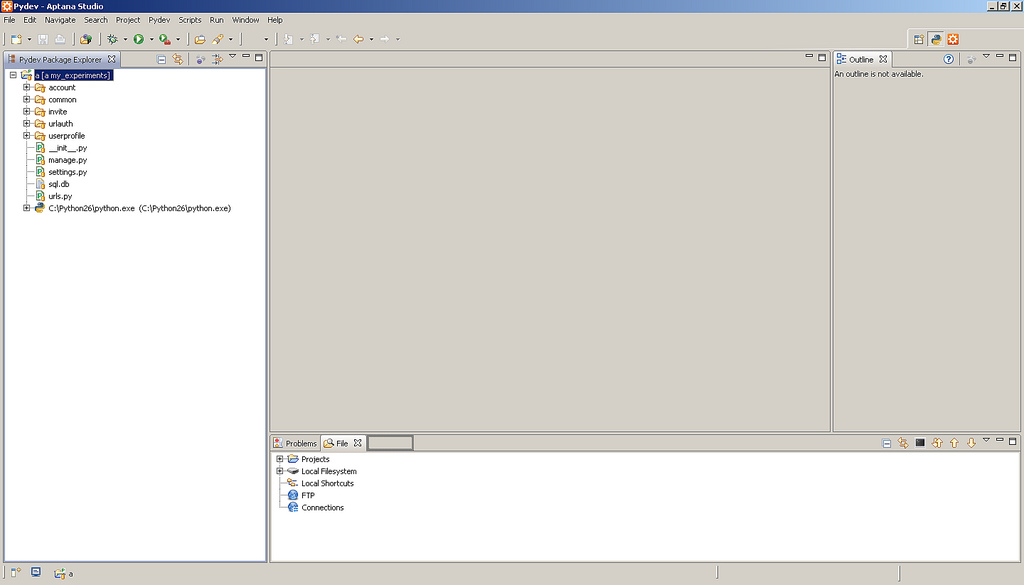
And further, it is easy to drag them (these menus) to any convenient area.
This is how you can roll back the project to the commit we have made. Hard is when everything is rubbing and only what was in previous commits remains.

I think that's enough for now.
Since large screenshots (in terms of volume) were the easiest to do (at least large ones were uploaded to Flickr), probably the next post will be how to reduce them using a python.
And yet, perhaps the same visual description of how it would be faster to write this post, using the capabilities of Selenium . And then he bothered to insert these pictures.
Thank you all, I will be glad to any of your comments and be curious to see how relevant the topic is.
Source: https://habr.com/ru/post/102385/
All Articles