The second life of a DVD player or cooling pad for a laptop
So I finally got here to make a small contribution to our large Habra community.
It all started with the fact that my HP Pavilion dv9000 began to burn my fingers, knees and a table. With this, it was decided to urgently somehow fight. After reading some articles ( 1 , 2 ), I wanted to experiment and create my own crutch.
')
After some thought, an elegant solution to a hot problem came to mind.
I present to you the world's first cooling DVD player.
( Caution traffic! 2.4 MB images 800 * 600 px)
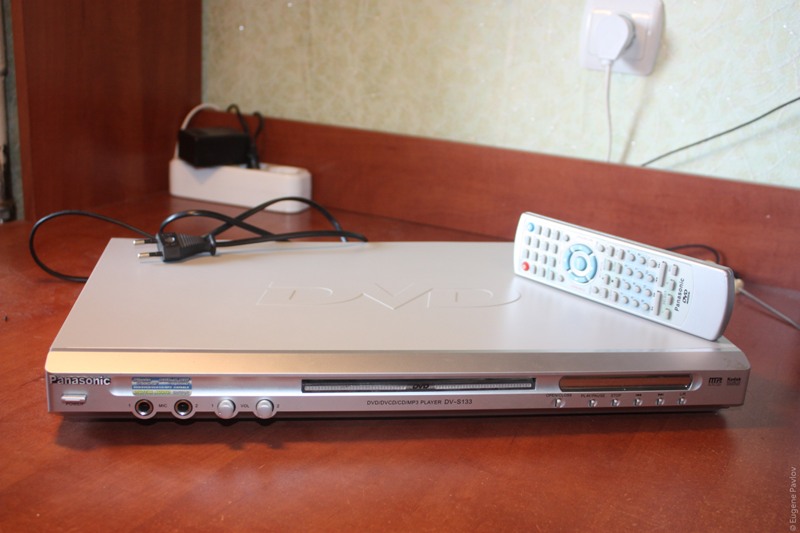
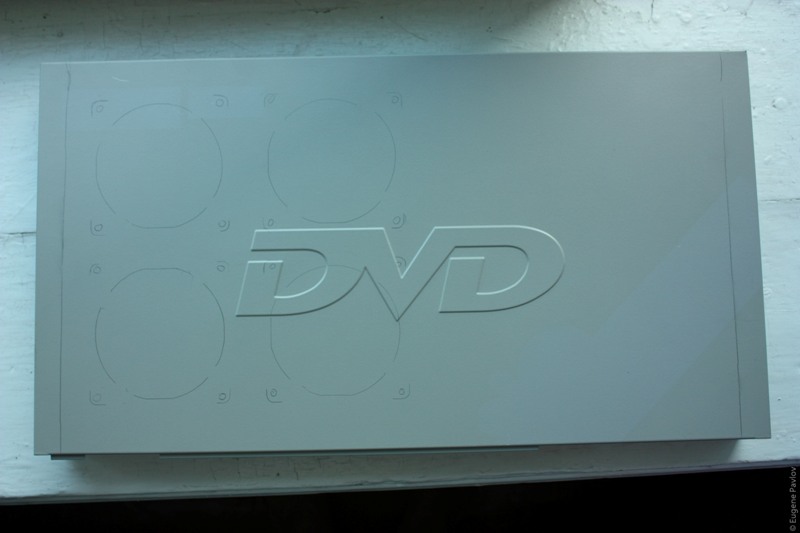
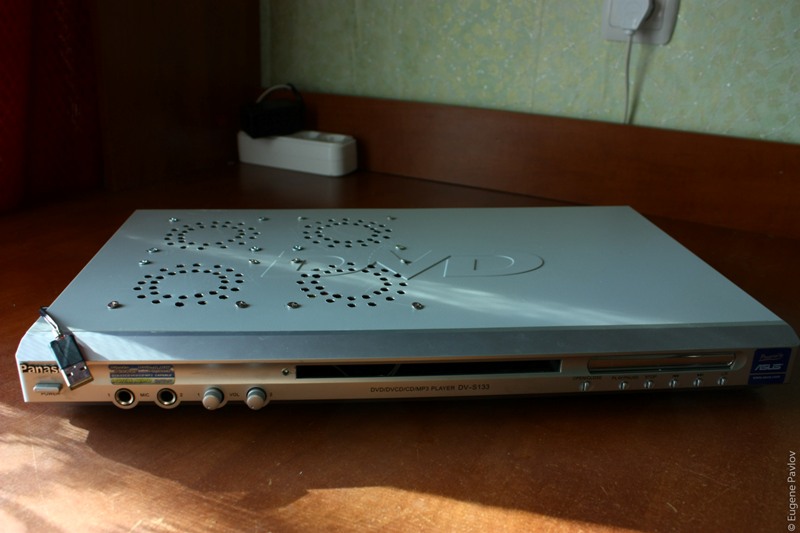
Of course, I didn’t want that the finished stand would be aesthetically unfit, as it was, unfortunately, already encountered on the desktop. Rummaging around a bit in the closet, I found a relatively old but no longer working Chinese Panasonic DVD player. I remember that after the purchase he worked for not full three weeks and irrevocably died. True, he was still useless wandering around the repair shops, but unfortunately (or fortunately for us) unsuccessful.
So, the task: to make a cooling pad for a hot laptop, using the body of a DVD player as a base.
Decision
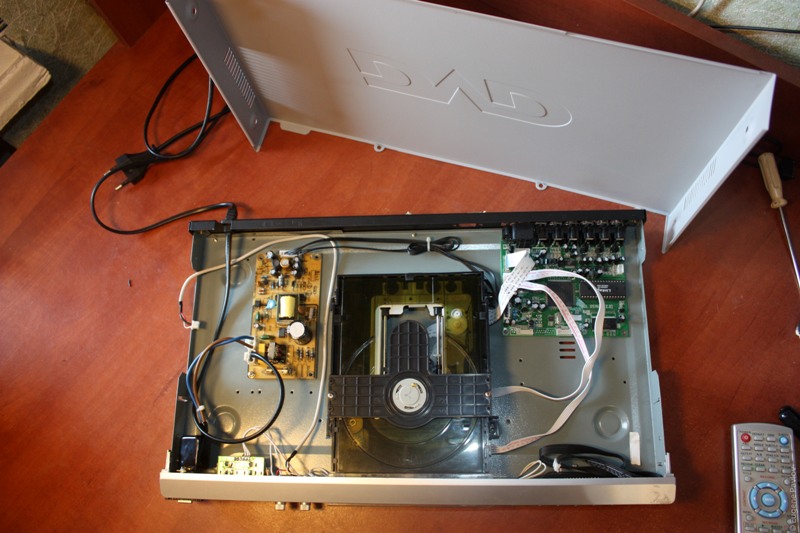
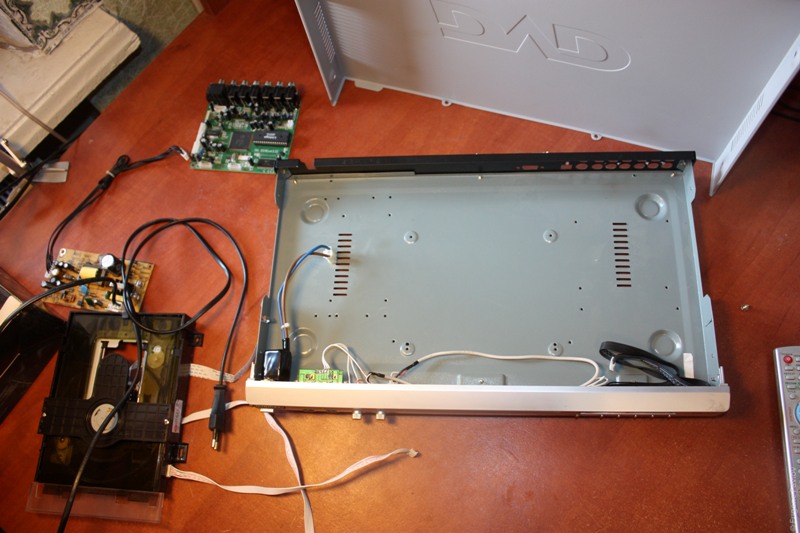
First of all, we dissect our patient and take out all that is superfluous (of course we will leave something, of course, but more about that later):
(Due to the lack of a camera at hand from the very beginning of work, I skip the operation when I removed terrible stickers in the style of DVD karaoke from the top cover. The recipe for removing is simple: heat the surface with a hairdryer and gently pull the edge of the sticker. Of course, glue will remain on the surface. It can be removed using acetone or, as a last resort, borrowed from the girl (mother, sister, wife) nail polish remover.)
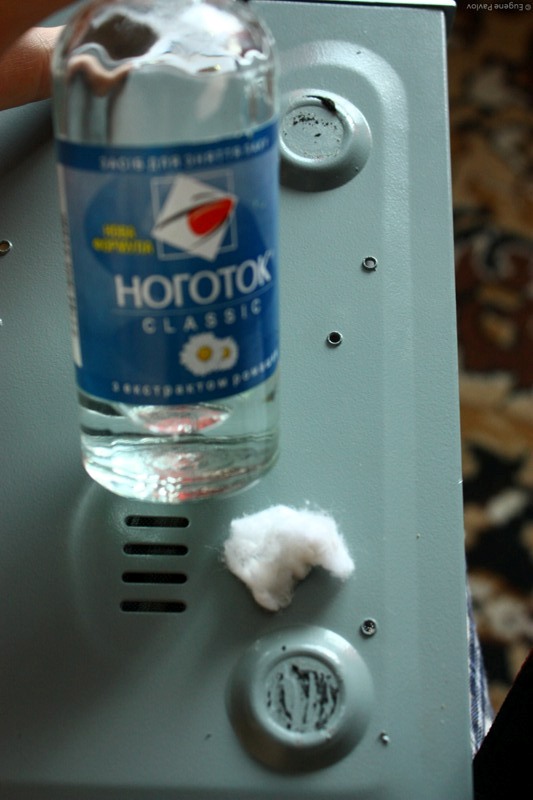
My player lost one “leg” of not very high-quality foam rubber, which did not want to stand firmly on the table and slid along it all the time. Rubber self-adhesive legs with a switch came to the rescue:

Clearing the space for legs from glue and paralon:
Here is what we get:

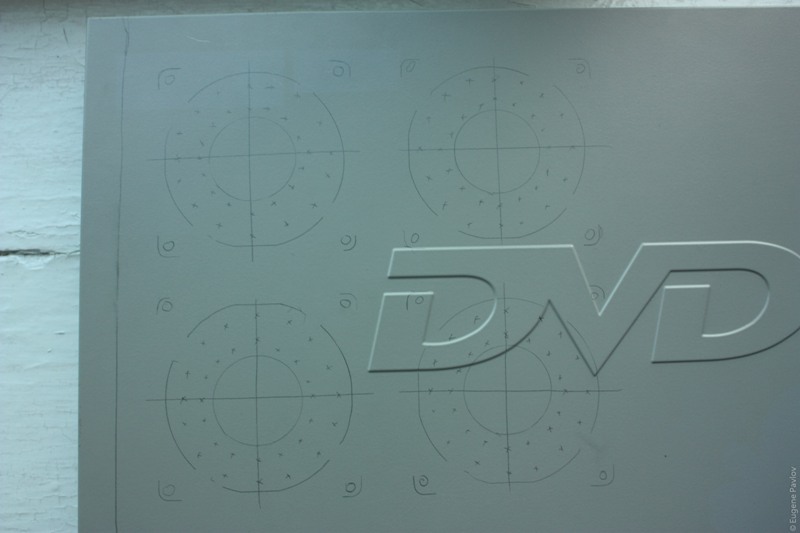
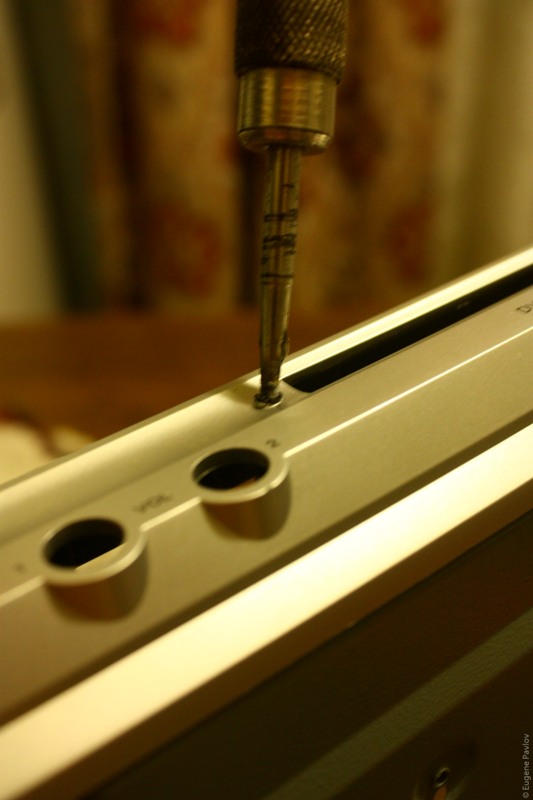
Now we take up the marking of holes under the coolers on the lid. As cooling coolers (4 pieces), the shots will be used, again at work (yes, a lot of things can be dragged off from work, and coolers and cables and other trifles, good of it in bulk), from old power supplies.
After putting the laptop on the lid (how perfectly it all fit with me =)) and holding it for about 15 minutes - I determined the hottest zones. Based on this, we apply the picture with a pencil:
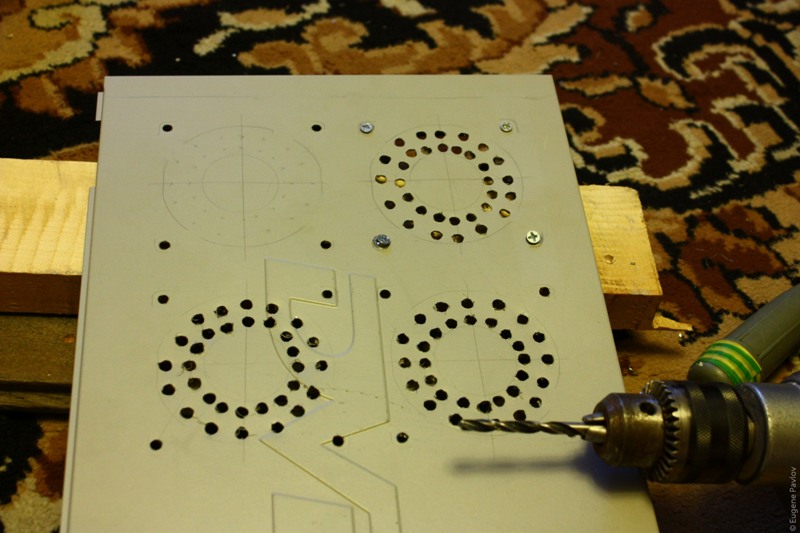
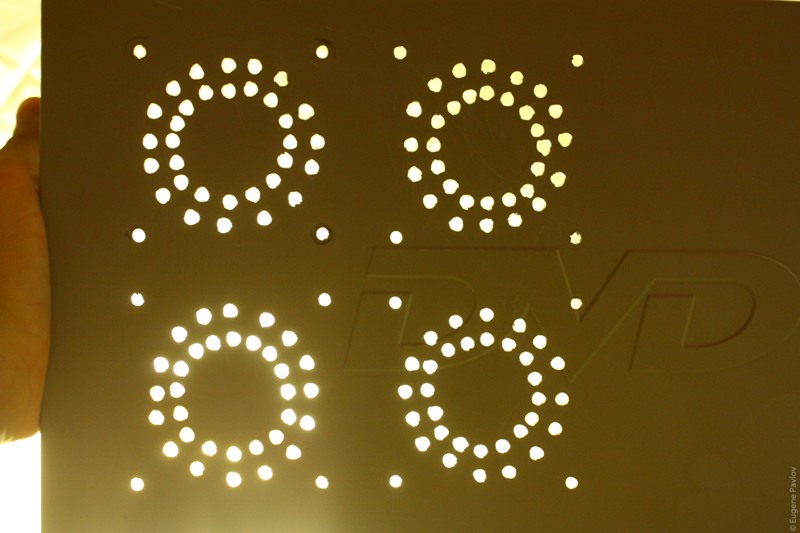
I decided not to cut the holes with a jigsaw. As they say simple ways are not looking. We will drill 128 kb of holes + 16 kb for bolts:
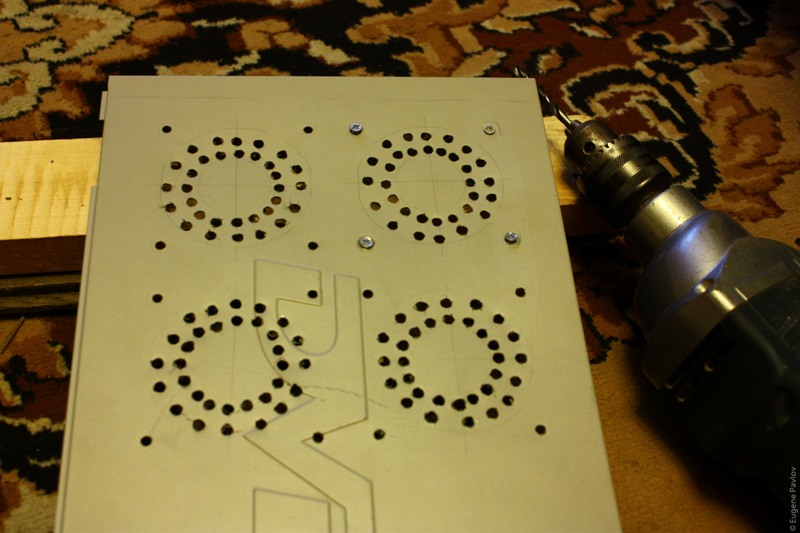
Further, we arm with a drill, we select drills and are accepted to the most labor-intensive part of work. First holes for mounting coolers:

Then the holes under the blades (uh and sweat I, when they drilled):


Further, using the magic set of small files from the bright past,
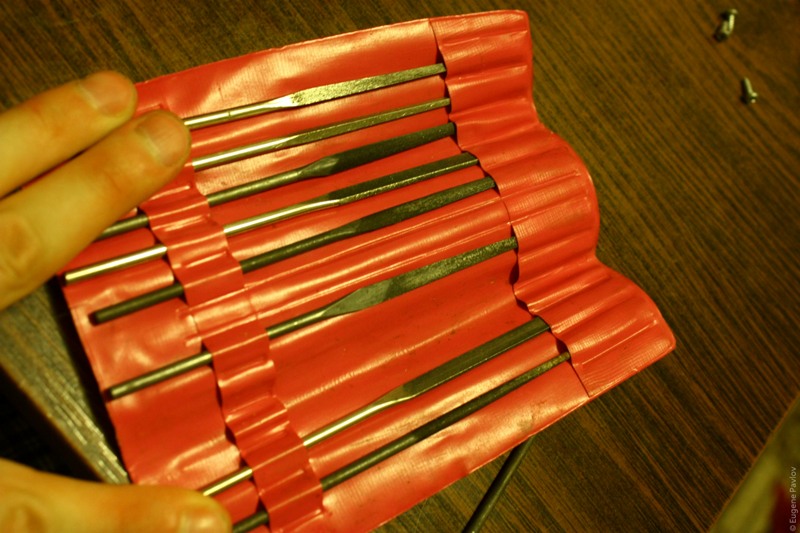
we clean the inside of the lid from the irregularities (unfortunately I had to pretty much shuffle and scratch, but the benefit will not be seen in the end):

Of course, if you don’t find fault very much, then I think it’s very nice:
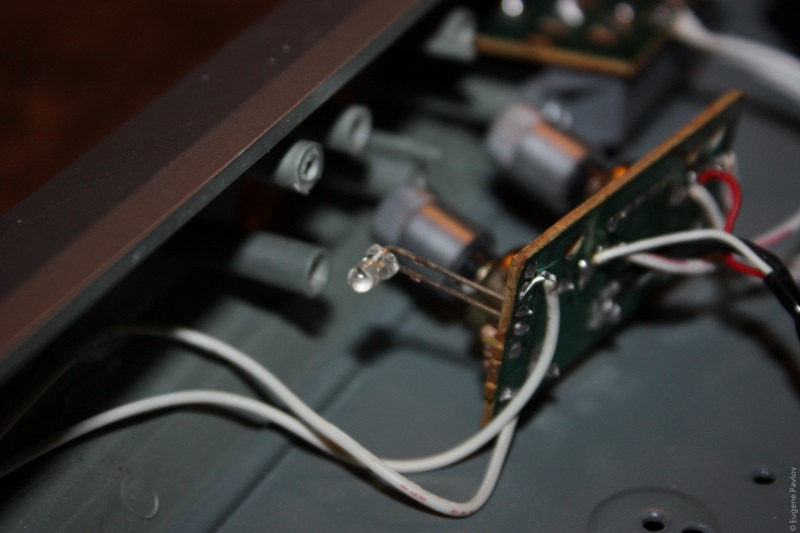
Now a little mod. When the DVD was still alive and young, the drive was illuminated from the inside by two white LEDs. One of them burned down, but the second I decided to attach as an indicator of the work of the stand. We take an awl, heat it up with gas and make a hole (I don’t cite a photo of a gas stove — it's dirty, and the habras don't like dirt in the inhabitants =)):
The board, on which the LED lives and which I intentionally did not dismantle, has with itself two more variable resistors (once played the role of volume controls for karaoke microphones), which I really wanted to use as speed controllers for coolers. But in practice it turned out that:
- speed of rotation of 4 coolers from one USB port so not so hot
- the cooler worked only when the resistors were completely "open", when trying to "make a sound" - they immediately stopped

It would also be super-fashionable to “return” the used USB output by also making a hub from the DVD-cooling stand. I even pissed off the old mothers (at work, shhhhh) yu-es-bishk, but then I was harassed and did not bother.
We solder the wires, not forgetting to close the DVD power button, we screw in the coolers:

Final result:
We install and connect, the indicator lights up, the noise is almost inaudible:
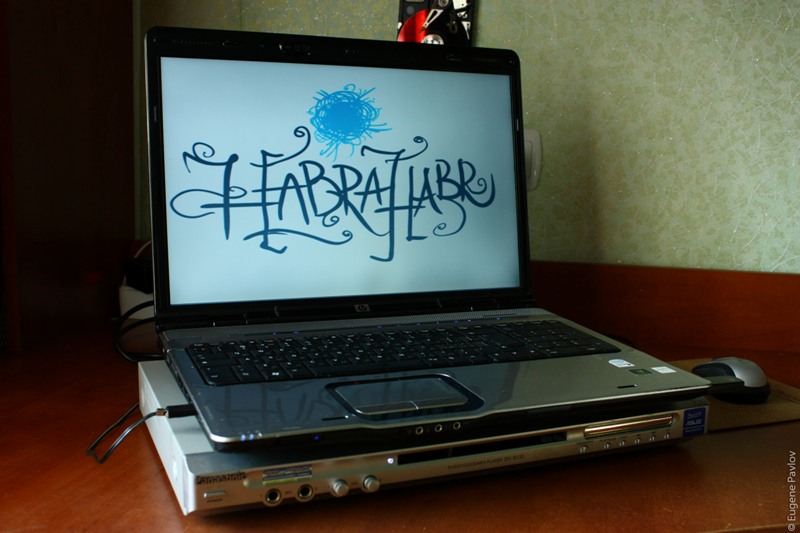
Well then. Stand ready. We will conduct tests.
Laptop package:

Test without stand
Virtually no loads. I dug out photoshop, I uploaded a couple of photos to habrafekt, checked mail (30 minutes of work):

Test with stand
Carried out the same manipulations. Sensor readings in less than 20 minutes:

As you can see the result of the stand is very positive.
Separately, I am glad that even after 2 hours of work, the stand remains cool, and the lower part of the notebook feels no longer so hot to the touch. But before that, after 30 minutes of work, the table was already very hot, and the cooler on the processor was puffing at full capacity.
That's all. Thanks for attention. Waiting for your comments.
Source: https://habr.com/ru/post/100973/
All Articles